Working with Automatic Upload
Automatic Upload support allows you to automatically and manually save and upload changes to your projects on a local or remote server without going through the process of pushing updates to your server, for example by redeploying, or updating, the application.
This feature is automatically enabled when deploying an application for the first time on your local or remote server, if Development Mode is enabled during the deployment procedure. For more information on this procedure, see Deploying an Application.You can also manually enable this feature from the Automatic Upload Support Properties dialog.
Important!
Using Automatic Upload to automatically save and upload changes to a remote server, will only work on projects with an enabled remote connection (FTP, SSH). For information on creating a remote connection profile, see Adding a Remote Connection Profile.
Enabling Automatic Upload support for a Remote Connection
This procedure describes how to enable Automatic Upload Support for projects connected to a remote server.
|
|
|
|
|
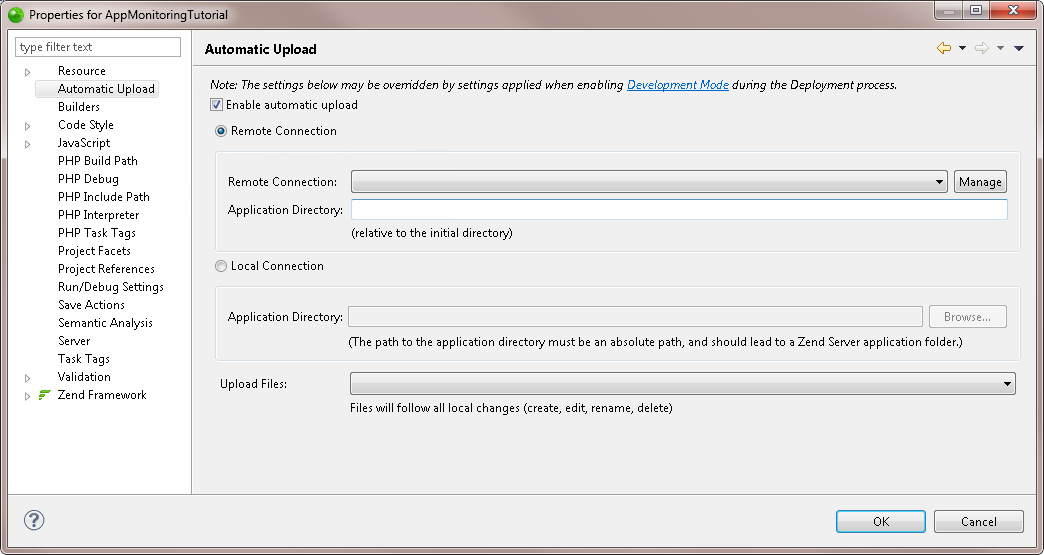
To automatically upload changes to a remote server:
Note: The settings in this dialog may be overridden if Development Mode was enabled during deployment process. |
|
For more information on Automatic Upload Support properties, see Automatic Upload Support Properties. |
|

Enabling Automatic Upload support for a Local Connection
This procedure describes how to enable Automatic Upload Support for projects connected to a remote server.
|
|
|
|
|
To automatically upload changes to a local server:
Important! When deploying or updating your application, you may be warned by your OS that Zend Studio is requesting write privileges for the application files. You will need to affirm this request for the upload to be performed successfully. Note: The settings in this dialog may be overridden if Development Mode was enabled during deployment process. |
|
For more information on Automatic Upload Support properties, see Automatic Upload Support Properties. |
|

Copyright © 2017 Rogue Wave Software


