Adding a Remote Connection Profile
This procedure describes how to add a new Remote Connection Profile. Before adding a profile, you must enable your PHP project as a remote project. Adding a Remote Connection Profile allows you to define the connection settings for a remote server which you can then associate with your project.
|
|
|
|
|
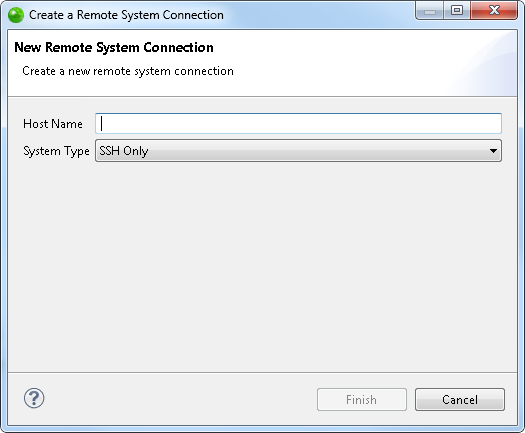
To add a Remote Connection Profile:
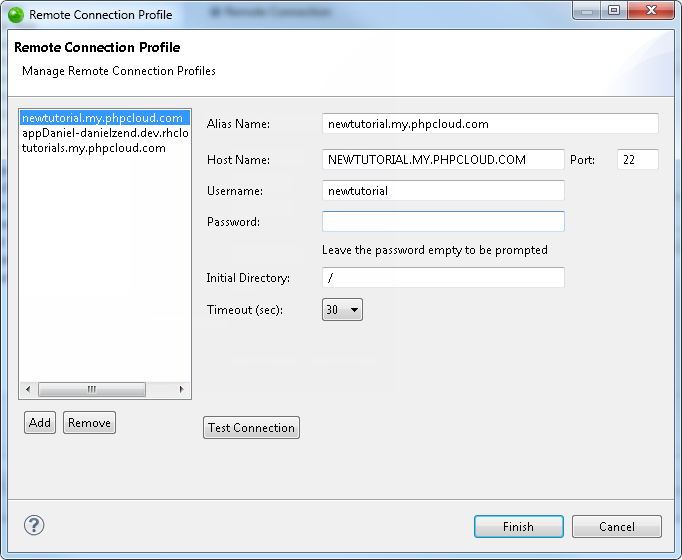
Return to the Remote Connection Profile dialog to define the additional required properties of your new Remote Connection Profile by editing your Remote Connection Profile. |
|
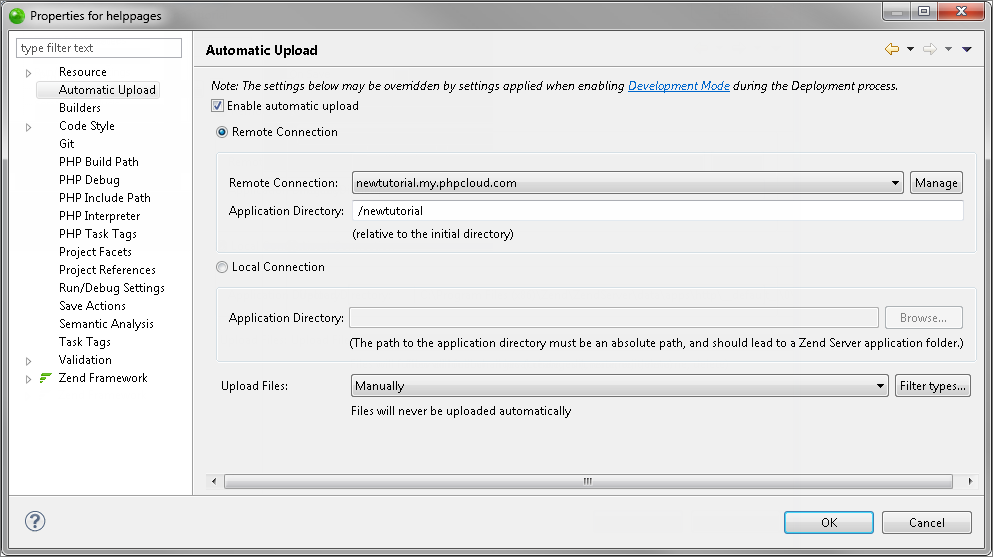
Once you have defined a Remote Connection Profile, you can associate it with any PHP remote project. This is done by selecting the associated Alias Name from the Remote Connection dropdown menu in the Automatic Upload Properties page of the project. |
|
All tasks you perform while working with Remote Server Support will appear in the Console view. Checking the Console view is the most efficient way to ensure that the action has been completed as you have requested. It will also show any problems that occurred during the task.


