Installing Zend Studio as a Plugin
Zend Studio can
be easily installed on top of an existing Eclipse installation by installing
the necessary plugins through the Eclipse Marketplace.
System Requirements
|
|
|
|

|
To install Zend Studio
as a plugin:
-
From the main menu bar go to Help
| Eclipse Marketplace. The Eclipse Marketplace wizard is displayed.
-
In the ‘Find’ field, type zend and press Enter. The Zend Studio plugin will be displayed in the list.
-
Click the Install button to install the Zend Studio plugin. After resolving the dependencies, the wizard will display the Review Licenses page.
-
Review the licenses by expanding the list items and
select the ‘I accept the terms of the license agreements’
checkbox, and click Finish.
The Installing Software progress bar opens while the software
installs.
-
If prompted with a Security Warning, click Yes to continue installation.
-
You will then be prompted to restart the workbench.
Click Restart for
the workbench to be restarted and for the required plugins to
be installed.
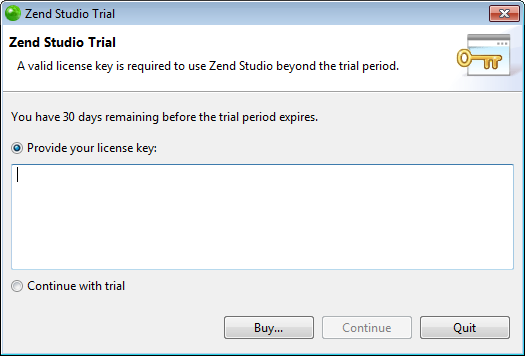
When the workbench opens, the Zend Studio
Trial screen is displayed.
-
Enter a license key, or select 'Continue to use as a trial',
and click Continue.
For more information, see License
Registration.
Eclipse is launched with the Welcome Page open.
The Welcome screen is a compilation of resources and information
to help users of all different experience levels get started
with Zend Studio.
You can exit the screen by clicking the close icon in the
corner tab. To return to the Welcome page at any time, go
to Help | Welcome.
For more information on the Welcome page, see Customizing.
|
|
|