Defining Zend Server in Zend Studio

Integration of Zend Server with Zend Studio allows the appliance of Zend Studio functionality such as Debugging/Profiling using Z-Ray and debugging Monitoring Events.

Before configuring Zend Server in Zend Studio, Zend Server must be installed and running.

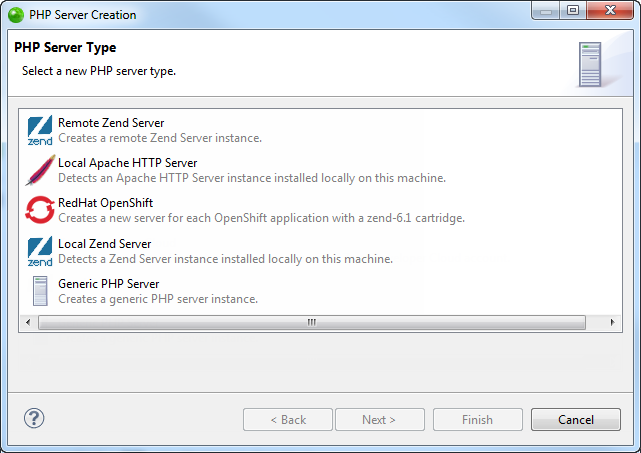
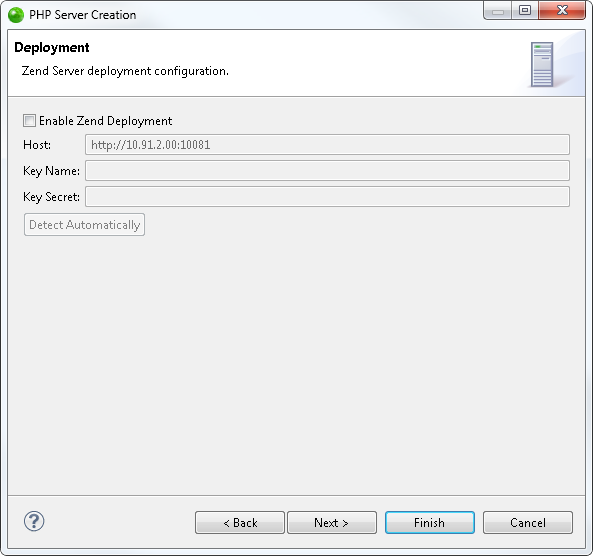
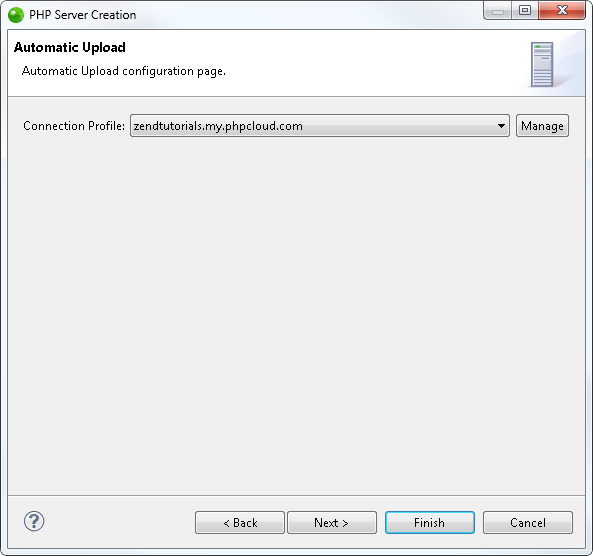
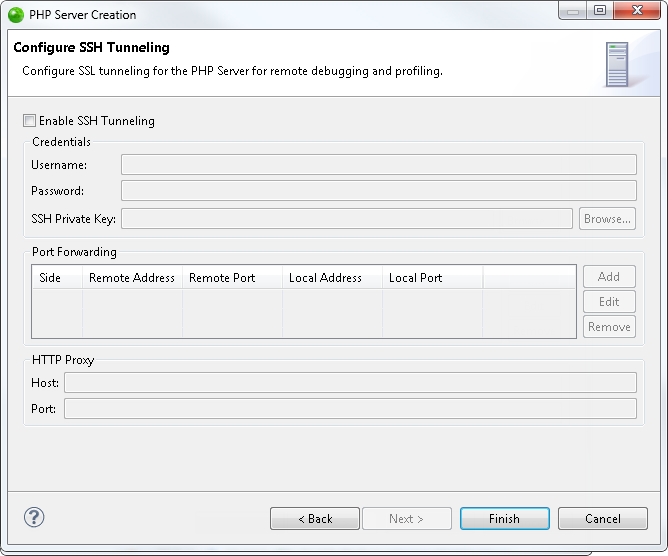
Defining a Remote Zend Server


Instructions on how to complete a procedure

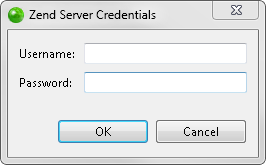
To define a remote Zend Server:

  1. From the Menu bar,  select Window | Show View | PHP Servers to add the PHP Servers view to your perspective.

  1. In the PHP Servers view, click on the Add icon .
    The PHP Server Creation dialog is displayed.

  1. Select Remote Zend Server, and click Next.
    The Zend Server details dialog is displayed.

  1. Enter the following information:

    • Name: Server name.

    • Debugger: Select a server debugger (XDebug/Zend Debugger).
    • Base URL: Server URL (e.g., <protocol>://<server url>[:<port>]).
    • Local Web Root: 
  1. Click Next.
    The Deployment dialog is displayed.

  1. To enable deployment on the remote Zend Server, select the Enable Zend Deployment dialog, and enter the following details:
    • Host: Zend Server host IP (displayed automatically)
    • Key Name: Zend Server Web API key name.
    • Key Hash: Zend Server Web API key secret.

    Click Detect Key Details to auto-detect these details.

  1. Click Next.
    The Automatic Upload dialog is displayed.

  1. Click the Connection Profile drop-down menu to select an existing connection profile, or click Manage to edit or create a connection. For more information on adding connection profiles, see Adding a Remote Connection Profile.
  1. Click Next.
    The Configure SSH Tunneling dialog is displayed.

  1. To enable SSH tunneling, select the Enable SSH Tunneling check-box, and enter the following details:
    •  Username - SSH connection user name.
    •  Password - SSH connection password.
    •  SSH Private Key - SSH connection private key. Click Browse to locate the key.
    •  Port Forwarding - Click Add to add a new port forwarding configuration for remote debugging/profiling.
      Click here for more general information on port forwarding.
    • HTTP Proxy:
      •  Host - Proxy server.
      •  Port - Proxy port.
  1. Click Finish.
    Zend Studio validates the new remote Zend Server, and adds it to the PHP Servers view.

You can now deploy a project by dragging an existing project from the PHP Explorer onto the new server. For more information on deploying, see Deploying an Application.

Defining a Local Zend Server


Instructions on how to complete a procedure

To add a Local Zend Server:

  1. From the Menu bar,  select Window | Show View | PHP Servers to add the PHP Servers view to your perspective.

  1. In the PHP Servers view, click on the Add icon .
    The PHP Server Creation dialog is displayed.

  1. Select Local Zend Server, and click Next.
    The Local Zend Server Details dialog is displayed.

  1. Enter a server name, and click Finish to add the local Zend Server.
    The Zend Server credentials dialog is displayed.

  1. Enter your Zend Server UI user name and password, and click OK.
    Zend Studio validates the new local Zend Server and adds it to the PHP Servers view.

You can now deploy a project by dragging an existing project from the PHP Explorer onto the new server. For more information on deploying, see Deploying an Application.