Working with Docker Tooling
This topic describes the procedures for working with Docker Tooling in Zend Studio, including how to establish a connection between Zend Studio and Docker, and pulling and running a Docker image in Zend Studio.
Prerequisites
- Installed Docker plugin
- Installed and correctly configured Docker
Note:
For Windows and Mac OS X, make sure Boot2Docker is up and running before attempting the following procedures.
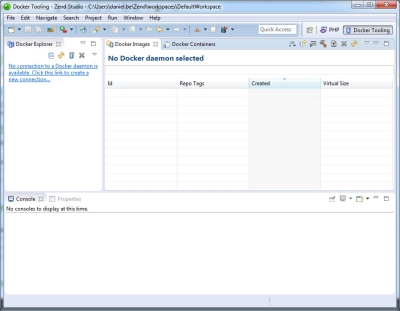
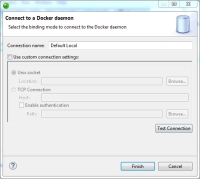
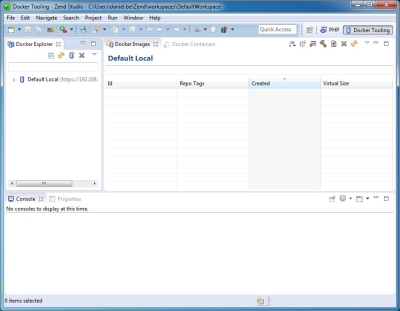
This procedure describes how to establish a connection between Zend Studio and the Docker daemon.
|
|
|
|
|
To connect Zend Studio to Docker:
|
|
|
|
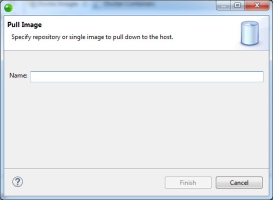
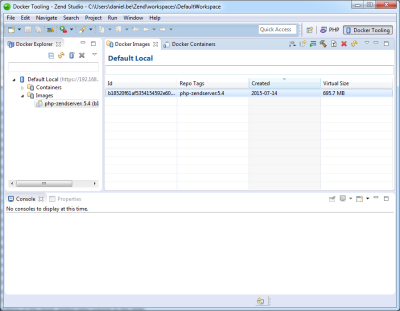
This procedure describes how to pull a Docker image from the Docker hub from within Zend Studio.
|
|
|
|
|
To pull a Docker image:
|
|
Note: Depending on the size of the image, the pulling process may take a while. |
|
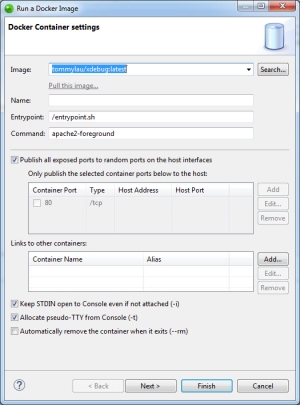
This procedure describes how to run a Docker image in Zend Studio.
|
|
|
|
|
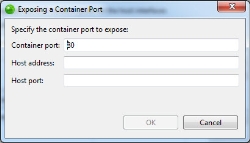
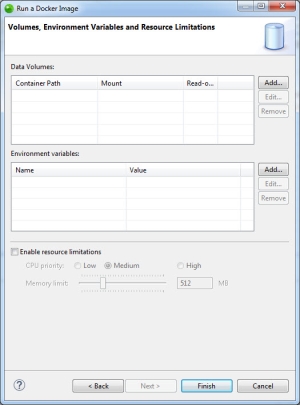
To run a Docker image:
|
|
|
|
The next procedure will describe how to create a new PHP server in Zend Studio that is linked to a Docker image. This enables deploying, running and debugging PHP in the Docker container from within Zend Studio.
|
|
|
|
|
To link a Docker Image with a PHP server:
|
|
Once created, the new PHP server is created and added to the PHP Servers view. |
|
Once you have completed all of the procedures above, create a new PHP project (when creating the project, select the PHP server you linked to the Docker image), and debug your code (right-click a file in the PHP explorer, and select Debug As | PHP Web Application).

