Getting Started
Zend Studio, the leading integrated development environment for PHP Web applications, maximizes developer productivity by allowing you to develop and maintain code faster, resolve application issues quickly and improve team collaboration. Backed by Zend and built on top of the Eclipse platform, Zend Studio offers unmatched reliability and extensibility.
The steps below will help guide you through the basic procedures of using Zend Studio to develop and run your PHP applications.
Video
To better understand the procedures described in this topic, watch this video:
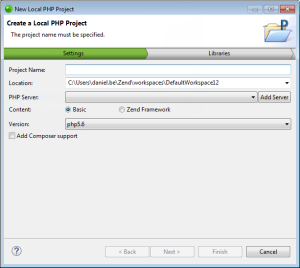
To start working in Zend Studio, you should first create a new PHP project which will contain the files for your application.
In the procedure below you can choose which content to use in the project - Zend Studio's built-in PHP or Zend Framework.
|
|
|
|
|
To create a new local PHP project:
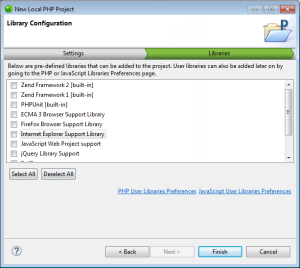
Note: If not already installed, selecting to install jQuery Library Support, ExtJS and Prototype will prompt a restart of Zend Studio. |
|
For a list of all the PHP projects you can create, see Creating New PHP Projects. |
|
You can now start to develop your application by creating PHP files in your project.
|
|
|
|
|
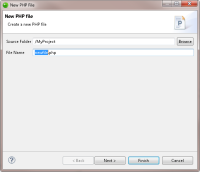
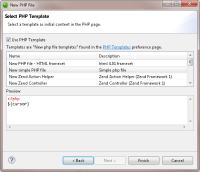
To create a new PHP file within you project:
|
|
For more information on creating new files in Zend Studio, see Creating PHP Files and Creating HTML Files. |
|
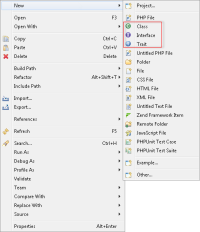
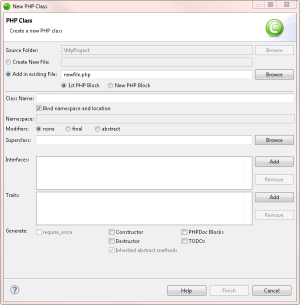
You can use Zend Studio's PHP element creation wizards to quickly and easily create PHP elements such as classes and interfaces within your code.
|
|
|
|
|
To create a new PHP class/interface:
|
|
For more information on creating new PHP elements, see Creating PHP Elements. |
|
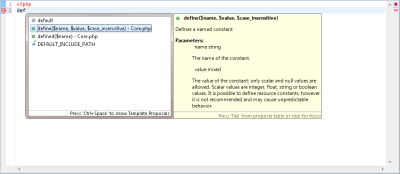
Manually type code in your files. As you type, content assist will suggest code options according to the context of the code.
You can select a required code string to quickly insert it into your
script
If the Content Assist window does not pop up automatically, press Ctrl+Space.
For more information on Content Assist, see Using Content Assist. For tips on coding PHP, click here.
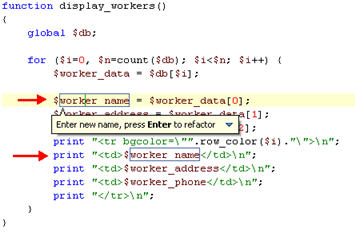
If at any point during your development you want to rename an element, this can be easily done using the in-place refactoring feature.
This will apply the rename operation to all occurrences of the required element so that all links between elements are maintained.
Note:
The refactoring feature also gives access to a range of other functions such as move file and extract variable. See Refactoring for more information.
|
|
|
|
|
To rename an element within the editor:
|
|
For more information on refactoring your code, see Using Refactoring. |
|
It is good programming practice to comment all functions, classes and methods in your code. This helps both the developer and others who might look at the code to understand its purpose. Simply add a double slash "//" and comment away! Zend Studio also allows you to easily select and comment existing lines.
|
|
To comment lines:
|
|
Install PHPDocumentor to create documentation from your comments. |
Zend Studio can automatically format your code according to set standards to make it easily navigable and readable.
|
|
|
|
|
To format your code: |
|
Your code will be automatically formatted. |
|
|
|
|
||||
|
|
Example:
|
||||
|
You can also format only selected lines within your code. For more information, see Formatting Code. |
|||||
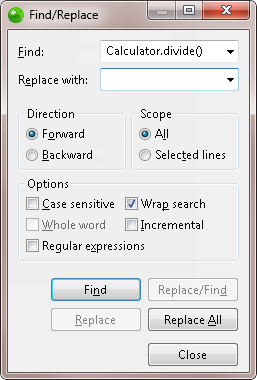
Zend Studio gives you a powerful search and replace mechanism for easily finding and replacing text strings in your code.
|
|
|
|
|
To find and replace a string:
|
|
For more information on using Zend Studio's Find and Replace, see Finding and Replacing. |
|
Great! You've finished coding your application. Now what? You can preview the execution of your application by running it locally as CLI, or as a Web application on your Web server.
Run as CLI Application
|
|
|
|
|
To run your application as a CLI application: In PHP Explorer, right-click
the file from which you would like to start the execution
and select Run As | PHP CLI
Application. |
|
|
|
Run as PHP Web Application
|
|
|
|
|
To run your application as a Web application:
|
|
Tip: You can periodically rerun your application to preview any changes you have made to your files during development. The files that will be executed will be the files situated locally on your workspace, irrespective of any changes made to the server copies of the files. |
|

