Adding a PHP Server
This procedure describes how to add a PHP server to Zend Studio for deploying applications.
For information on adding a Zend Server, see:
|
|
|
|

|
To add a generic PHP server:
-
From the Menu bar, select Window
| Show View | PHP Servers to add the PHP Servers view to your
perspective.
-
In the PHP Servers view, click on the Add
icon  . .
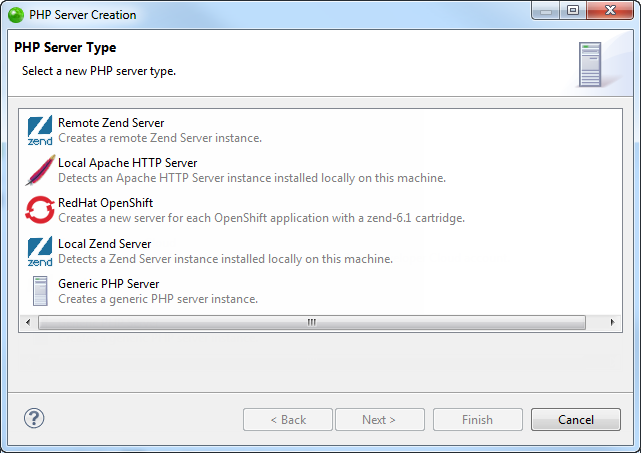
The PHP Server Creation dialog is displayed.
-
Select Generic PHP Server.
- Click Next.
The Server details dialog is displayed.
-
Enter the following information:
-
Name: Server name.
- Base URL: Server URL (e.g., <protocol>://<server url>[:<port>]).
- Document Root: Web server document root folder.
- Click Next.
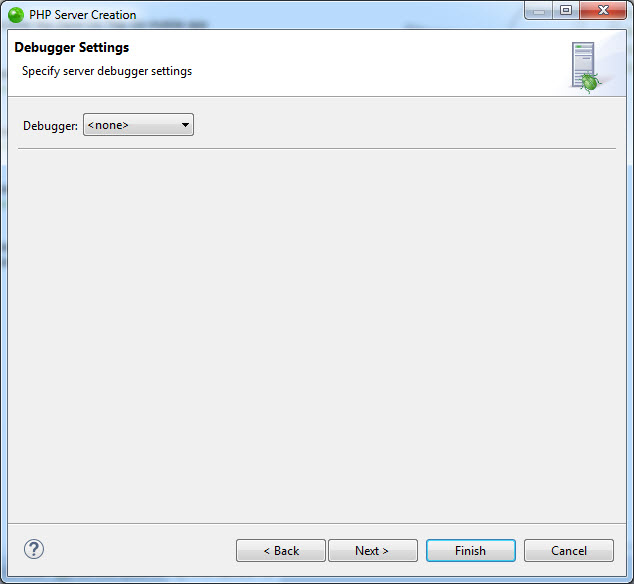
The Debugger Settings dialog is displayed.
- Select which server debugger you wish to debug with - Zend Debugger, XDebug (Default is <none>).
- Configure the debugger settings:
|
Zend Debugger:
|
XDebug:
|
|
|
|
|
Note:
These setting override global debugging settings (Window | Preferences | PHP | Debug | Debuggers | Zend Debugger/XDebug).
|
- To test the debugger settings at any time, click Test.
- Click Next.
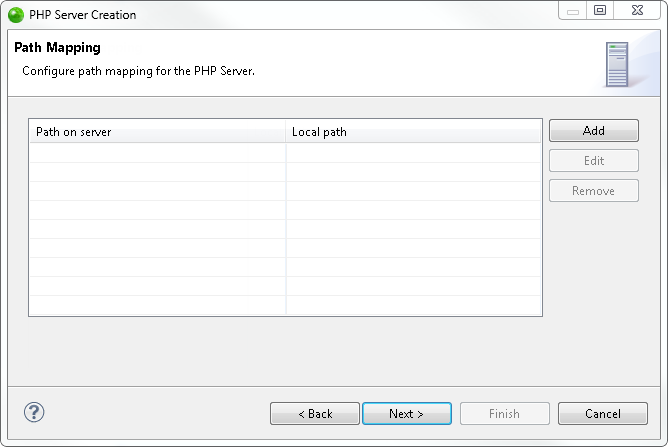
The Path Mapping dialog is displayed.
- Click Add.
The Add New Path Map dialog is displayed.
- Define a new path for the server and in your workspace or file system, and click OK.
- Click Next.
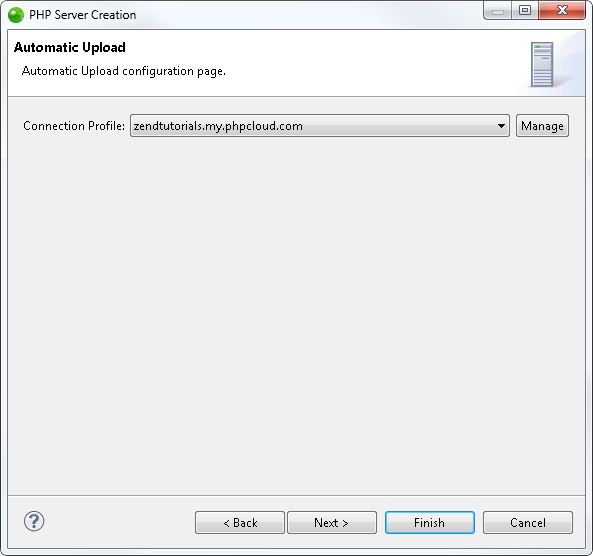
The Automatic Upload dialog is displayed.
- Click the Connection Profile drop-down menu to select an existing connection profile, or click Manage to edit or create a connection.
- Click Next.
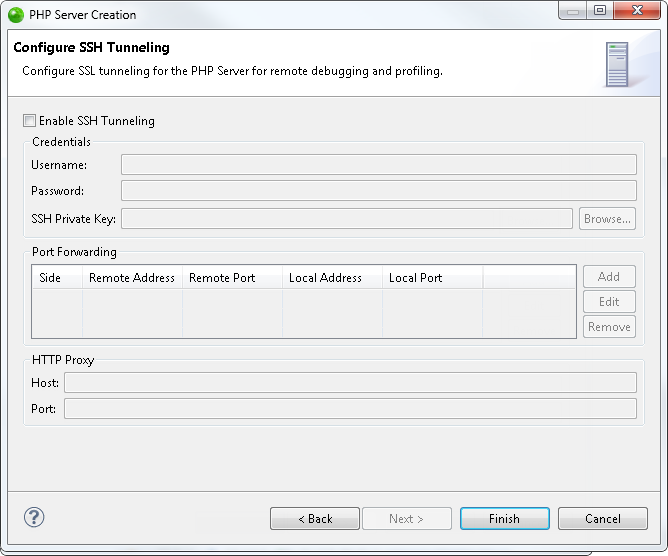
The Configure SSH Tunneling dialog is displayed.
- To enable SSH tunneling, select the Enable SSH Tunneling check-box, and enter the following details:
- Username - SSH connection user name.
- Password - SSH connection password.
- SSH Private Key - SSH connection private key. Click Browse to locate the key.
- Port Forwarding - Click Add to add a new port forwarding configuration for remote debugging/profiling.
Click here for more general information on port forwarding. - HTTP Proxy:
- Host - Proxy server.
- Port - Proxy port.
-
Click Finish.
Zend Studio validates the new remote Zend Server, and adds it to the PHP Servers view.
|
|
|