Working with Composer
This topic describes how to work with Composer in Zend Studio.
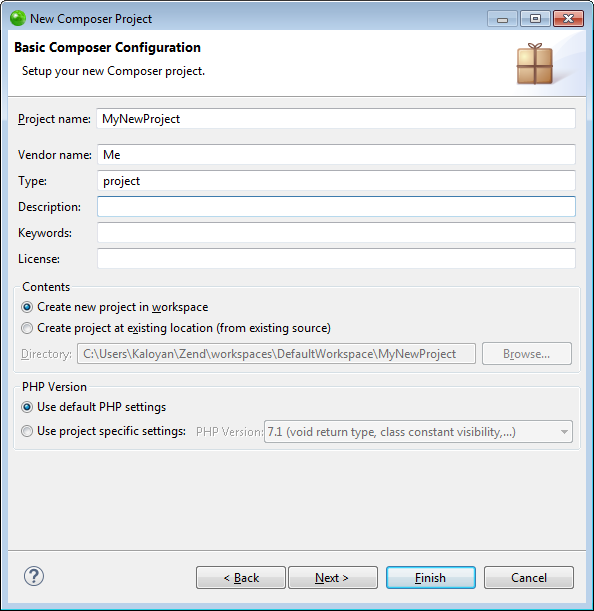
Creating a New Project with Composer Support
Composer support can be added when you create a new PHP project by using the Empty Composer Project wizard.
|
|
|
|
|
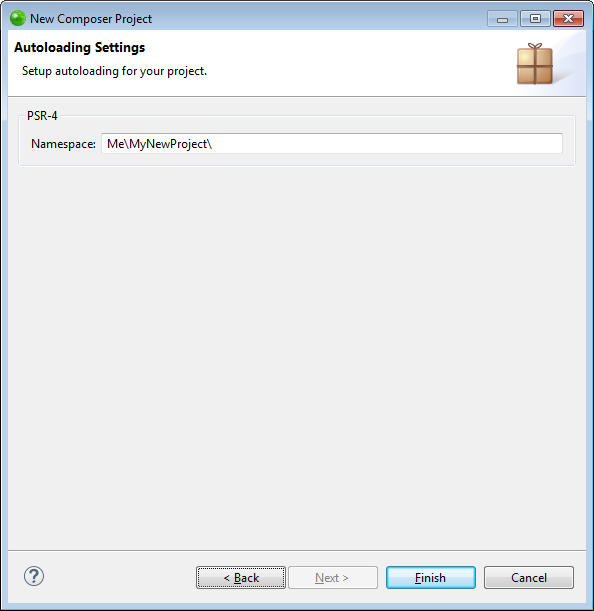
To add Composer support during project creation:
|
|
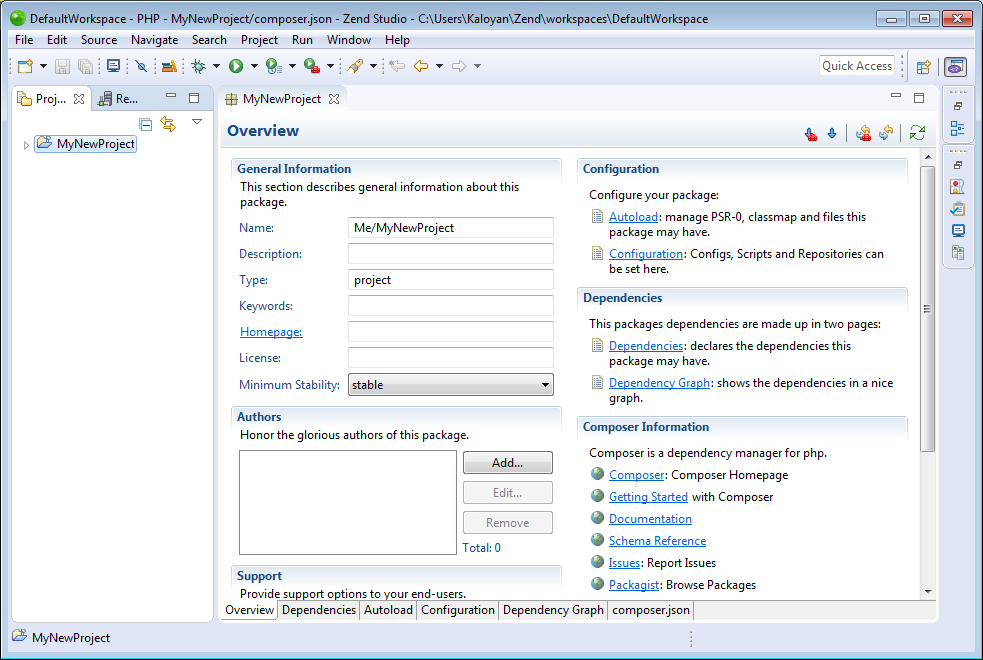
You can now install library dependencies in your project. See Adding and Installing Dependencies below for more information. |
|
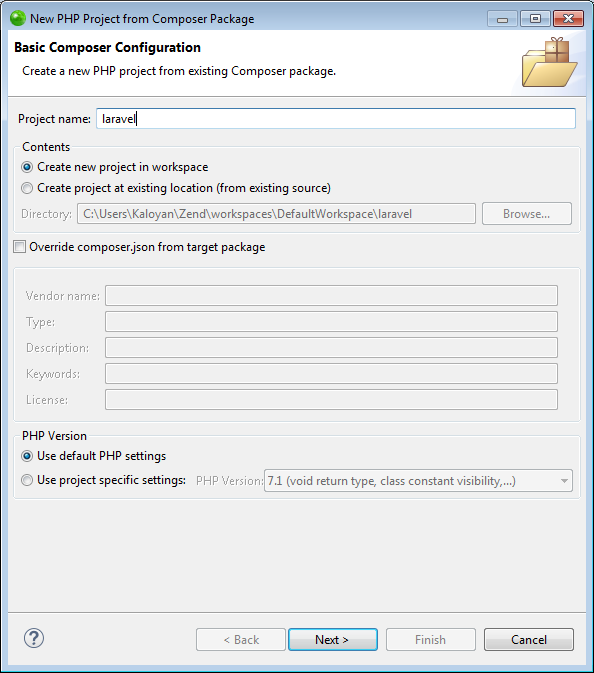
Creating a New Project from Existing Composer Package
New Composer projects can be created from existing Composer packages, published on Packagist, as if they have been created using the "composer create-project" command.
|
|
|
|
|
To create new project from Composer package:
|


Adding Composer Support to an Existing Project
Composer support is added per PHP project. This procedure describes how to add Composer support to a project.
|
|
|
|
|
To add Composer support: In the PHP Explorer, right-click your PHP project and select Configure | Add Composer Support. Zend Studio adds Composer support to your PHP project, and displays the Composer editor.
|
|
You can now install library dependencies in your project. See Adding and Installing Dependencies below for more information. |
|

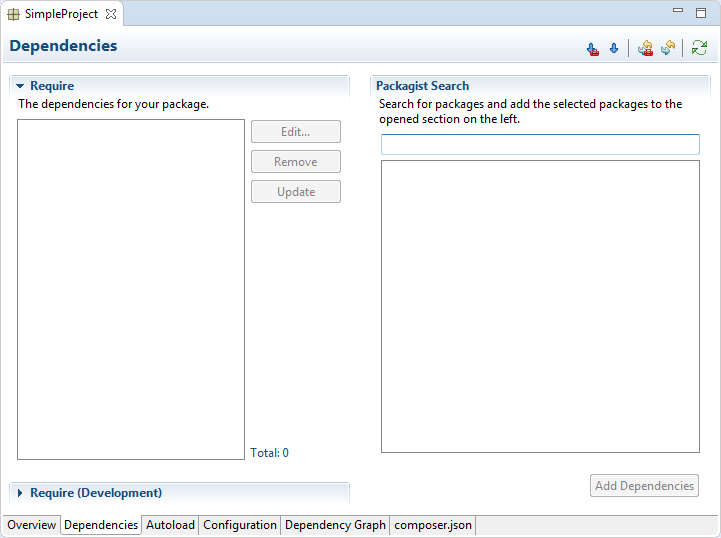
Adding and Installing Dependencies
This procedure explains how to add and install library dependencies in your PHP project.
|
|
|
|
|
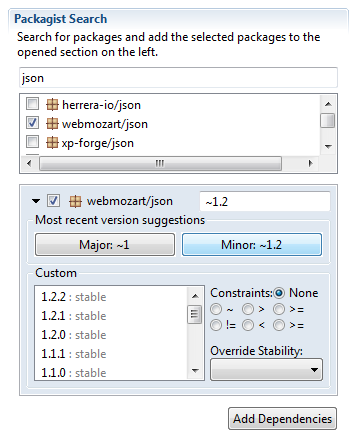
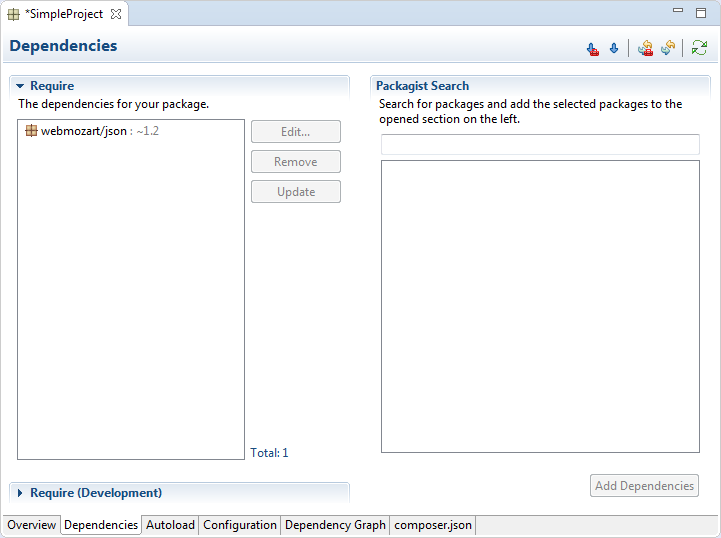
To add and install a dependency:
|
|
Note: Once your first dependency is installed, you can update the packages by clicking the Update dependencies button in the editor's toolbar. This action will also install any other dependencies you may have added. |
|


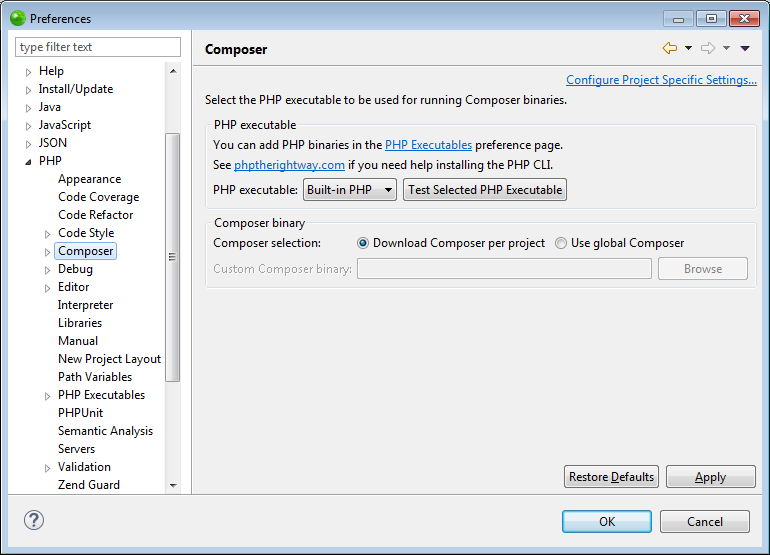
Configuring Composer
This procedure describes how to configure preferences for the Composer.
|
|
|
|
|
To configure Composer:
|
|
|
|

Copyright © 2017 Rogue Wave Software


