Creating a MySQL Database Using phpMyAdmin
phpMyAdmin is a component that comes bundled with Zend Server in order to handle the administration of your MySQL databases. For more information see Working with phpMyAdmin to Manage MySQL in the Zend Server online documentation. Creating a database in MySQL is necessary in order to debug your PHP/Flex application. The PHP code in your project will use the database to access the information when needed, as defined by the code.
Before creating a MySQL database, you must have a sql file available on your machine.
|
|
|
|
|
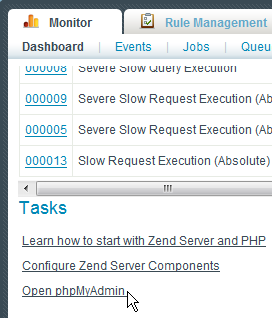
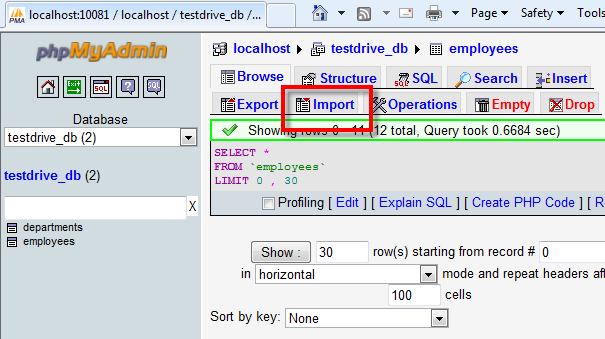
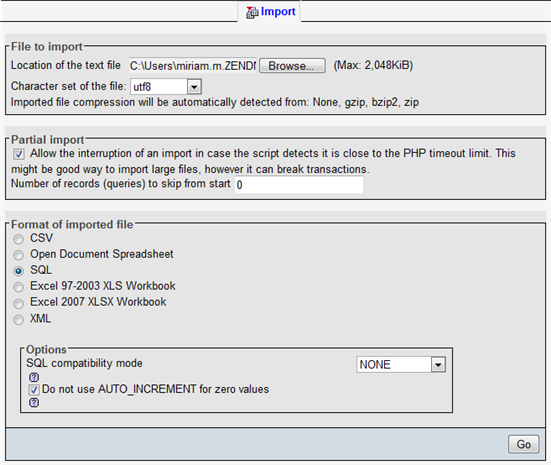
To create a MySQL database using phpMyadmin:
|
|
To see the tables located in your database, select the database from the left menu of the phpMyAdmin UI and go to the Structure tab. |
|


