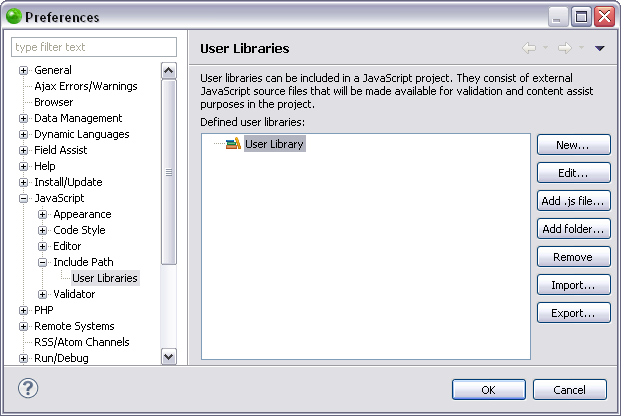
Exporting JavaScript User Libraries
This procedure describes how to export JavaScript user libraries, making them accessible to whoever has access to the repository where it is stored. Exporting a JavaScript user library will only export a description of the library in .xml format, and will not include any of the library's content.
Important Note:
Before configuring any settings for JavaScript libraries make sure JavaScript support is enabled in your project. Select Configure from the right click menu of you project in your project directory and select Convert to JavaScript Project. If that option does not appear then JavaScript support has already been enabled.
|
|
|
|
|
To export a user library:
|
|
Your user library has now been exported to the location you specified. You may now import the exported user libraries from any location that has access to the location in which it is stored. For more information see Importing JavaScript User Libraries. |
|


