Working with Composer
This topic describes how to work with Composer in Zend Studio.
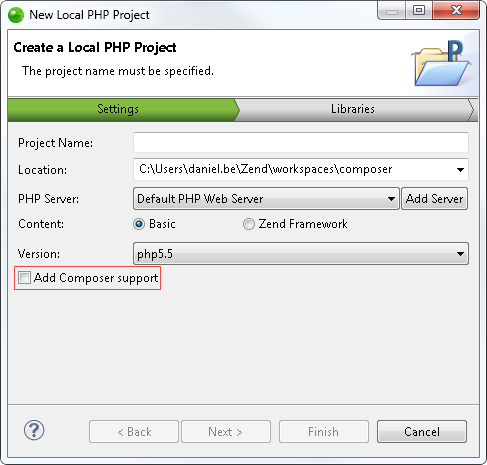
Adding Composer Support when Creating a New Project
Composer support can be added when you create a new PHP project directly from the various New Project Wizards.
|
|
|
|
|
To add Composer support during project creation:
|
|
You can now install library dependencies in your project. See Adding and Installing Dependencies below for more information. |
|
Adding Composer Support to an Existing Project
Composer support is added per PHP project. This procedure describes how to add Composer support to a project.
|
|
|
|
|
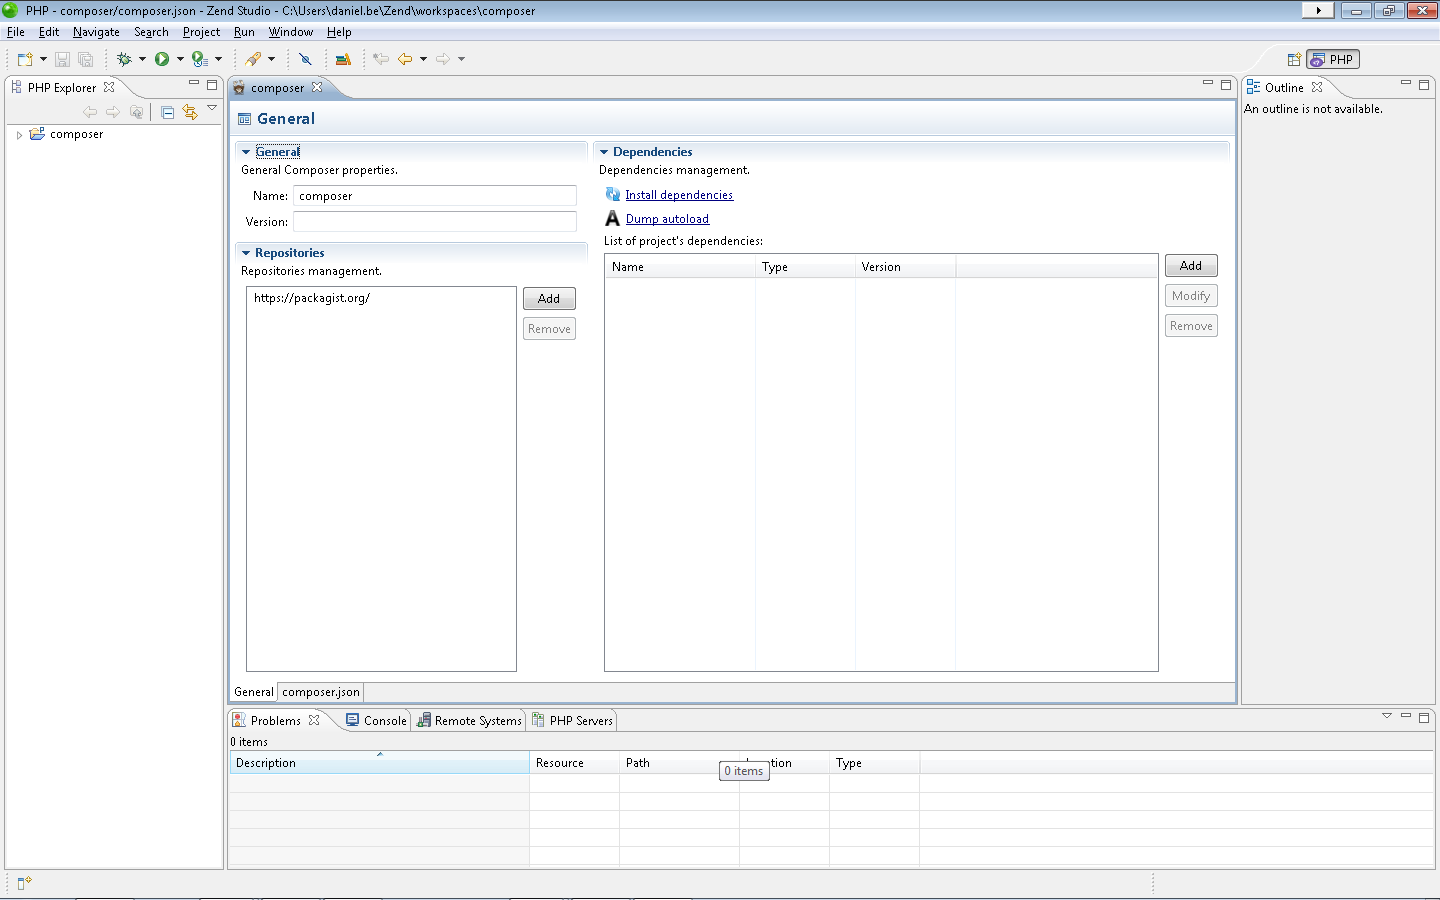
To add Composer support: In the PHP Explorer, right-click your PHP project and select Composer | Add Composer Support. Zend Studio adds Composer support to your PHP project, and displays the Composer editor.
|
|
You can now install library dependencies in your project. See Adding and Installing Dependencies below for more information. |
|
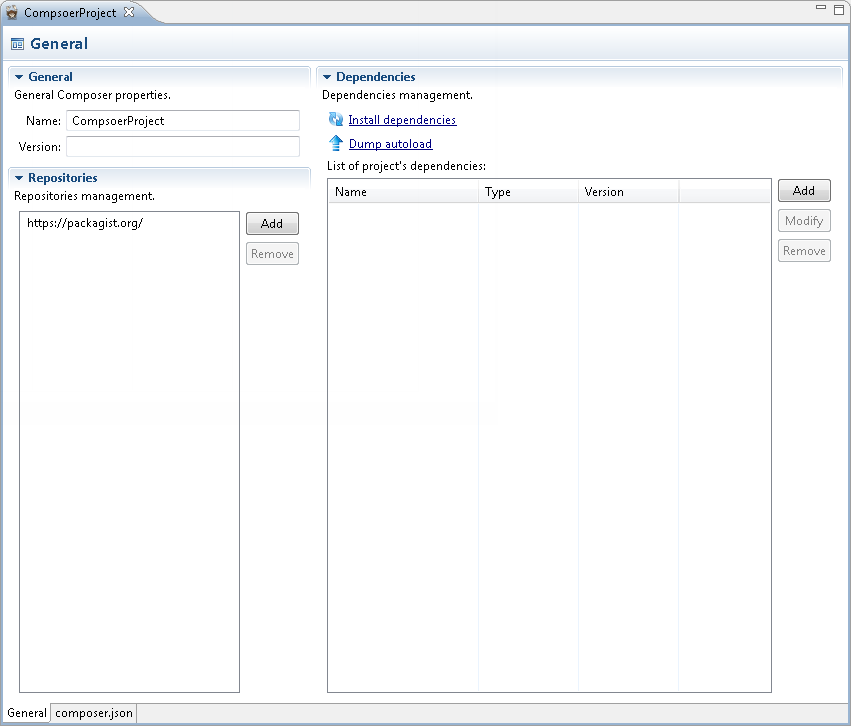
Adding and Installing Dependencies
This procedure explains how to add and install library dependencies in your PHP project.
|
|
|
|
|
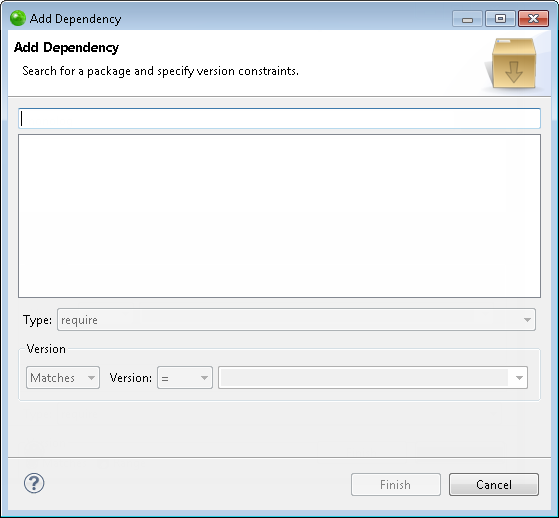
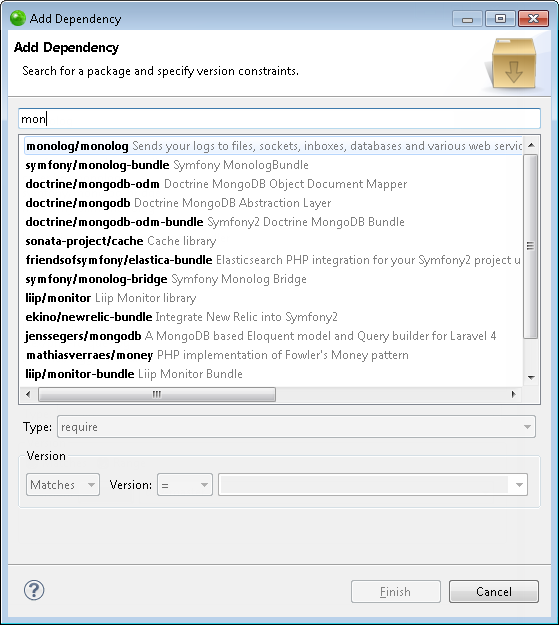
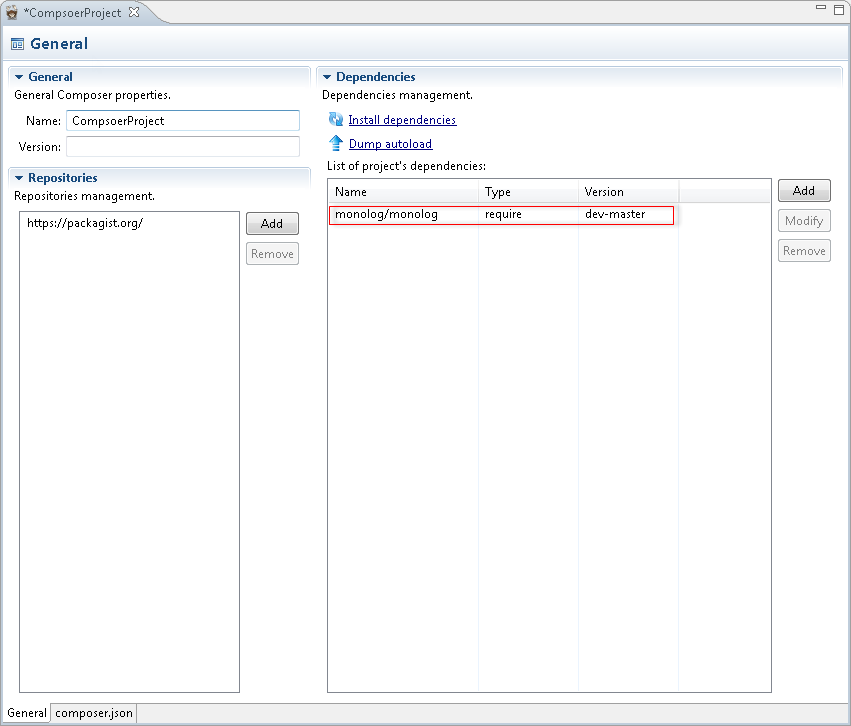
To add and install a dependency:
|
|
Note: Once your first dependency is installed, you can update the packages by clicking Update dependencies. This action will also install any other dependencies you may have added. Tip: If your class map has changed, click Dump autoload to update autoloads in your files without updating/installing packages. |
|
Configuring Composer
This procedure describes how to configure preferences for the Composer.
|
|
|
|
|
To configure Composer:
|
|
|
|


Copyright © 2016 Zend Technologies


