Task Tags Preferences
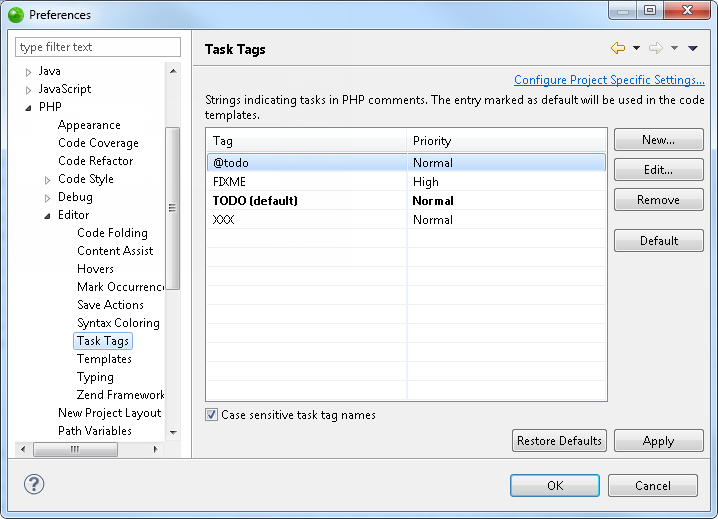
The Task Tags preferences page allows you to add new task tags and edit existing ones. Tasks are used as reminders of actions, work to do or any other action required by the programmer. Task tags are strings used by Zend Studio to recognize when tasks are added in your script. Anything after these strings inside a comment will be recognized as a task.
See the
Note:
Additional user guides can be accessed from inside Zend Studio by going to Help | Help Contents, or from the Eclipse Online Documentation site (http://help.eclipse.org/helios/index.jsp).
The Task Tags Preferences page is accessed from Window | Preferences | PHP | Editor | Task Tags .

Task Tags preferences page
The Four Common Strings Included in the List by Default
Adding a New Task Tag
|
|
|
|
|
To add a new Task Tag:
|
|
The new tag will be added to the list and will trigger a task when inserted in the editor. |
|
Editing a Tag
|
|
|
|
|
To edit a tag:
|
|
|
|
Selecting a tag and clicking Default will set the task tag as the default one to be used in Code templates. See the Templates Preferences topic for more on template preferences.
Note:
If the 'case sensitive task tag names' checkbox is marked, task tag names will be case sensitive.
Applying Task Tags Settings to a Specific Project
|
|
|
|
|
To apply Task Tags settings to a specific project only:
|
|
|
|

