User Guide > Tasks > Working with Deployment > Enabling Deployment Support for Your Application

Enabling Deployment Support for Your Application

This procedure describes how to enable Zend Deployment Support. Enabling Zend Deployment Support creates the deployment.xml file that allows you to manage and define the deployment of your application.


Zend Studio gives users two options to enable Deployment Support:

Enabling Deployment Support while Creating a Project


Instructions on how to complete a procedure

To enable Deployment Support while creating a project:

  1. Open a New Project Wizard.

  2. In the PHP Server field, select a valid server for deployment from the drop-down menu, or click Add Server to add a new server. For information on adding new servers, see Adding PHP Servers

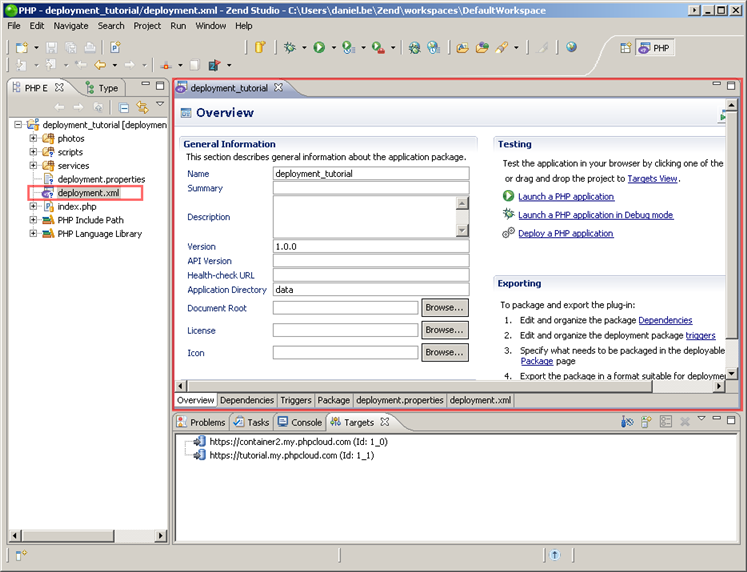
After completing the remainder of the wizard, your new project will appear in the PHP Explorer View with the deployment.xml file. This file holds all the deployment settings and definitions.

For more information on how to work with the deployment.xml file, see Creating the Deployment XML.

For more information on how to deploy the application, see Deploying an Application.
Enabling Deployment for an Existing Project


Instructions on how to complete a procedure

To enable Deployment Support for an existing project:

  1. In the PHP Explorer, select the project you wish to enable deployment for.

  2. Right-click and select Deployment | Add Application Deployment Support.

Your new project will appear in the PHP Explorer View with the deployment.xml file. This file holds all the deployment settings and definitions.

For more information on how to work with the deployment.xml file, see Creating the Deployment XML.

For more information on how to deploy the application, see Deploying an Application.


Read Also

  Deploying an Application    
  Working with Deployment