This topic describes how to install a new Zend Server plugin.
A new plugin could be a plugin included in the Zend Server Plugin Gallery or a custom plugin you developed.
Deploying a Gallery Plugin
This procedure describes how to install a new plugin from the Zend Server Plugin Gallery.
|

|
To deploy a plugin from the gallery:
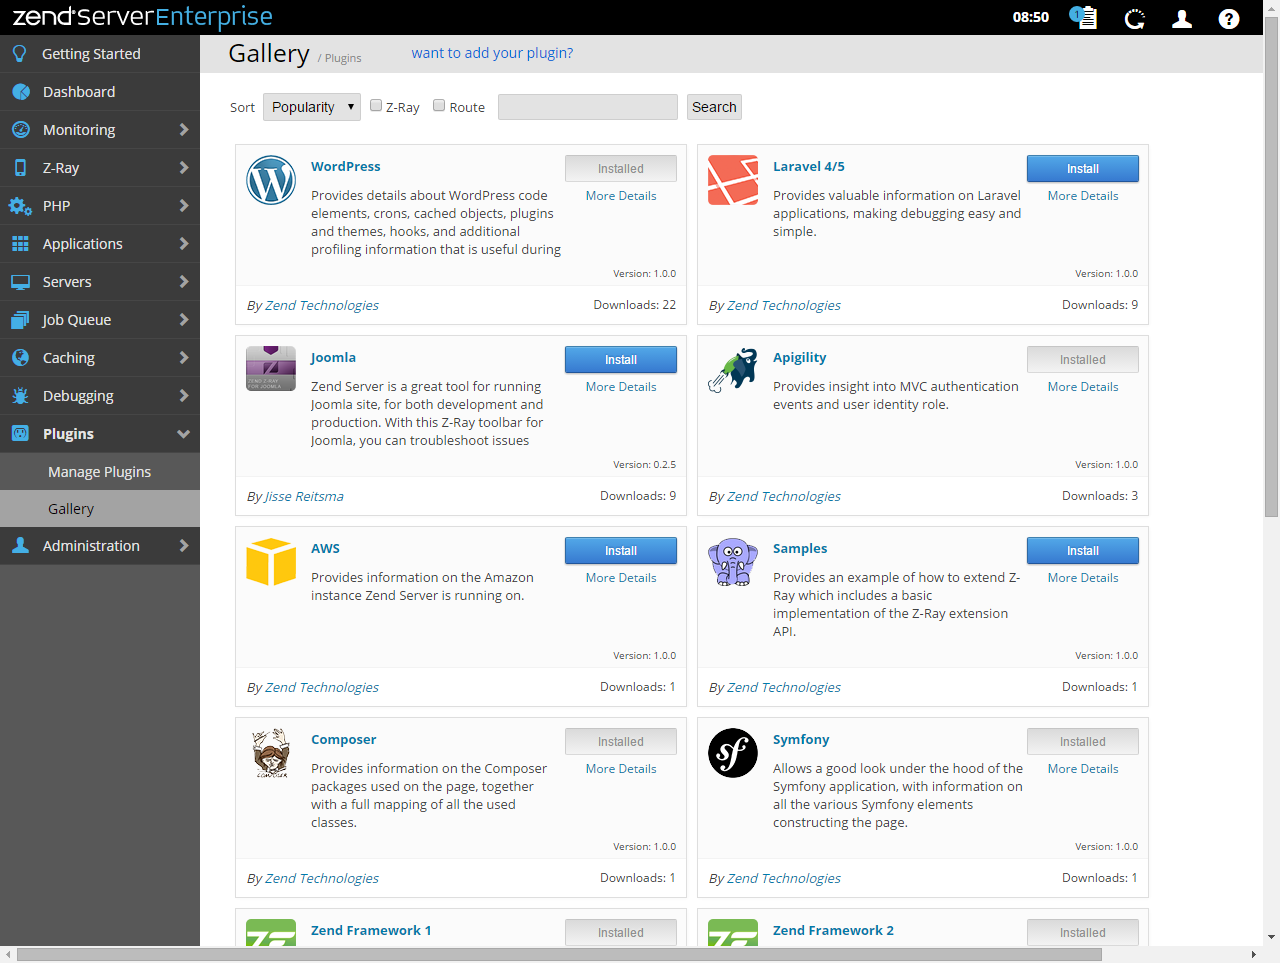
- In the Zend Server UI, go to the Plugins | Gallery page.
- Browse the available plugins, and locate the plugin you wish to install. You can use the filters and search functions at the top of the page to filter the plugins list.
- Once located, click
 . .
This button will only be available for plugins that have not been installed already.
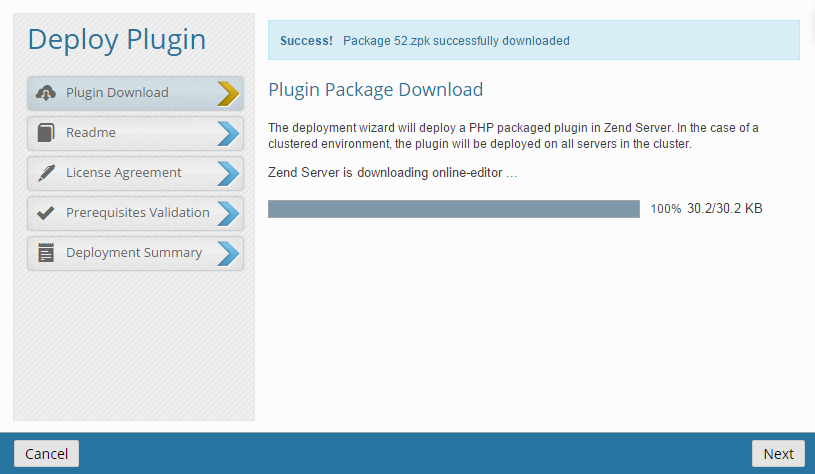
The Deploy Plugin wizard is displayed, and Zend Server downloads the plugin.
- After Zend Server finished to downland the plugin, a success message is displayed at the top of the wizard.
Click Next.
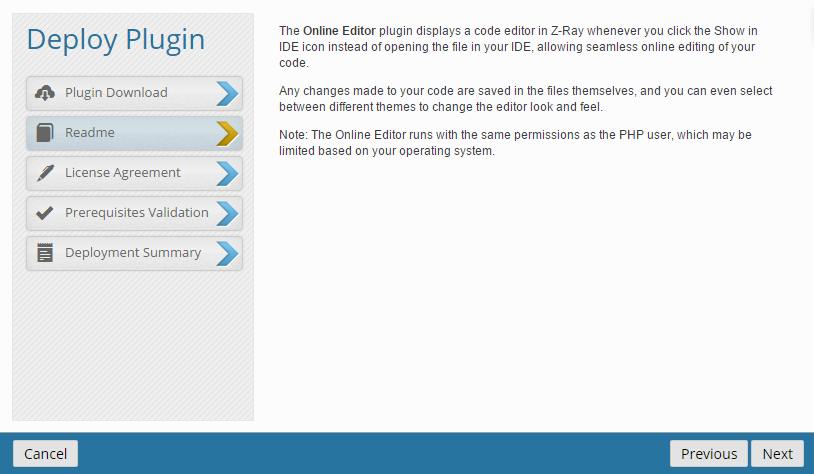
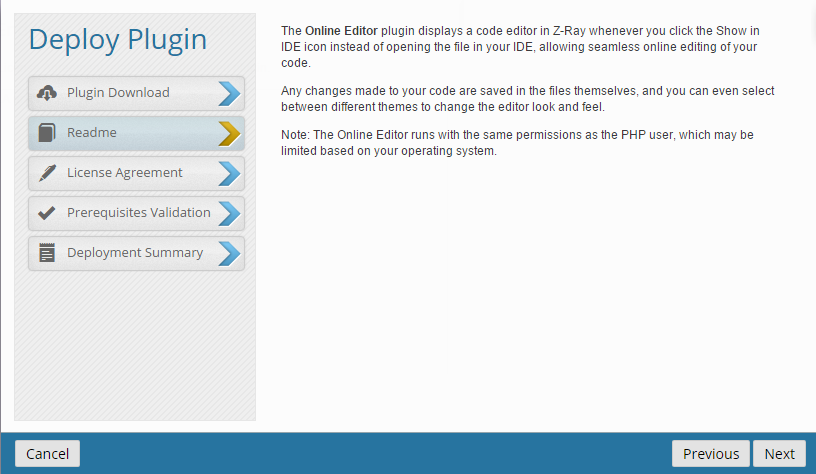
The Readme dialog is displayed. The uploaded plugin package determines which of the wizard dialogs are enabled. Deployment steps that were not defined in the descriptor file will be ignored by the wizard.
- Click Next.
The License Agreement dialog is displayed.
- Read and accept the license agreement, and click Next.
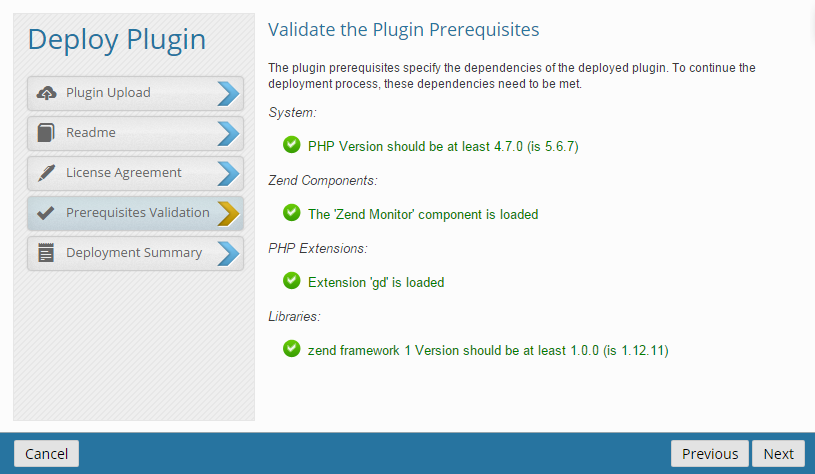
The Prerequisites Validation dialog is displayed.
- This dialog displays the parameters you specified as needing
validation in your descriptor file.
If your system does not qualify, an error message is displayed at the top of the dialog and the prerequisites in question appear in red. Click the link to open Zend Server in another tab in your browser, and then click Refresh after amending the specific dependencies.
If all the parameters
have been validated click Next.
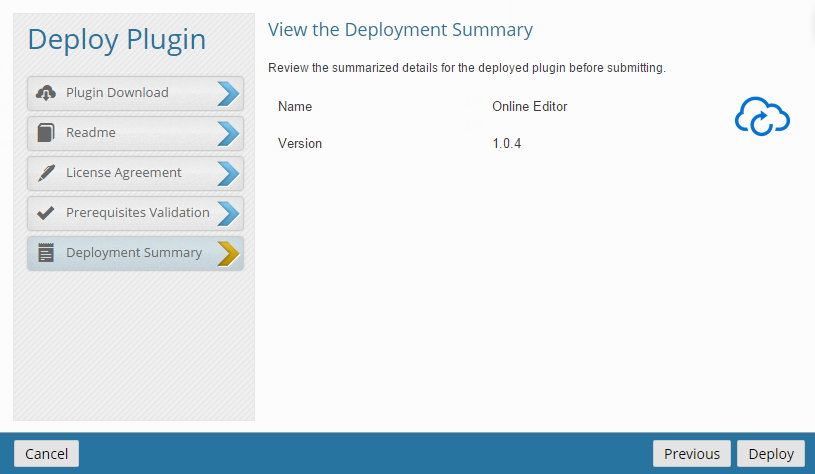
The Deployment Summary dialog is displayed.
- The Deployment Summary dialog displays the details of the plugin to be deployed and a summary of the parameters
you have defined for the plugin.
To change anything
on this page, click Previous
and change it on the dialog it appears.
Otherwise, click Deploy to deploy your plugin.
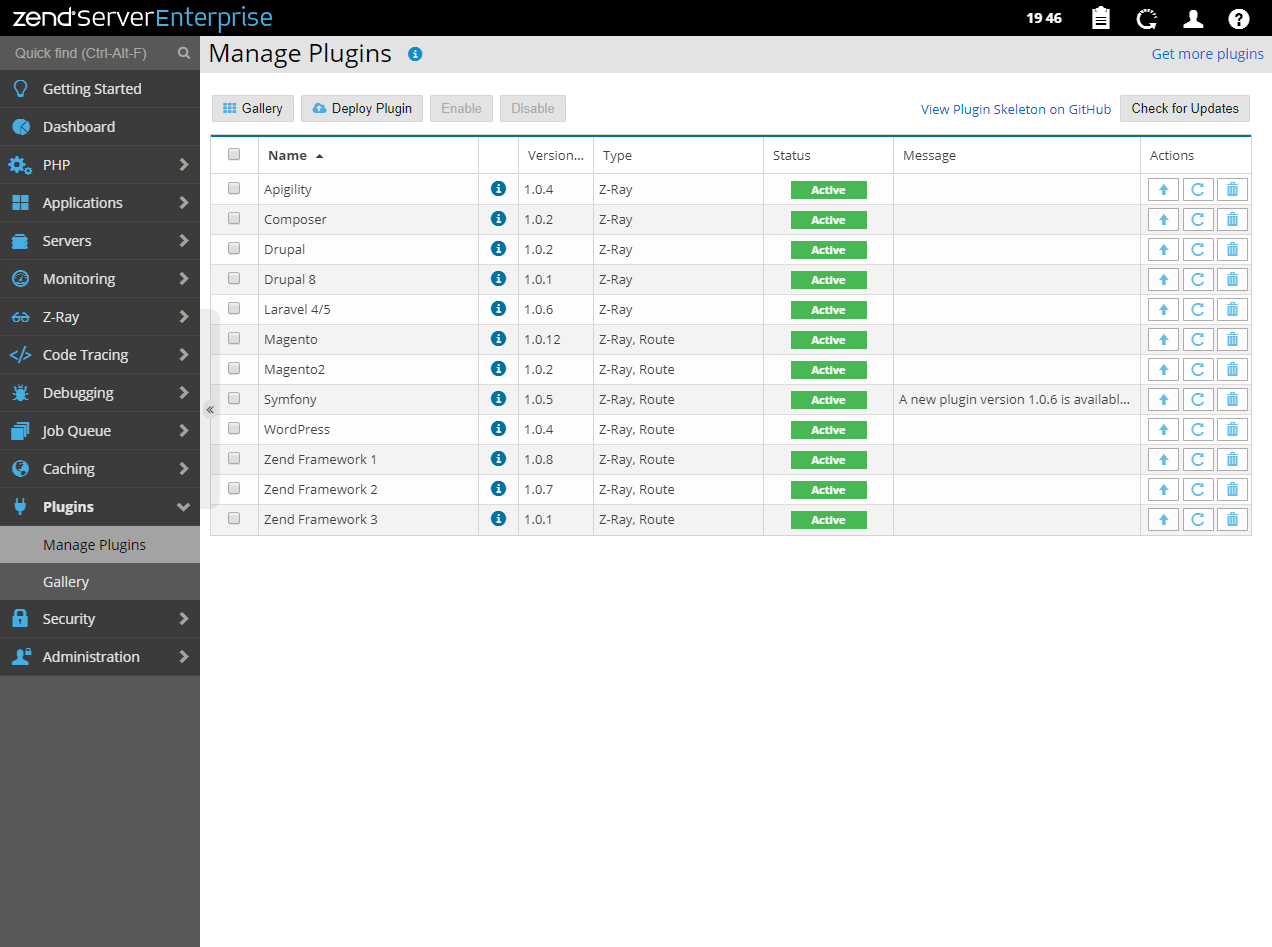
Your plugin is deployed and added to the Plugins list on the Plugins page.
|
| |
Zend Server will notify you if a new version of the plugin is available. See Updating a Plugin for more information. |
Deploying a Custom Plugin
This procedure describes how to deploy a custom plugin .zip file.
|

|
To deploy a custom plugin:
- In the Zend Server UI, go to the Plugins | Manage Plugins page.
- In the Action bar, click
 . .
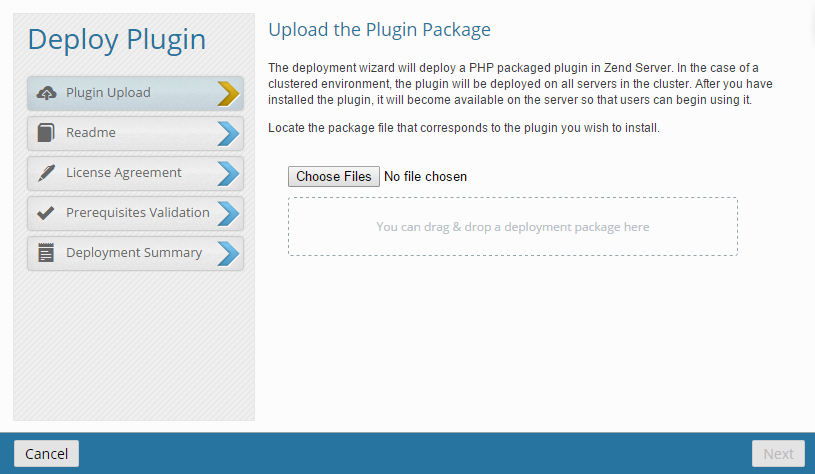
The Deploy Plugin wizard is displayed.
- Drag and drop your plugin .zip file on the designated spot in the dialog, or click Browse to locate it on your file system.
Zend Server downloads the plugin.
- After Zend Server finished to downland the plugin, a success message is displayed at the top of the wizard.
Click Next.
The Readme dialog is displayed. The uploaded plugin package determines which of the wizard dialogs are enabled. Deployment steps that were not defined in the descriptor file will be ignored by the wizard.
- Click Next.
The License Agreement dialog is displayed.
- Read and accept the license agreement, and click Next.
The Prerequisites Validation dialog is displayed.
- This dialog displays the parameters you specified as needing
validation in your descriptor file.
If your system does not qualify, an error message is displayed at the top of the dialog and the prerequisites in question appear in red. Click the link to open Zend Server in another tab in your browser, and then click Refresh after amending the specific dependencies.
If all the parameters
have been validated click Next.
The Deployment Summary dialog is displayed.
- The Deployment Summary dialog displays the details of the plugin to be deployed and a summary of the parameters
you have defined for the plugin.
To change anything
on this page, click Previous
and change it on the dialog it appears.
Otherwise, click Deploy to deploy your plugin.
Your plugin is deployed and added to the Plugins list on the Plugins page.
|
| |
Zend Server will notify you if a new version of the plugin is available. See Updating a Plugin for more information. |
 .
. 
 .
.