Setting Up Zend Server
This section will take you through the steps for quickly setting up a single Zend Server from the AWS Marketplace.
Prerequisites
To follow the procedures in this section, you will need:
-
An active Amazon AWS account. If you have not yet created an account, click here.
- EC2 Key Pair to enable SSH access to your server. For information on obtaining a Key Pair, click here.
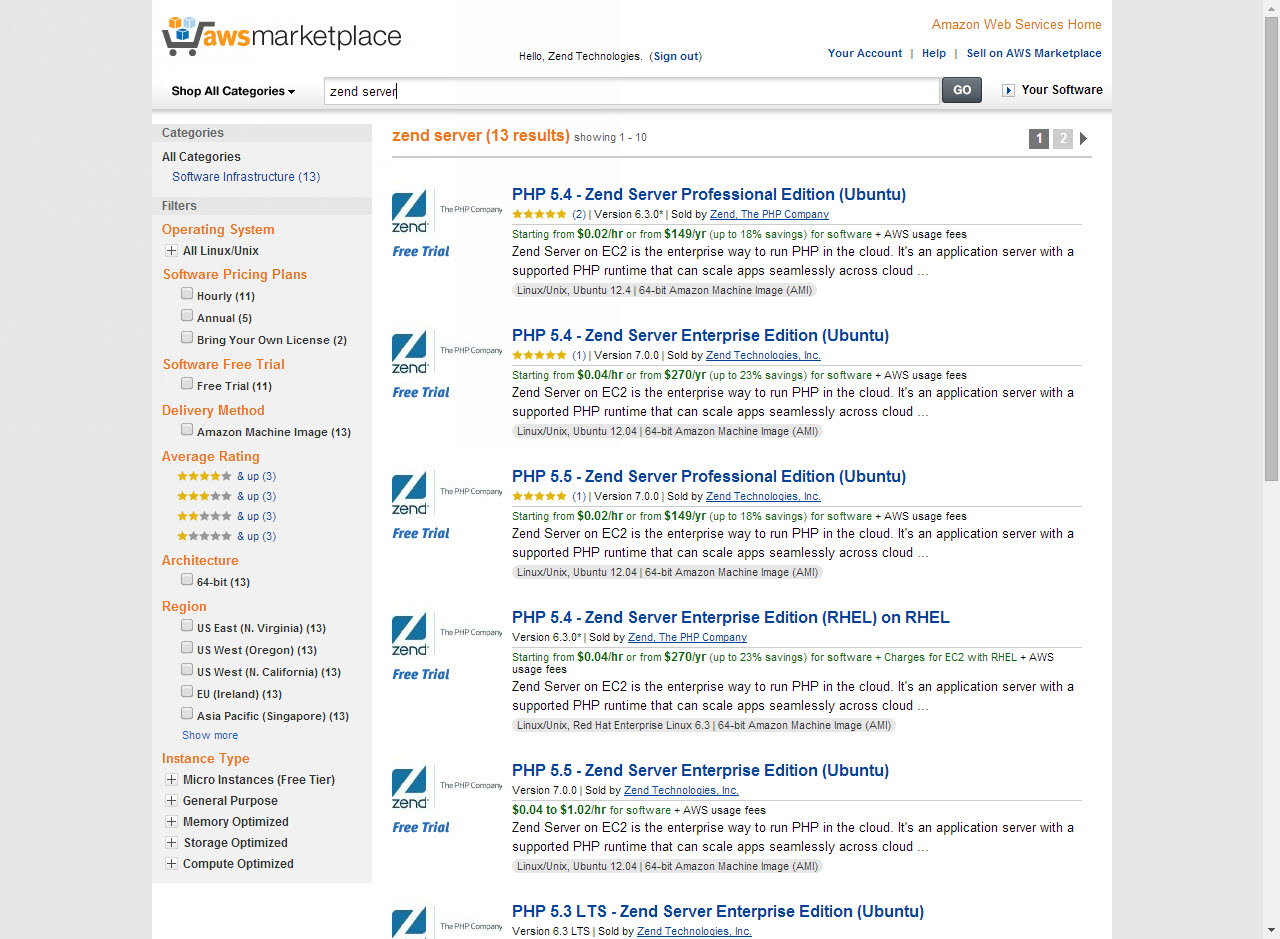
Step 1: Configuring and Deploying your Zend Server Instance
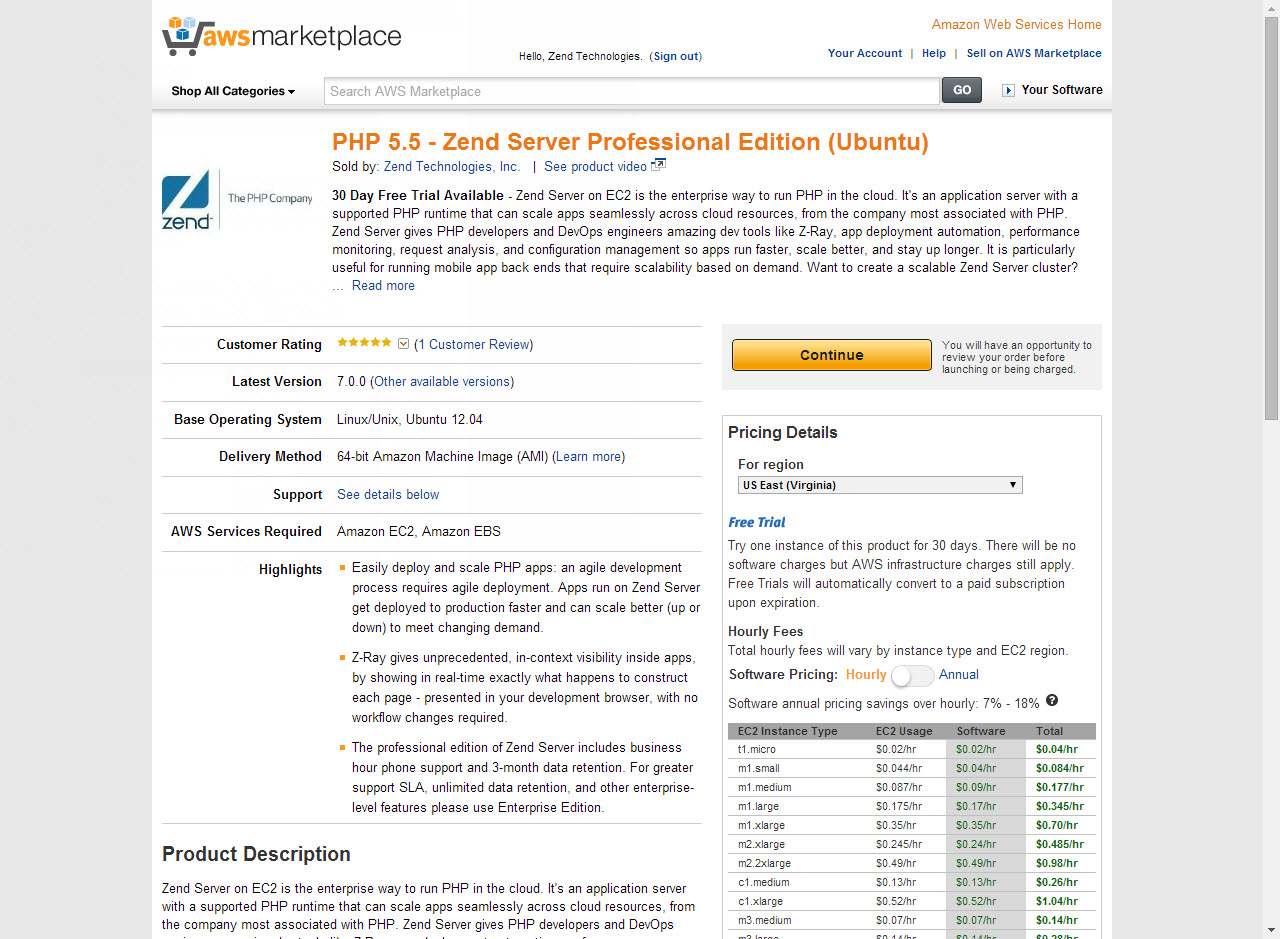
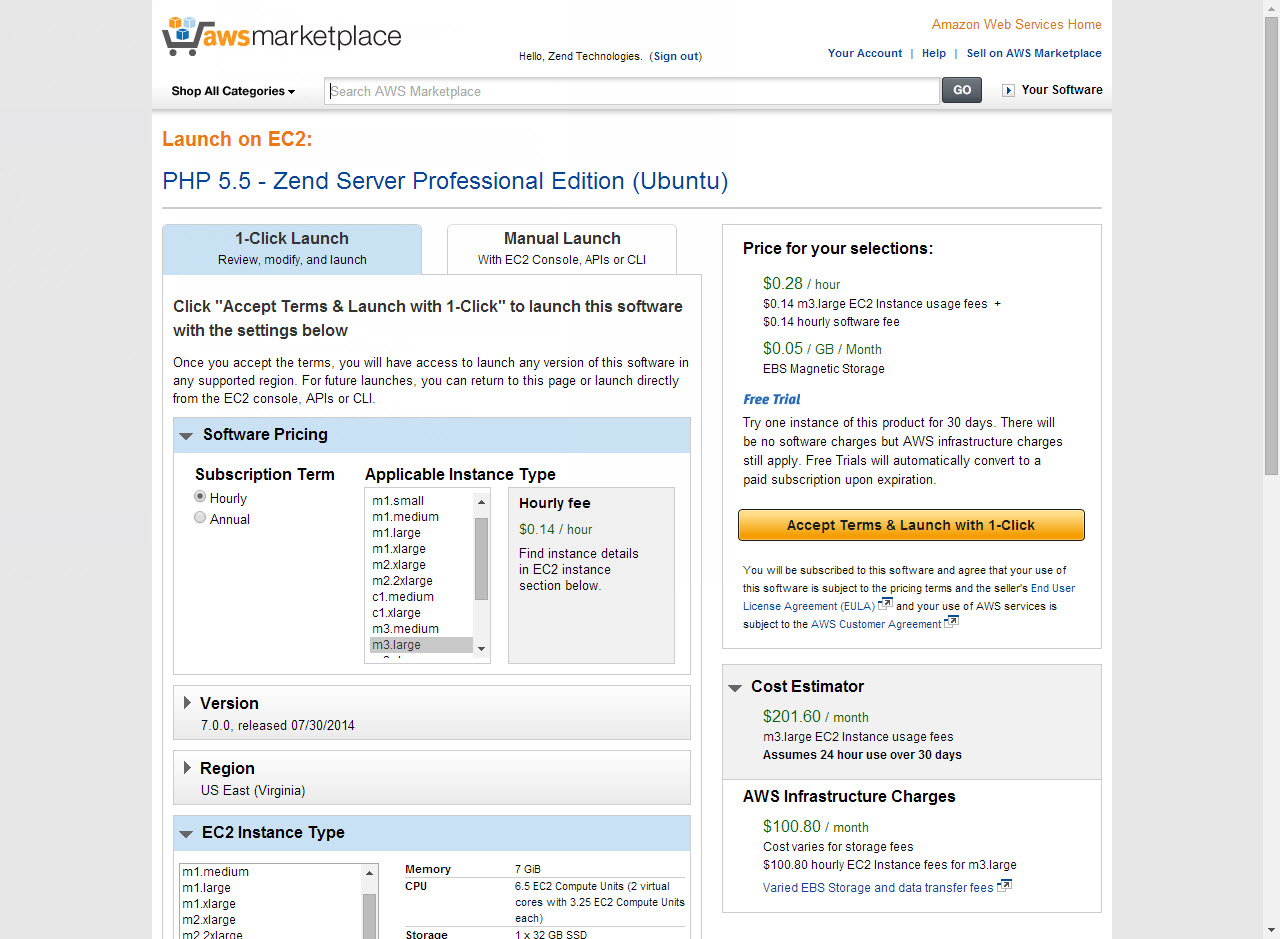
The first step is to select which type of Zend Server AMI (Amazon Machine Image) you wish to launch, and configure it to best suit your personal preferences.
|
|
To select your Zend Server AMI:
|
|
|
What next? See Step 2 below to launch and access Zend Server. |
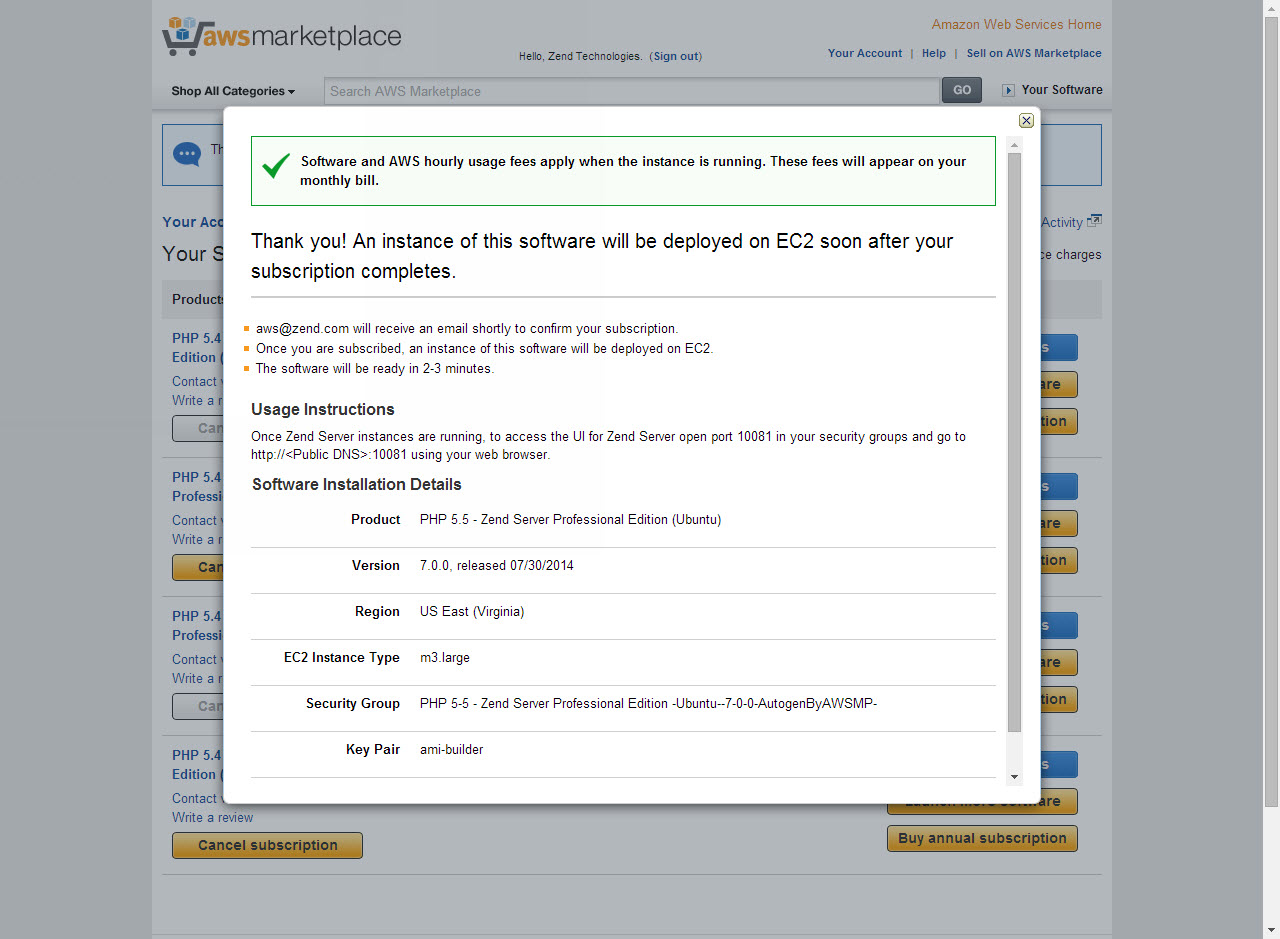
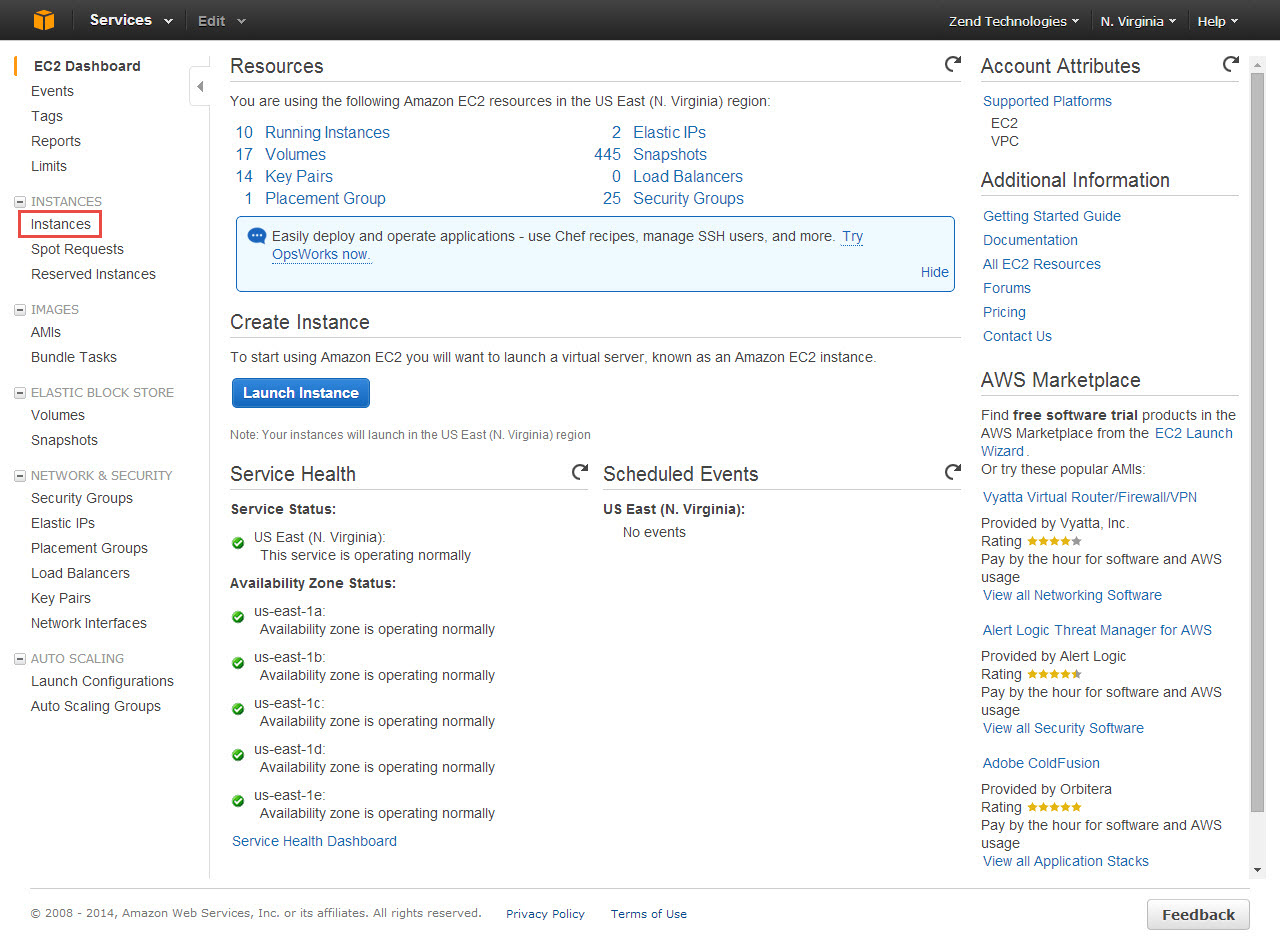
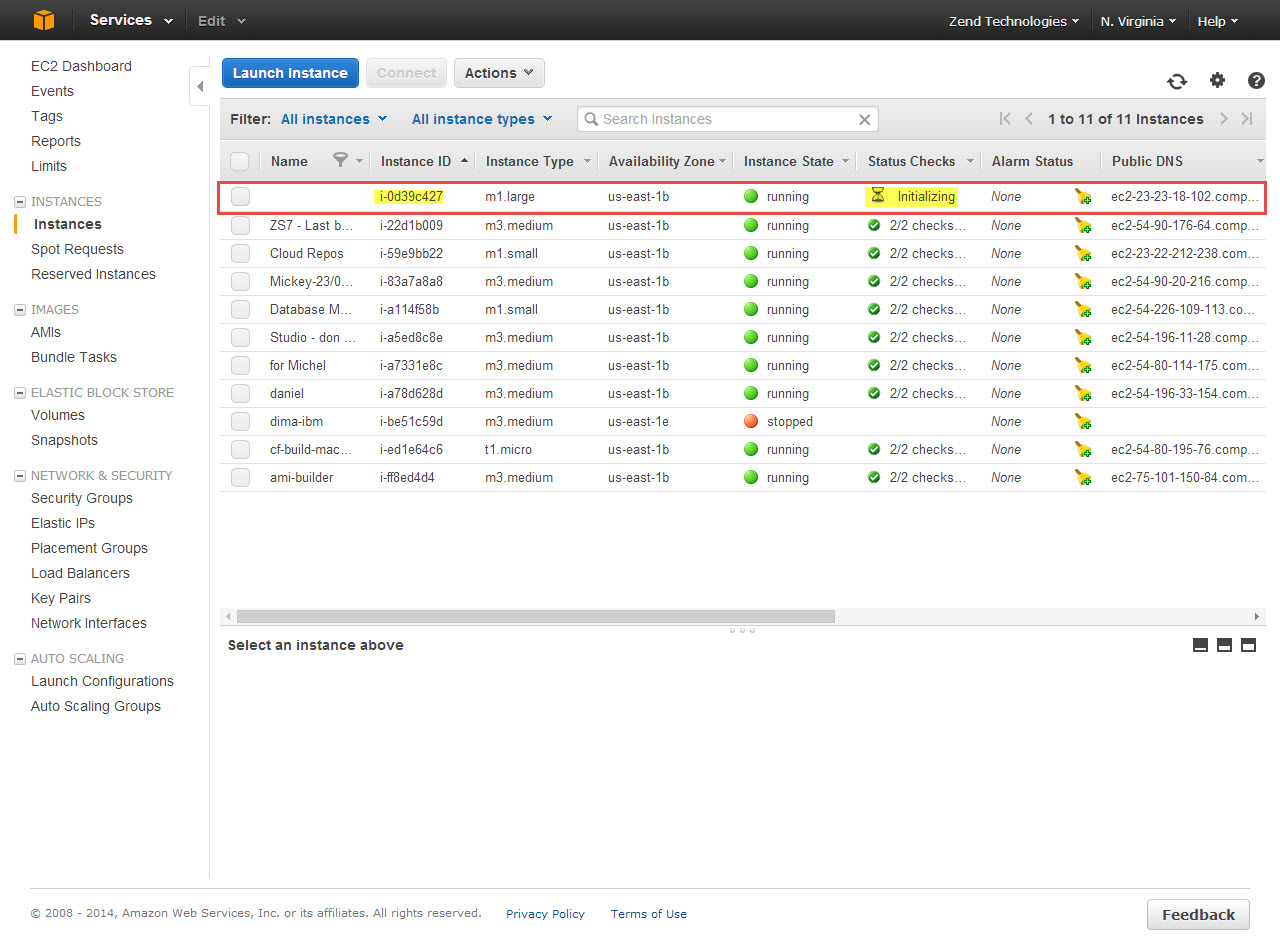
Step 2: Accessing Zend Server
The next step is to view the Zend Server instance in the EC2 Management Console, and launch the Zend Server User Interface.
|
|
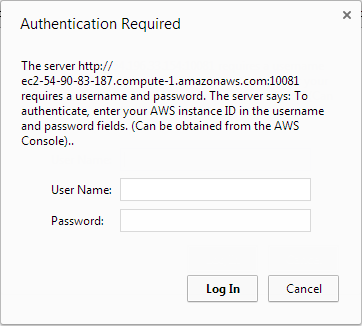
To launch Zend Server:
|
|
|
You have successfully deployed and launched a single Zend Server on AWS. To remove the Zend Server instance, right-click it in the Instances list and select Instance State | Terminate. Please note, that once terminated, your Zend Server instance cannot be recovered.
|
What's Next?
So you’ve got Zend Server up and running. What’s your next step? This section will introduce a few basic workflows that you can perform directly from the User Interface and that will help you set up your production environment in no time.
Configure your PHP and System Settings
Want to set an mailing account for sending notifications from Zend Server? In the Zend Server UI, go to the Administration | Settings page, and configure the mail settings.
Want to change a directive for a PHP extension? In the Zend Server UI, go to the PHP | Extensions page, locate the extension you are looking for using the Search box at the top of the page, and change the value for the directive you wish to change.
Deploy an Application
Got an application you want to deploy and monitor using Zend Server? Once you have the application packaged into a .zpk file, go to the Applications | Manage Apps page in the UI, and click Deploy Application in the Action bar.
For detailed instructions on preparing the application package, and deploying it on Zend Server, see Working with Applications.
Set Up a Cluster
Want to scale up your environment by creating a cluster? Go to the Servers | Manage Servers page in the UI, and click Join Cluster in the Action bar.
For detailed instructions on joining a cluster from the Zend Server UI, see Joining a Cluster.
For detailed instructions on setting up a cluster using CloudFormation, see Setting Up a Zend Server Cluster on AWS Using CloudFormation.