![]()
To Uninstall Zend Studio on Windows:
-
Go to the Start menu on your computer and select the Control Panel.
-
In the Control Panel select Add or Remove Programs.
A list of all programs appears. -
Choose Zend Studio and click one of the following two options:
-
Remove – This will remove Zend Studio from your computer.
-
Change – This allows you to change your current installation of Zend Studio. After clicking Change, follow the directions below.
-
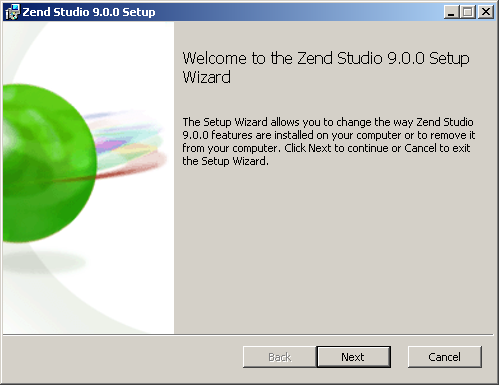
The Zend Studio Setup Wizard opens.

-
Click Next.
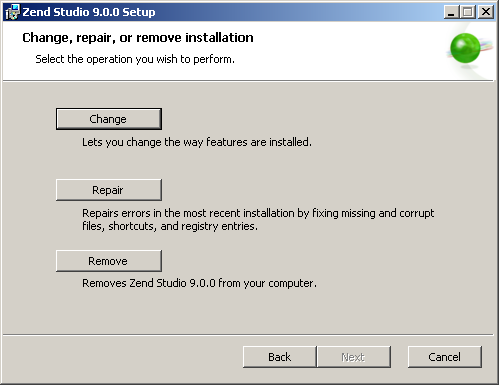
The Change, repair, or remove installation screen opens.

-
From this screen you can choose from the following options:
-
Change – Lets you change the way features, such as the Zend Firefox Toolbar / Zend Internet Explorer Toolbar, are installed.
-
Repair – Repairs the current installation of Zend Studio.
-
Remove – Uninstalls and removes Zend Studio from your computer.

