![]()
To setup SSH tunneling for a remote server:
- In the menu-bar, select Window
| Show View | PHP Servers.
The PHP Servers view is displayed.

- Double-click the server you wish to configure SSH Tunneling for, or click the Edit icon
 .
.
The Edit Server dialog is displayed. - Select the SSH Tunneling tab.
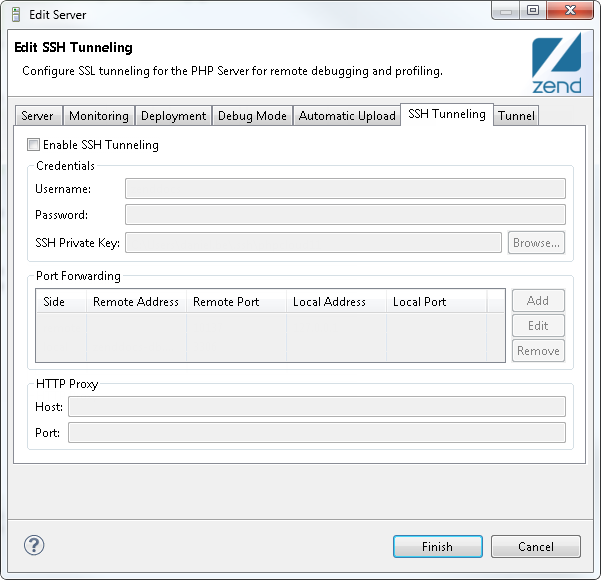
- Verify the Enable Tunneling check-box is selected.
- Enter the following details:
- Username - SSH connection user name.
- Password - SSH connection password.
- SSH Private Key - SSH connection private key. Click Browse to locate the key.
- Port Forwarding - Click Add to add a new port forwarding configuration for remote debugging/profiling. Click here for more general information on port forwarding.
- HTTP Proxy:
- Host - Proxy server.
- Port - Proxy port.
- Click Finish.
SSH Tunneling settings are saved for the server and SSH tunneling is enabled.
Note:
Once configured, an SSH tunneling connection will be established automatically for any debugging session. It can also be manually enabled or disabled from the PHP Servers view.
