<HTML>
<BODY>
<H1>Debug Demo</H1>
<table border="1" width="700">
<tr bgcolor="red">
<th>Name</th>
<th>Address</th>
<th>Phone</th>
</tr>
<?php
$db = array(
array ("John", "E 10th St., NYC, NY 23742", "(212) 555-4456"),
array ("Francois", "12 Bd. de Grenelle, Paris, 74897","(33) 433-544"),
array ("Klaus", "312 Beethoven St., Frankfurt, Germany", "(44) 332-8065"),
array ("Shirly", "72 Independence St., Tel Aviv, Israel 67283", "(972) 156-7777"),
array ("Bill", "127 Maine St., San Francisco, CA 90298", "(415) 555-6565")
);
/**
@return string
@param i int
@desc Returns 'white' for even numbers and 'yellow' for odd numbers
*/
function row_color($i)
{
$bgcolor1 = "white";
$bgcolor2 = "yellow";
if ( ($i % 2) == 0 ) {
return $bgcolor1;
} else {
return $bgcolor2;
}
}
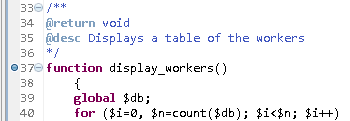
/**
@return void
@desc Displays a table of the workers
*/
function display_workers()
{
global $db;
for ($i=0 ; $i < count($db); $i++) {
$worker_data = $db[$i];
$worker_name = $worker_data[0];
$worker_address = $worker_data[1];
$worker_phone = $worker_data[2];
print "<tr bgcolor=\"".row_color($i)."\">\n";
print "<td>$worker_name</td>\n";
print "<td>$worker_address</td>\n";
print "<td>$worker_phone</td>\n";
print "</tr>\n";
}
}
display_workers();
echo $undefined_variable;
?>
</table>
</BODY>
</HTML>
