![]()
To import an OpenShift project into your workspace:
- Go to File | New |
Project.
-OR-
In the PHP Explorer View, right-click and select New | Project. - From the Wizards list, select PHP | PHP Project from OpenShift.
The Create Project from OpenShift wizard is displayed.
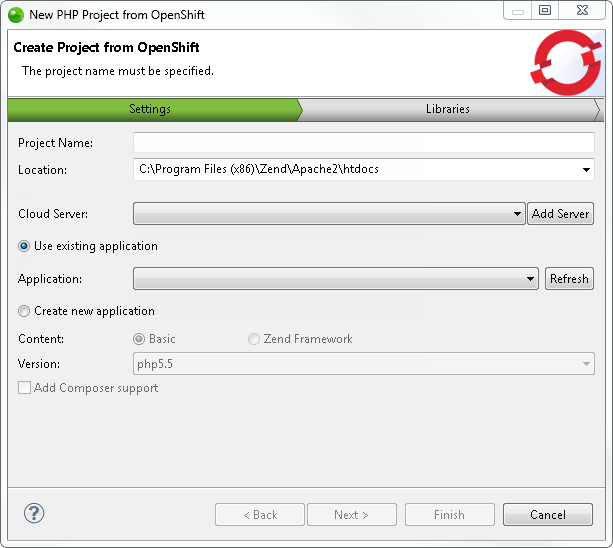
- Enter the following information:
- Project Name: Enter the name of your new project.
- Location: Enter the location folder for your new project.
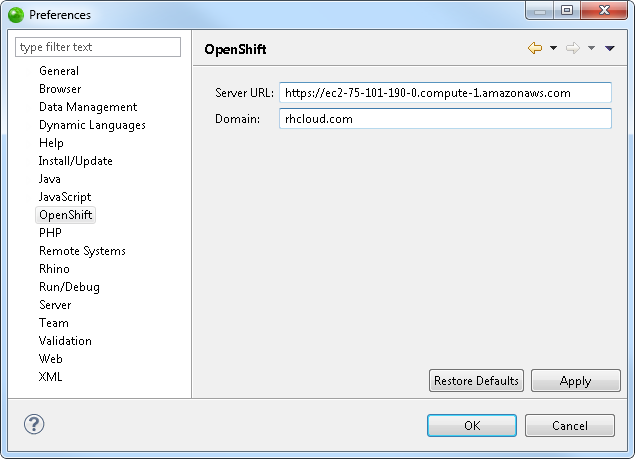
- Cloud Server: Select an existing OpenShift server from the drop-down menu, or click Add Server to add a new one. For information on adding PHP servers, see Managing PHP Servers.
- Use existing application - Select this option to select from the list of existing applications on OpenShift. Click Refresh to refresh the list after selecting the OpenShift server.
- Create new application - Select this option if you wish to create a new application on OpenShift and in Zend Studio:
- Select the application content type (Basic, Zend Framework)
- Select the PHP version if Basic was selected.
- Add Composer support - select this check-box to add Composer support to the new project.
-
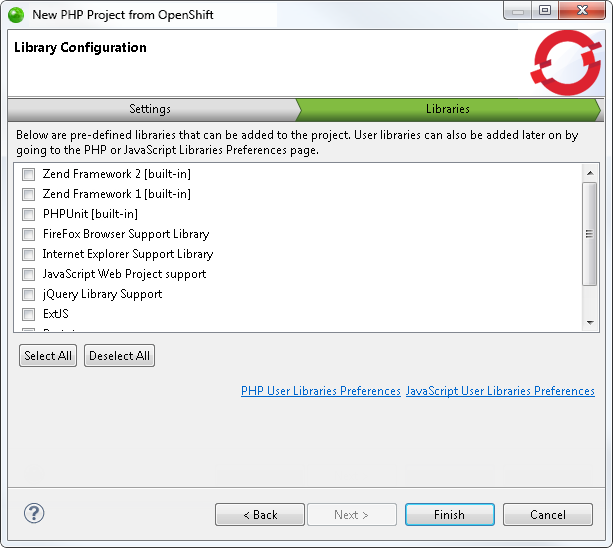
Select the libraries you wish to add to the project, and click Finish.
Note:
If not already installed, selecting to install jQuery Library Support, ExtJS and Prototype will prompt a restart of Zend Studio.
The new project is created in your workspace and displayed in the PHP Explorer View.