![]()
To import an OpenShift project into your workspace:
- Go to File | New |
Project.
-OR-
In the PHP Explorer View, right-click and select New | Project. - From the Wizards list, select PHP | PHP Project from OpenShift.
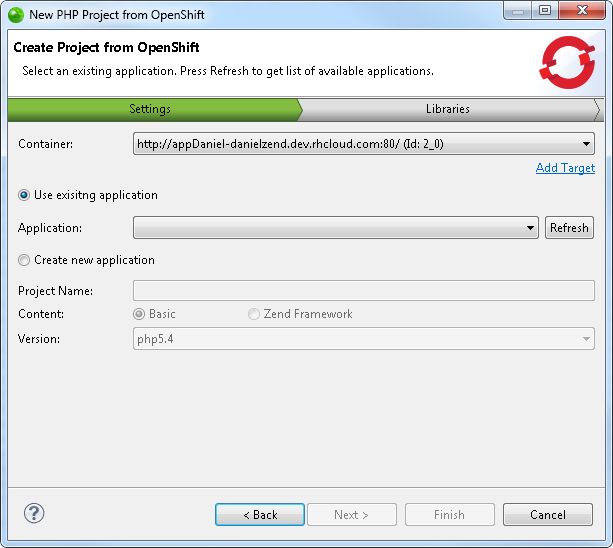
The Create Project from OpenShift wizard is displayed.
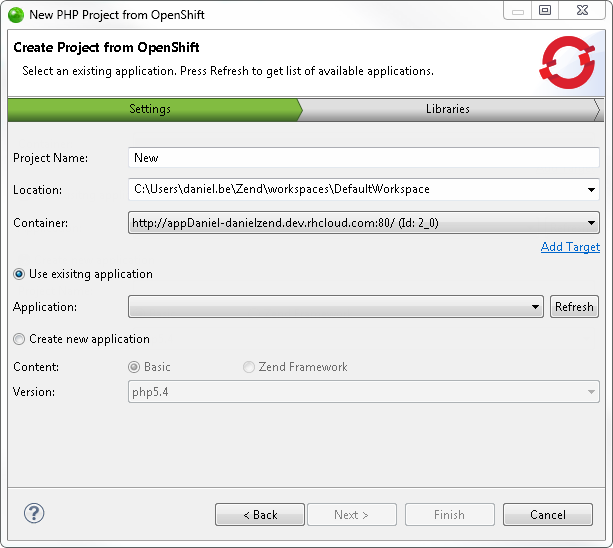
- In the Project Name field, name your new project.
- In the Location field, select a location for the new project.
- If you already have a defined OpenShift target, it will appear in the Container field. Skip to Step 10.
- If not, click Add Target to add a new OpenShift target.
The Add Target dialog is displayed.
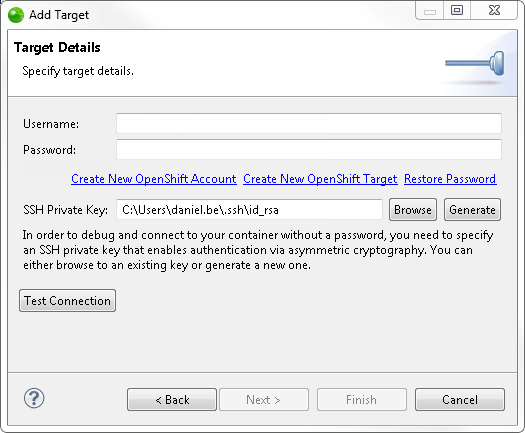
- Enter your OpenShift account credentials:
-
Username: Your OpenShift account username.
-
Password: Your OpenShift account password.
-
SSH Private Key: Your OpenShift SSH Keypair.
- Click Test Connection.
Zend Studio validates the existing targets on your OpenShift account. If Zend Server has not been initialized for any of your Zend Server 5.6 cartridges, the OpenShift Target Initialization dialog is displayed.
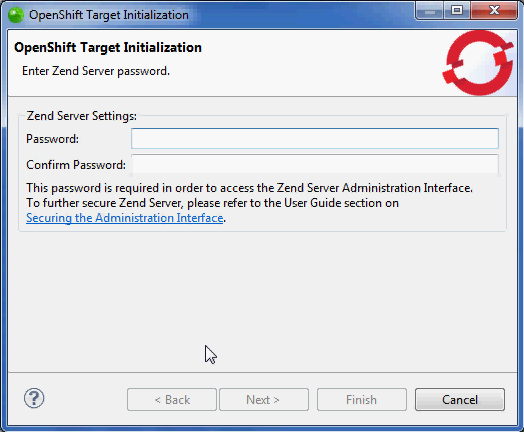
-
Enter a Zend Server password. The password is required to access the Zend Server user interface.
- Click Next.
The Zend Server EULA is displayed.
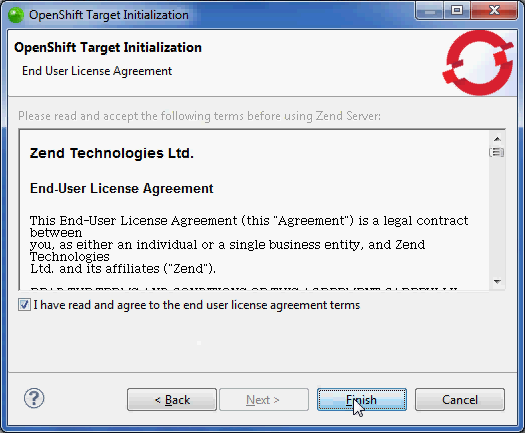
- Read and accept the EULA, and click Finish.
Zend Studio will initialize the Zend Server 5.6 cartridge in your OpenShift account.
- Back in the Target Details dialog, and if no further problems arise with connecting to the target, click Finish. For information on possible problems, and the steps to solve them, see Possible Problems when Testing the Connection.
The Create Project from OpenShift wizard is displayed again, and the newly defined target will appear in the Container drop-down menu.
- Select Use existing application.
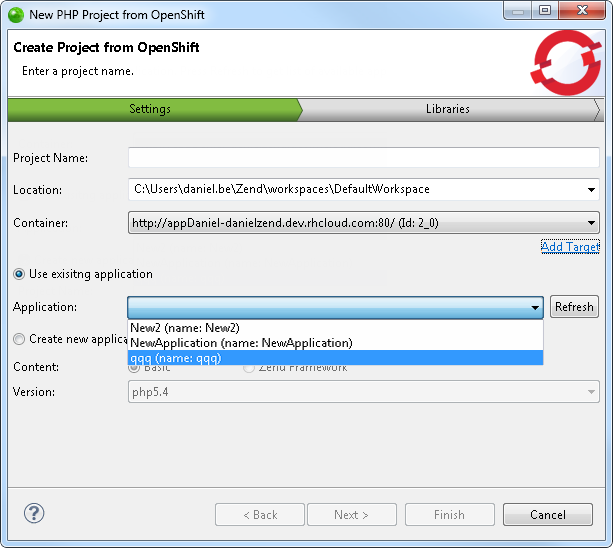
- In the Application field, click the drop-down menu, and select the application you wish to import. Click Refresh to refresh the applications list.
-
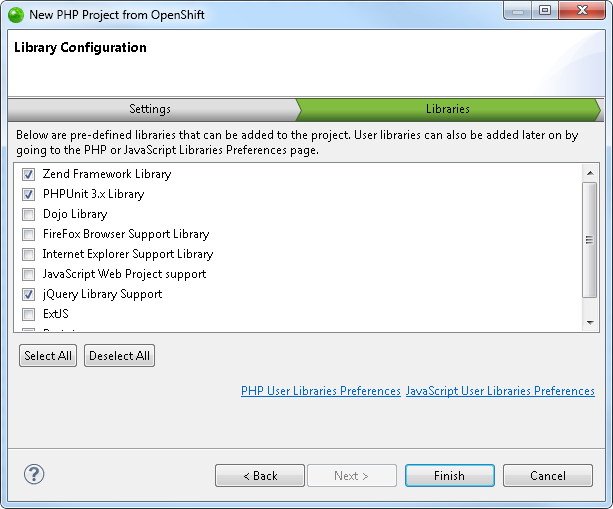
Select the libraries you wish to add to the project, and click Finish.
Note:
If not already installed, selecting to install jQuery Library Support, ExtJS and Prototype will prompt a restart of Zend Studio.
The new project is created in your workspace and displayed in the PHP Explorer View.