Installing and Configuring phpMyAdmin

This topic explains how to install and configure phpMyAdmin on Zend Server.

Note:

phpMyAdmin is a free software tool written in PHP, intended to handle the administration of MySQL over the Web. This tool is not supported by Zend.

Deploying phpMyAdmin

This procedure describes how to download and deploy the phpMyAdmin application package on Zend Server.

Note:

Currently, deployment of phpMyAdmin on Zend Server can only be performed on Apache and nginx servers.

Instructions on how to complete a procedure

To install phpMyAdmin:

  1. In the Zend Server UI, go to the Getting Started page.
  1. In the Deploy Sample Apps section, click the phpMyAdmin icon.
    The Deploy Application wizard is displayed, and Zend Server begins downloading the application package.
  1. After the application package is successfully downloaded, click Next.
    The Readme dialog is displayed.
  1. Click Next.
    The Application Details dialog displays.
  1. Enter the following information:
    • Display Name - The name that Zend Server will display for this application.
    • Virtual Host - This field automatically displays the default server that is defined on the Administration | Settings page. If you have not yet defined a default server, the default virtual host on your server will be used. You can add a new virtual host by clicking Add New.
    • Path - The second part of your base URL, which can only be a directory. As you type, Zend Server offers path suggestions, and updates the URL below.
      Specifying a file will cause the application to deploy with errors. Leaving this field empty will deploy the application on the virtual host's root.

Note:

The base URL (or root URL) is the URL where the application is available after it has been deployed. The base URL is unique and cannot be shared between two applications, and each application is required to have a base URL. Using a pseudo URL is also acceptable.  

When finished, click Next.

The License Agreement dialog displays.

  1. Read and accept the end user license agreement, and click Next.
    The Prerequisites Validation dialog is displayed.
  1. If the parameters have been validated, skip to step 9.
    If your system does not qualify, an error message is displayed at the top of the dialog and the prerequisite in question appears in red:
    1. Click the adjacent link to open Zend Server in another tab in your browser.
    2. Go to the PHP | Extensions page.
    3. Locate and select the extensions that need to be enabled, and in the Action bar, click .
    4. Return to the Deploy Application wizard, and click .
  2. Click Next.

The User Parameters dialog displays.

  1. Configure HTTP basic authentication on Apache for securing access to phpMyAdmin (or skip to step 11):
    1. Select the Use HTTP (Apache) Basic Authentication check-box.
    2. In the HTTP (Apache) Authentication Login field, enter a login username (default: DBadmin).
    3. In the HTTP (Apache) Authentication Password field, enter a password.

    Note:

    HTTP basic authentication for Apache servers should not be used in conjunction with phpMyadmin's built-in HTTP Authentication.

  2. Enter your MySQL database IP, port and access credentials, and click Next.
    The Deployment Summary dialog opens.
  1. Click to deploy your application.
    Your application is deployed and added to the Applications list on the Applications | Manage Apps page.
  1. To access phpMyAdmin, select the newly deployed application from the Applications list, and click the App URL in the expanded view.

Note:

If you selected to add HTTP basic authentication in step 10 above, you will be required to enter your credentials to access phpMyAdmin.


Configuring phpMyAdmin

Once deployed, phpMyAdmin should be configured to best suit your system requirements and personal preferences.

From the User Interface

Use the supplied setup script:

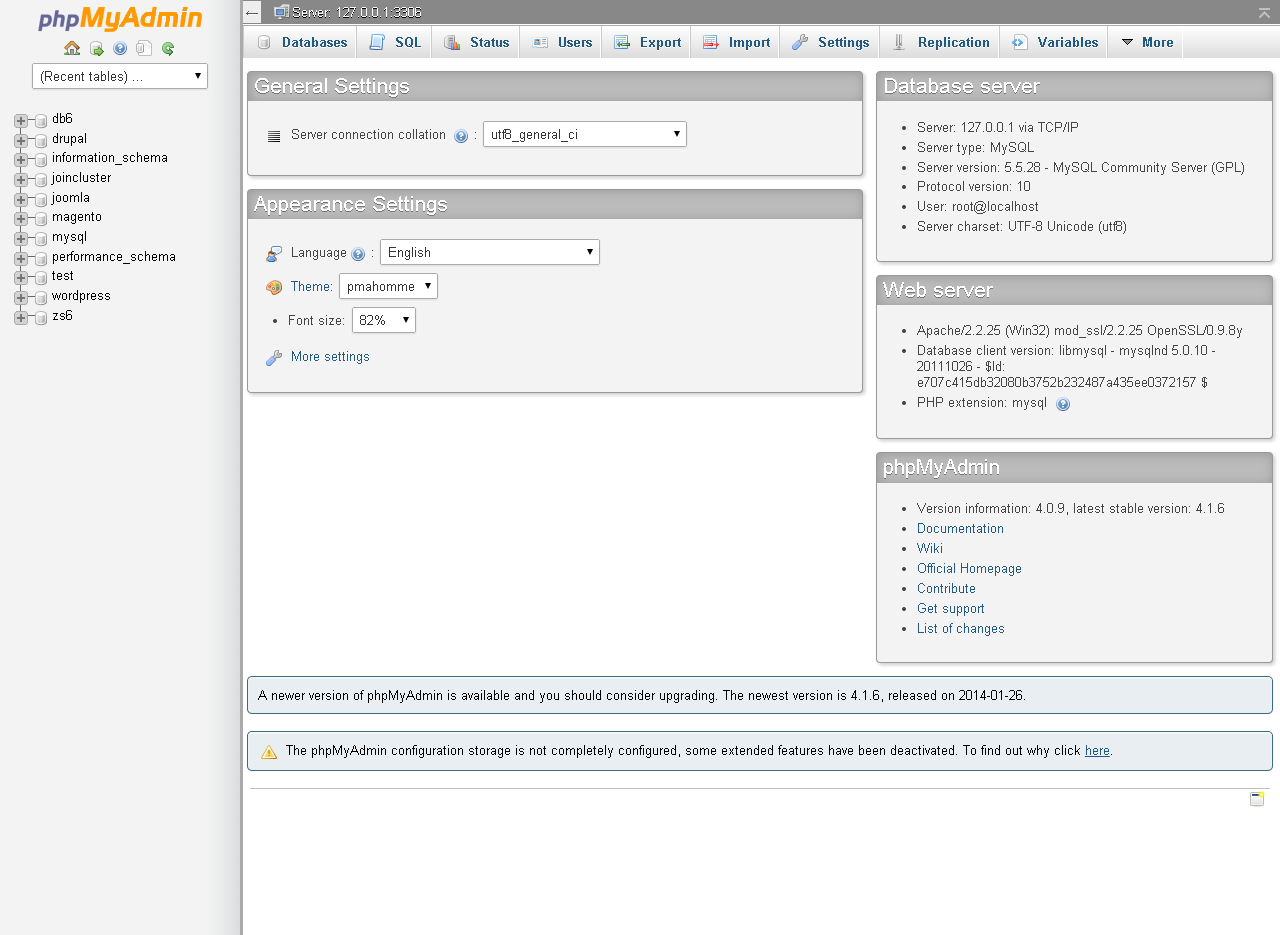
  • In phpMyAdmin, select the Settings tab, and under More settings, click Setup script.

-OR-

  • In your browser, go to:
    http://<server>/phpmyadmin/setup/index.php

From the File System

Access the application's 'config.inc.php' file, at:

  • /usr/local/zend/var/apps/http/<deployed application path>/config.inc.php

Tip:

To better understand your configuration options, take a look at the 'config.sample.inc.php' file at the same location, or refer to phpMyAdmin documentation at http://docs.phpmyadmin.net/en/latest/config.html.