You are currently viewing Zend Server 5.x documentation. Click here to view the latest Zend Server online documentation.
You are here: Zend Server Installation Guide > Registering Zend Server

Registering Zend Server Community Edition


After installing your version of Zend Server Community Edition, complete the Setup wizard to begin working.

Setup Wizard


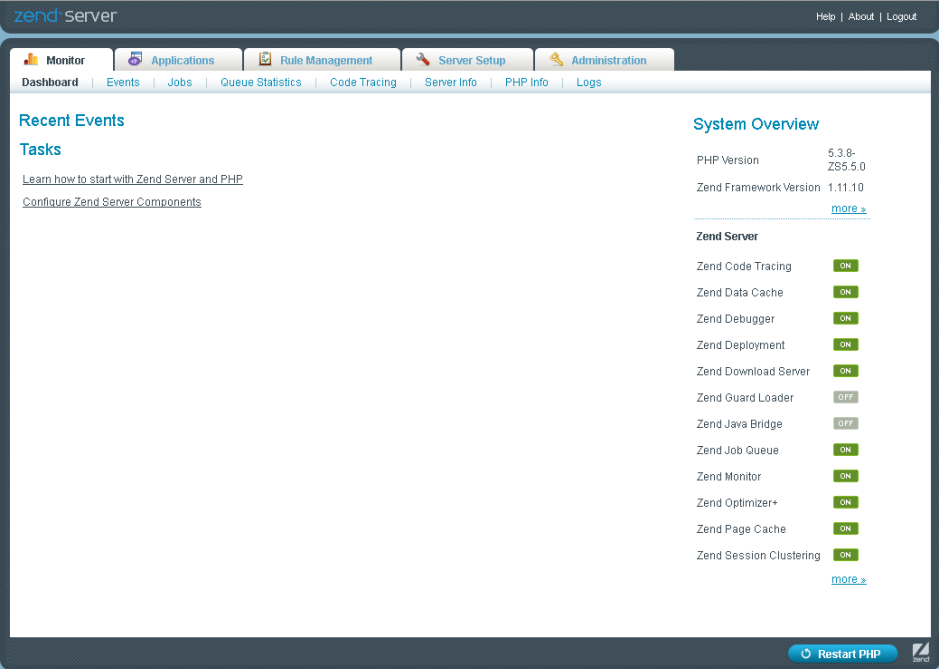
To setup Zend Server Community Edition:

  1. The first time Zend Server Community Edition runs after installation, the Setup Wizard is displayed.

  1. Read and accept the agreement on the License Agreement page, and click Next.
    The Set Password page is displayed.

  1. Enter a password for Zend Server Community Edition.
    Your password is used to log in to the Administration Interface, either from the main login page accessed from your browser or from the Zend Controller. Passwords must be between 4 - 20 characters long and can be changed at a later stage from within the product. For more information, see Password Management.

Note:

If you are using the Zend Controller locally or remotely (i.e., Zend Server Community Edition and Zend Controller are located on separate machines), make sure that the Zend Controller settings match your Zend Server settings. Click here for instructions on how to change your Zend Controller settings according to your operating system.

  1. Click Next.
    The Notification Registration page appears.

  1. Mark the check box below, and enter an Email address to receive Zend Server Community Edition updates.

Note:

If you wish to try the advanced features that Zend Server Community Edition offers, click the link on the 'Welcome to Zend Server Community Edition' banner to go to the Zend Server Community Edition Download page and download an Evaluation license. For more information on upgrading to Zend Server Community Edition, see Upgrading.

  1. Click Finish to complete the Wizard..
    Zend Server Community Edition runs with the Administration Interface Dashboard displayed.

To get started with Zend Server Community Edition, see Working with Zend Server.

Upgrading from Zend Server Community Edition to Zend Server

Some features are not available for users of the Zend Server Community Edition. You have the option to enable all features by upgrading to Zend Server Community Edition from within the product.


To upgrade to Zend Server:

  1. Go to the Zend Server Community Edition Download page to receive a valid license.

  2. In your product, go to Administration | License and Password.

  1. In the Activate Zend Server Features area, enter your license details as follows:

    • Order number- Enter your license number/name

    • License Key- Enter your license key

  2. Click to apply new licensing details.
    The progress indicator is displayed indicating that the validation of the license details is taking place.

  1. Zend Server reloads the Administration Interface with all Zend Server features enabled.

To get started with the newly available Zend Server features, see Getting Started and Working with Zend Server.

Note:

For more information on registering Zend Server and license expiration, see Registering Zend Server


Related Links

Related Links:

Password Management

Support

License and Password


© 1999-2013 Zend Technologies, Ltd. All rights reserved.