![]()
To setup Zend Debugger tunneling for a remote server:
- In the menu-bar, select Window
| Show View | PHP Servers.
The PHP Servers view is displayed.

- Double-click the remote server you wish to configure a Zend Debugger tunnel for, or click the Edit icon
 .
.
The Edit Server dialog is displayed. - Select the Tunneling tab.
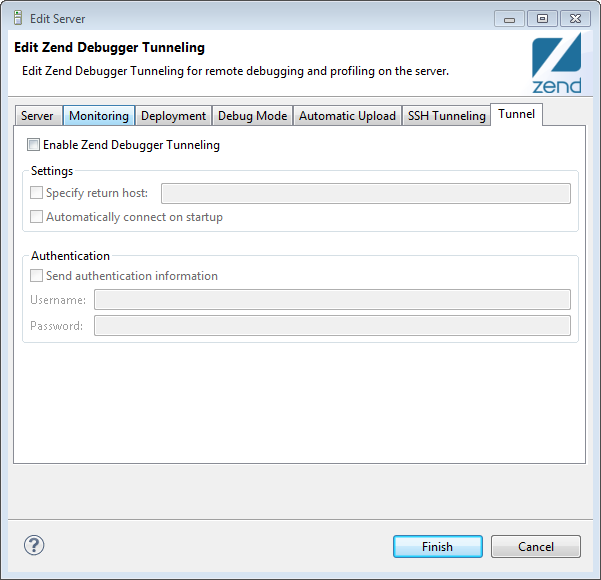
- Select the Enable Zend Debugger Tunneling check-box, and configure the following settings:
- Specify return host - In some system configurations, a dedicated tunneling server is used which allows debug connectivity between Zend Studio and the server which is being debugged. In this case, select the check-box, and enter the IP address of the tunneling server to which the tunneling connection will be opened.
- Authentication - If your Web server requires HTTP authentication, enter your User Name and Password in the Authentication category. Zend Studio sends the authentication information in the header.
-
If your Web server requires HTTP authentication, enter your username and password in the designated fields. Zend Studio sends the authentication information in the header.
- Click Finish.
- In the toolbar, click arrow
next to the Tunneling icon on the toolbar
 and select the server which you configured for tunneling.

The tunneling
icon will turn green to show that a tunneling server
is connected: ![]() .
.
