User Guide > Tasks > Working with Plugins > Working with Amazon > Setting Up Your Zend Server Amazon EC2 Instance > Setting Your Environment as An Allowed Host on Your Zend Server Amazon EC2 Instance

Setting Your Environment as An Allowed Host on Your Zend Server Amazon EC2 Instance

Setting your environment as an allowed host on your Zend Server Amazon EC2 Instance allows Zend Studio’s debugger to communicate with your Zend Server. This allows you to debug your PHP application as a PHP web page on your Amazon EC2 Instance directly from your Zend Studio GUI.  

Before setting your environment as an allowed host on your Zend Server, you must launch your Zend Server Amazon EC2 Instance.


Instructions on how to complete a procedure

To configure your Zend Server AMI settings:

  1. In your Zend Server GUI, go to Configurations | Studio Integration.
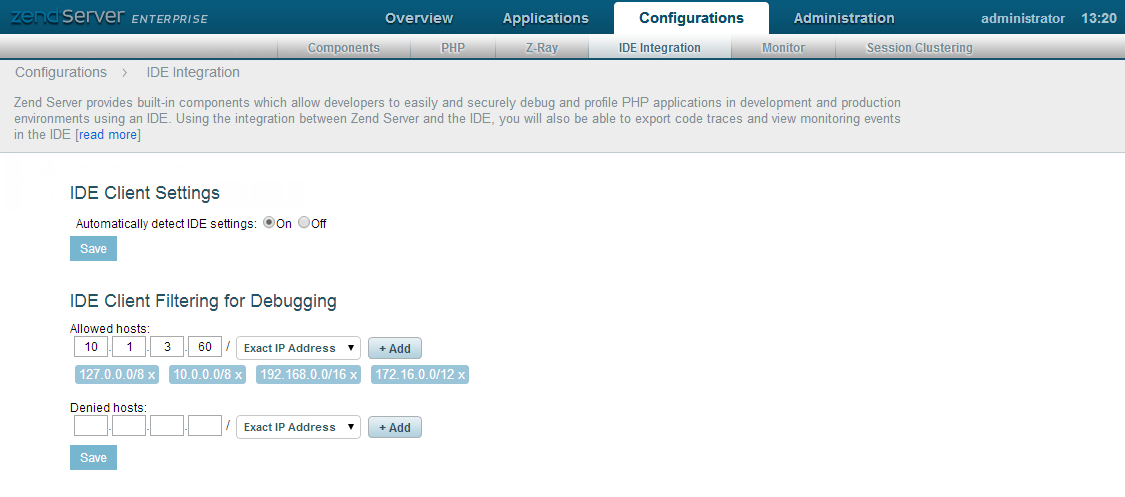
  1. In the Allowed Zend Studio Client Filtering for Debugging section, enter your machine’s public IP and click Add.

Note:

To find out your machine's public IP, go to http://www.whatsmyip.org/.  

  1. Restart your PHP by clicking the restart icon in the Zend Server GUI.
    Your Zend Server AMI is now configured as an allowed host.

For more information on the Zend Server GUI see the Zend Server Online Documentation.

You can now set up your Amazon EC2 Instance in Zend Studio.


Related Links

Related Links:

Enabling/Disabling Tunneling for Your Zend Server Amazon EC2 Instance

Amazon AWS Toolkit for Zend Studio

Prerequisites

Setting Up Your Zend Server Amazon EC2 Instance

Working with Amazon AWS Toolkit for Zend Studio


Read Also

  Amazon    
  Setting Up Your Zend Server Amazon EC2 Instance