User Guide > Tasks > Working with Composer

Working with Composer

This topic describes how to work with Composer in Zend Studio.

Adding Composer Support when Creating a New Project

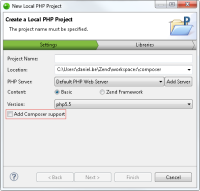
Composer support can be added when you create a new PHP project directly from the various New Project Wizards.


Instructions on how to complete a procedure

To add Composer support during project creation:

  1. In the menu-bar, select File |  New, and then select the project type.
    A New Project wizard is displayed, with configuration options varying in accordance with the type of project you selected.

  1. Select the Add Composer support check-box at the bottom of the dialog.
  2. Complete the wizard steps, and click Finish.
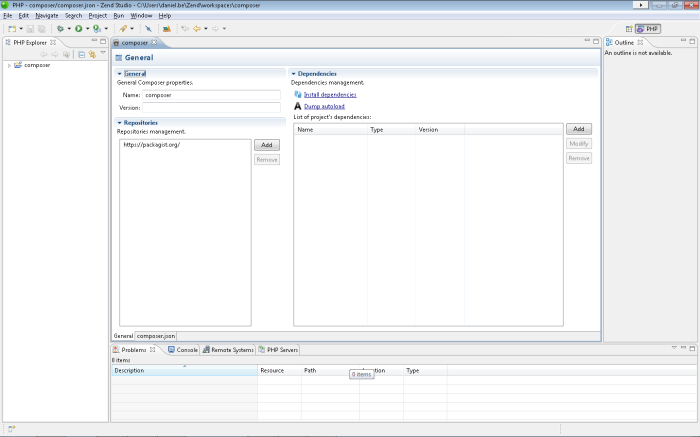
    The new project is created and is displayed in the PHP Explorer.
    The Composer editor is opened in the PHP Editor.


You can now install library dependencies in your project. See Adding and Installing Dependencies below for more information.

Adding Composer Support to an Existing Project

Composer support is added per PHP project. This procedure describes how to add Composer support to a project.


Instructions on how to complete a procedure

To add Composer support:

In the PHP Explorer, right-click your PHP project and select Composer | Add Composer Support.

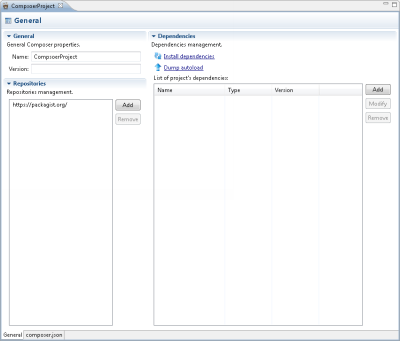
Zend Studio adds Composer support to your PHP project, and displays the Composer editor.

You can now install library dependencies in your project. See Adding and Installing Dependencies below for more information.

Adding and Installing Dependencies

This procedure explains how to add and install library dependencies in your PHP project.


Instructions on how to complete a procedure

To add and install a dependency:

  1. In the PHP Explorer, select the 'composer.json' file (displayed automatically after adding Composer support).

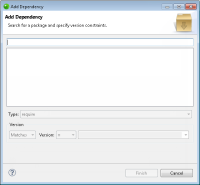
  1. In the Dependencies area, click Add.
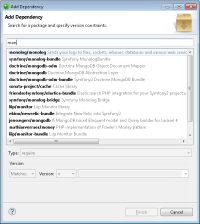
    The Add Dependency dialog is displayed.

  1. Begin entering the name of the package.
    Zend Studio searches for packages and displays a list of the available corresponding packages.

  1. Select a package from the list.
    The package details are retrieved.
  2. Click the Type drop-down menu, and select a dependency type (default - require).
  3. Define the version rule for the dependency (e.g., Matches, >=1.2.0).
  4. Click Finish.
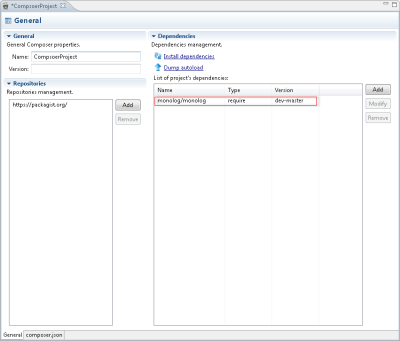
    The dependency is added to the list of project dependencies in the Composer editor.

  1. Save your project.
  2. To install the dependency, click Install dependencies.
    Composer installs the library package. You can view the progress of the installation in the Console view.
  3. To configure a dependency, select it from the list of project dependencies, and click Modify. To delete it, click Remove.

Note:

Once your first dependency is installed, you can update the packages by clicking Update dependencies. This action will also install any other dependencies you may have added.

Tip:

If your class map has changed, click Dump autoload to update autoloads in your files without updating/installing packages.

Configuring Composer

This procedure describes how to configure preferences for the Composer.


Instructions on how to complete a procedure

To configure Composer:

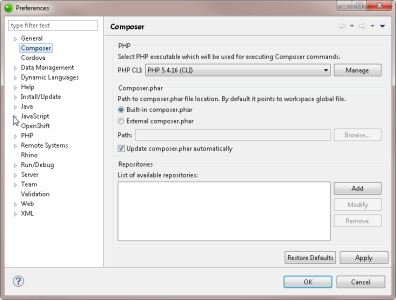
  1. In the menu-bar, go to Window | Preferences | Composer.
    The Composer preferences page is displayed.

  1. Click the PHP drop-down menu to select a PHP executable to use when executing Composer commands. Click Manage to add an executable.

  2. In the Composer.phar section, define the path to the 'composer.phar' file.
  3. Manage the Composer repositories containing library packages:
    1. Click Add to define a new repository.
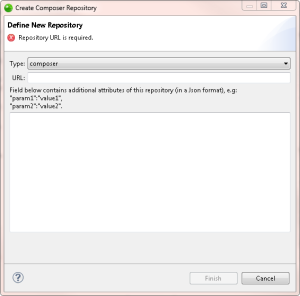
      The Define New Repository dialog is displayed.

    1. Select the repository type.
    2. Enter the repository URL.
    3. Add additional attributes for this repository in JSON format.
    4. Click Finish.
  1. Click Apply to save changes, and OK to exit Preferences.


Read Also

  Composer