![]()
To install Zend Studio on Mac OS X:
-
The Installer screen will open.

-
Drag the Zend Studio icon into the Applications folder.
-
To launch Zend Studio, open the Applications folder and double-click the icon.
The Zend Studio Trial screen opens.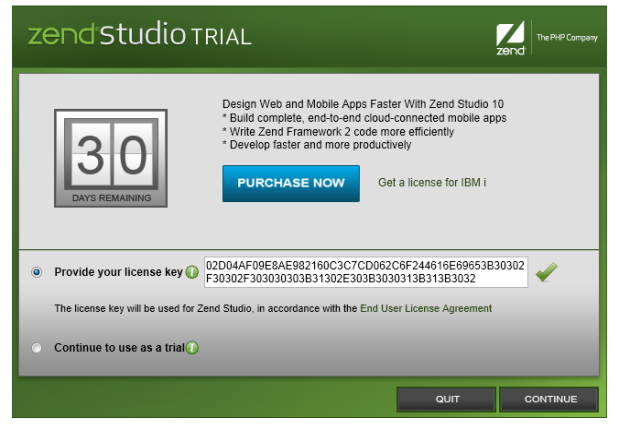
-
Select Provide your license key, and enter the key in the adjacent field. If you do not have a license, click Purchase Now to go to the Zend Studio product page. If you would like to use Zend Studio with a Trial license, select Continue to use as trial.
- Click Continue.
The Add-Ons screen opens.

-
To install the Zend Firefox Toolbar select the ‘Zend Firefox Toolbar’ checkbox.
The Zend Firefox Toolbar allows you to debug pages and applications directly from your Firefox browser (Zend Studio must be installed for the toolbar to be active). This is an optional feature in the installation. For more information see the Zend Browser Toolbar topic. -
Click Finish to save all changes and begin using Zend Studio.
Zend Studio launches with the Welcome screen open.
The Welcome screen is a compilation of resources and information to help users of all different experience levels get started with Zend Studio. You can exit the screen by clicking the close icon in the corner tab. To return to the Welcome page at any time, go to Help | Welcome.

Zend Studio's Welcome page contains a list of plugins that can be added and removed according to your personal preferences. For more information, see Customizing and Registering Zend Studio.
