![]()
To create a new local PHP project:
-
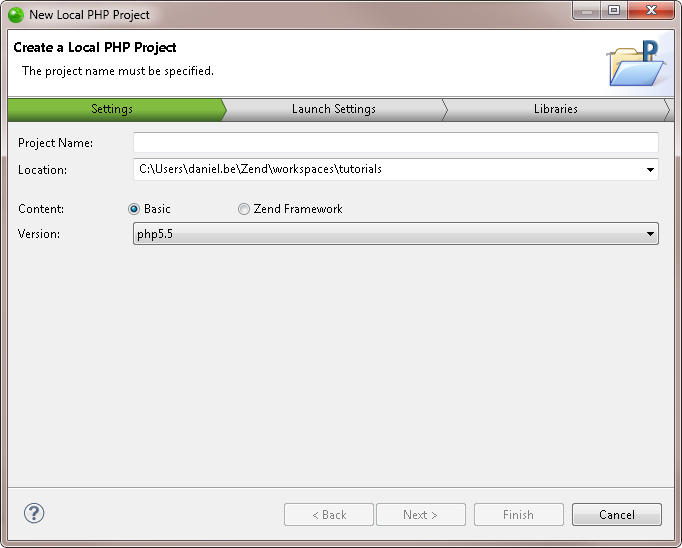
In the menu-bar, go to File | New | Local PHP Project.
The New Local PHP Project wizard is displayed.
-
Enter the following information:
-
Project Name: Enter the name of your project.
-
Location: Enter the location folder for your project.
-
Content: Select the content package you wish to work with in your project- Basic or Zend Studio's built-in Zend Framework.
- Version:
- If you chose to work with the built-in Zend Framework content package, Zend Framework 2.2.4 is used by default. If you wish to use a different version of Zend Framework, click on the drop-down menu, and select Browse to use a different Zend Framework library.
- If you chose to work with the Basic package content, click on the drop-down menu to select between php4, php5 or php5.3 (default is php5.4).
-
-
Click Next.
The Launch Settings dialog is displayed.
By default, the dialog displays with the Launch URL option selected.
This option connects your application to a Local Web server with no Zend Deployment Support options. The name of your Host server and the application Base Path will automatically be displayed in the relevant fields. You may select a different server by clicking on the Host drop-down menu, and clicking on New Server.

-
Two additional options are available for launching:
- Launch CLI Application: Select this option if you do not wish to enable deployment, and to launch your application as a Local CLI.
- Launch with Zend Application Deployment : Select this option to deploy your project on Zend Server, the Zend Developer Cloud or a Local server with deployment options.
Note:
For more information on Zend's Application Deployment Support, see Working with Deployment.

-
Select the libraries you wish to add to the project, and click Finish.
Your project is created, and displayed in the PHP Explorer.
Note:
If not already installed, selecting to install jQuery Library Support, ExtJS and Prototype will prompt a restart of Zend Studio.
