User Guide > Tasks > Working with Plugins > Working with Symfony Eclipse

Working with Symfony Eclipse

Prerequisites

How do I install plugins in Zend Studio?

Enabling Symfony

After installing the Symfony plugin, you will need to make your project Symfony aware.


Instructions on how to complete a procedure

To add Symfony to your project:

In the PHP Explorer, right-click your project and select Configure | Add Symfony Support.
 Symfony project nature is added to your project.

For more information on working with Symfony, see http://symfony.com/.

Creating a Symfony Project

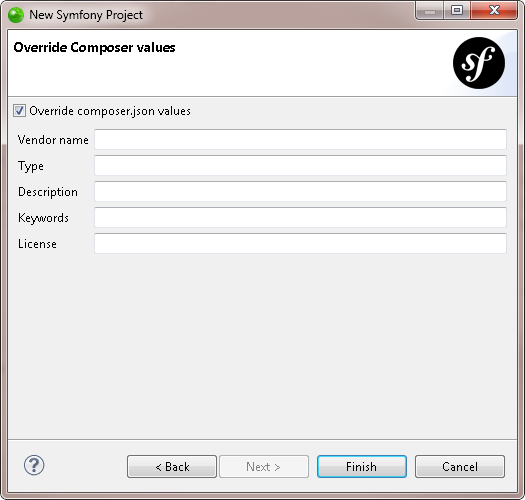
This procedure describes how to create a new Symfony project.


Instructions on how to complete a procedure

To create a new Symfony project:

  1. Go to File | New | Other.
    The New Project Wizard's Select a wizard dialog is displayed.

  1. Type Symfony in the Wizards field, select Symfony Project and click Next.
    The New Symfony project dialog is displayed.

  1. Set the following parameters:

  • Project Name: Enter the name of your project.

  • Contents: Select the location of your project.

    • Create new project in workspace

    • Create project on a local server - click the Target directory drop-down menu and select the target directory.

  • Custom hostname - Select the check-box to enter a custom host for the project.
  • PHP Version - Select the PHP executable to be used.
  • Symfony Version - Select the version of Symfony you want to use.
  1. Click Next.
    The Override Composer values dialog is displayed.

  1. Select the check-box to override the composer.json values of the Symfony standard edition, or skip to the next step.
  2. Click Finish.

    The Symfony project is created with the .json file displayed.

For more information on working with Symfony, see http://symfony.com/.

Importing a Symfony Project

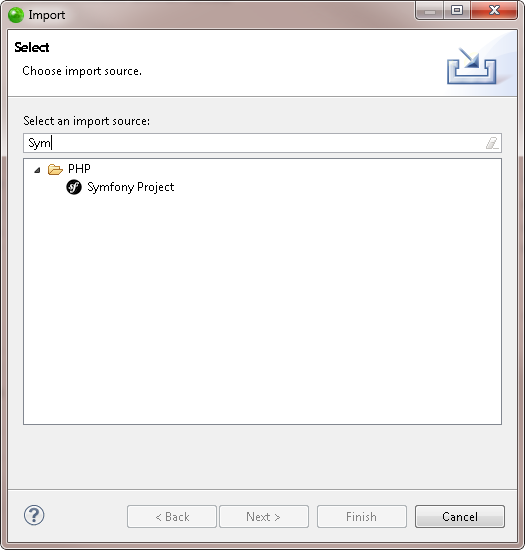
This procedure describes how to import an existing Symfony project into your workspace.


Instructions on how to complete a procedure

To import a Symfony project:

  1. Go to File | Import.
    The Import wizard is displayed.

  1. Type Symfony in the Import source field, select Symfony Project and click Next.
    The Symfony project dialog is displayed.

  1. Set the following parameters:

  • Project Name - Enter the name of the Symfony project.

  • Source folder - select the folder containing the Symfony project.
  • Dumped container - The plugin needs to parse your dumped service container to provide codeassist. The wizard will try to detect the dumped container, but you can select a different one in the wizard.
  • Symfony console - The Symfony console script to use for executing Symfony commands.
  1. Click Finish.

    The Symfony project is imported into your workspace.

For more information on working with Symfony, see http://symfony.com/.


Related Links

Related Links:
Customizing Zend Studio Using the Welcome Page

Working with Plugins


©1999-2013 Zend Technologies LTD. All rights reserved.