Installation and Upgrade Guide > Upgrading Zend Studio

Upgrading Zend Studio

There are two methods for upgrading Zend Studio:

  1. Installing the most up to date Zend Studio package from the Zend Website. For information on installing Zend Studio, see Installing Zend Studio.

  2. Updating an existing Zend Studio installation using the Update Manager.

Note:

Upgrading an existing 32-bit Zend Studio installation to Zend Studio 10.5 is not possible on Mac OS X. Instead, download and install a new installation of Zend Studio 10.5 from http://www.zend.com/en/products/studio/downloads.

Updating an Existing Zend Studio Installation

This procedure describes how to upgrade Zend Studio when there is already a previous version installed.

Note:

To update you should sign on to your operating system with the same user permissions that were used during the initial installation of Zend Studio.


Instructions on how to complete a procedure

To update an existing Zend Studio installation:

  1. Launch Zend Studio.

  2. In the menu-bar, go to Window | Preferences | Install/Update | Available Software Sites.
    The Available Software Sites preferences dialog is displayed.

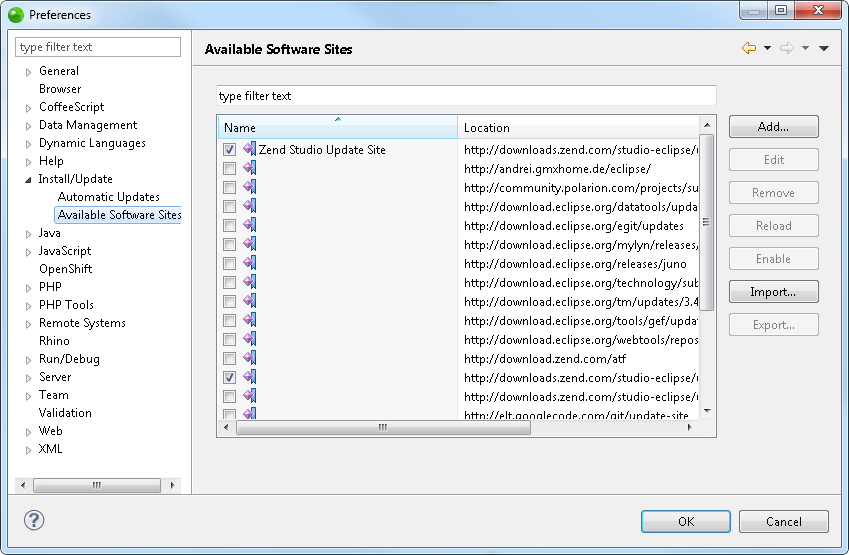
  1. From the update sites list, select the Zend Studio Update site (e.g. http://downloads.zend.com/studio-eclipse/updates/<version_number>), and click Edit.
    The Edit Site dialog is displayed.

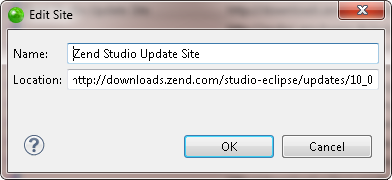
  1. Change the URL to 'http://downloads.zend.com/studio-eclipse/updates/<version_number>', and click OK.
  2. From the list of update sites, select the Zend Studio Extra Details site (http://downloads.zend.com/studio-eclipse/updates-extra/<version_number>), and click Edit.
    The Edit Site dialog is displayed.

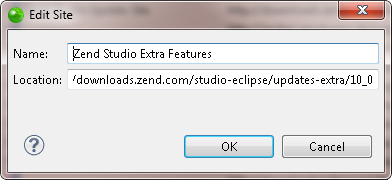
  1. Change the URL to 'http://downloads.zend.com/studio-eclipse/updates-extra/<version_number>', and click OK.
  2. In the Available Software Sites preferences dialog, click OK to apply changes.
  3. From the Menu Bar, go to Help | Check for Updates.
    The Contacting Software Sites screen opens with a progress bar as it searches for available updates. Once found, the Available Updates dialog is displayed.

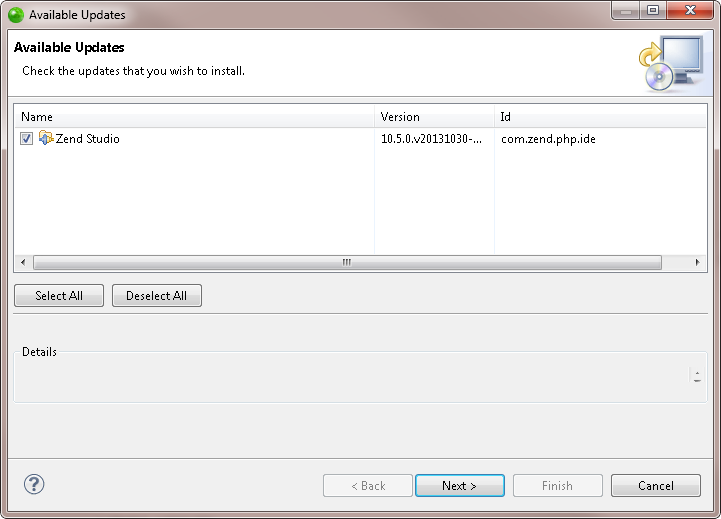
  1. Select which updates you would like to install and click Next.
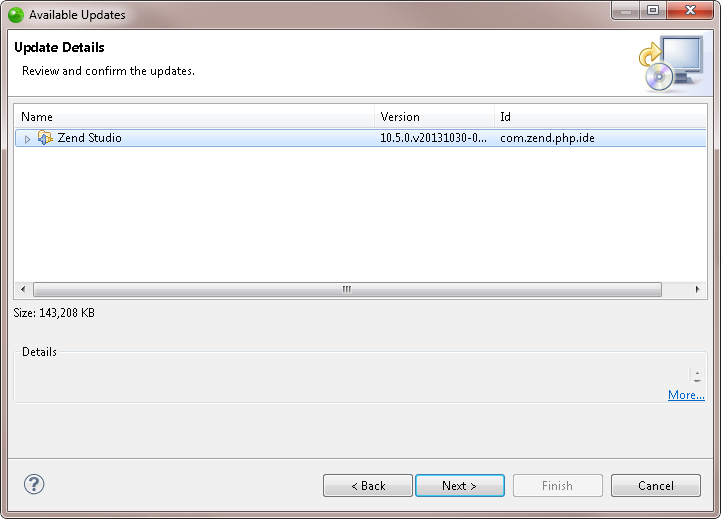
    The Update Details dialog is displayed.

  1. Review and confirm the updates that are waiting to be installed and click Next.
    The Review Licenses dialog is displayed.

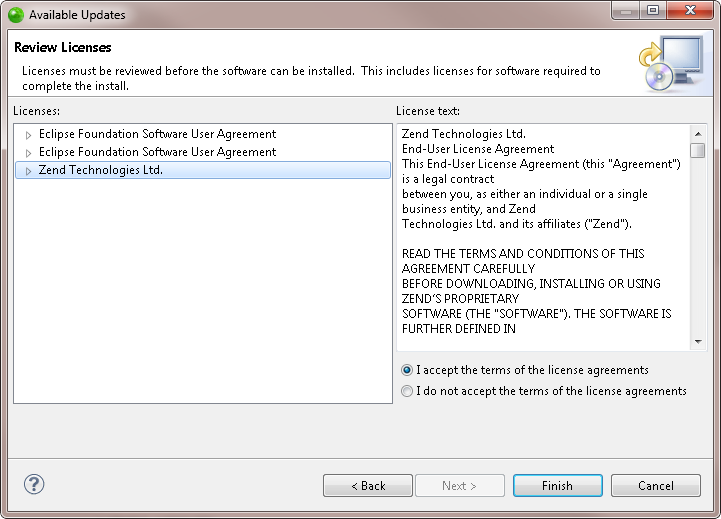
  1. Review the licenses and select the ‘I accept the terms of the License Agreement’ checkbox and click Finish.

  1. When prompted, restart Zend Studio.
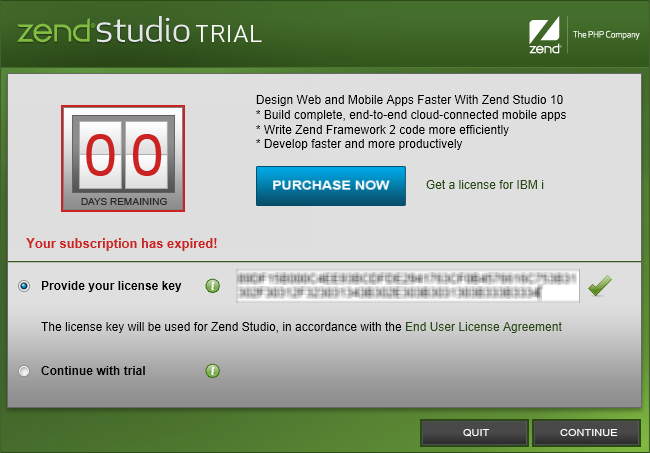
     Zend Studio restarts with the updates installed.

  2. If you are upgrading to Zend Studio 10.5 from a previous Zend Studio 10.x installation, you will be required to enter your new license on the Zend Studio Trial page.


Importing Remote Connections

Zend Studio now allows you to import remote connections, ensuring that the upgrade to a newer version of Zend Studio does not disrupt your existing connection configurations.


Instructions on how to complete a procedure

To import remote connections from your old workspace:

  1. On the Welcome Page, click Import remote connection
    -OR-
    Go to File | Import.
    The Import dialog is displayed.

  1. Select Zend Imports | Remote connection import and click Next.
    The Import remote connection dialog is displayed.

  1. Click Browse to select the workspace containing your remote connection configurations.
    The available connections are displayed in the window below.

  2. Click Finish.
    Your old connection configurations are imported into your workspace.


©1999-2013 Zend Technologies LTD. All rights reserved.