You are here: Zend Guard User Guide > Working with Zend Guard > Configuring the Integration with Zend IDE

Configuring the Integration with Zend IDE

The following procedure describes how to configure the integration with Zend IDE. The integration enables users to extend Zend Guard with the rich editing features included in the Zend IDE. This provides users with a seamless workflow for fixing and modifying code through Zend Guard. This enables you to open files and fix errors in Zend IDE, seamlessly.


Before configuring the integration make sure you have both Zend Guard and Zend IDE installed on the same machine. It is also useful to already know the location of the Zend IDE's installation directory before setting-up the integration.


Settings have to be configured in both applications in order to successfully start the integration between Zend IDE and Zend Guard.


Instructions on how to complete a procedure

To configure the Zend IDE settings:

  1. Make sure the Zend Guard is installed on the same machine.

  2. In Zend IDE go to: Tools | Preferences and select the Desktop tab.

  3. Go to the Desktop tab's General Settings section and enter the path directing to the Zend Guard program file in the Zend Guard Path field.


Instructions on how to complete a procedure

To configure the Zend Guard settings:

  1. Make sure that Studio is installed on the same machine.

  2. Go to: Edit | Preferences | Zend IDE.

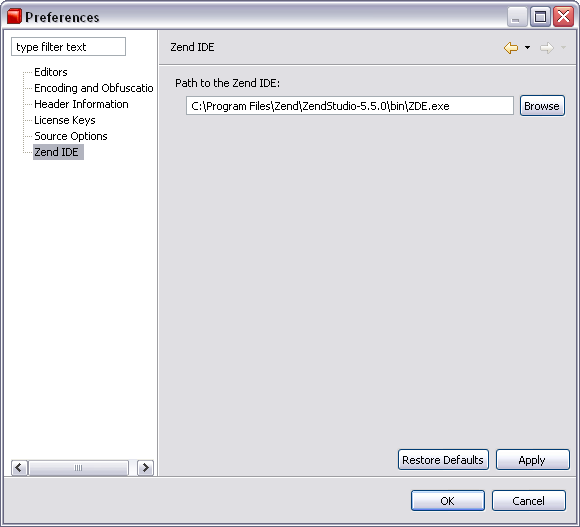
  1. Enter the path to Zend IDE and click Apply/OK.

Once the configuration has been completed, a new option will be added to the right-click menu in the Guard Explorer called "Open with Zend IDE". Clicking this option will automatically open the file for editing in the Zend IDE.


Related links

Related Links:
Workspace Overview

Preferences

©1999-2013 Zend Technologies LTD. All rights reserved.