Setting Up Zend Server

This topic will take you through the steps for quickly setting up a single Zend Server from the Microsoft Azure Marketplace.

Prerequisites

To follow the procedures in this section, you will need:

  • An active Microsoft Azure account.
  • (Optional) SSH Key Pair to gain access to your server using SSH with public key authentication.

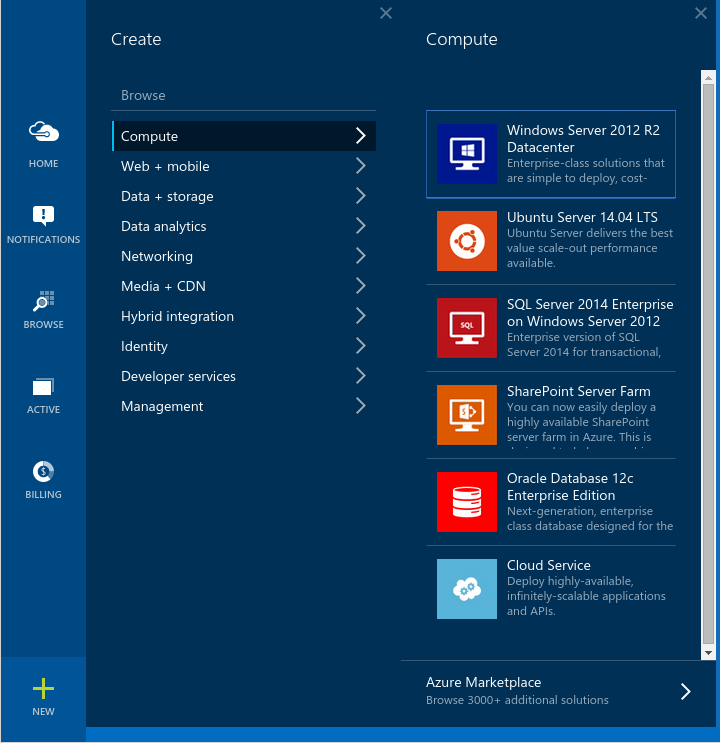
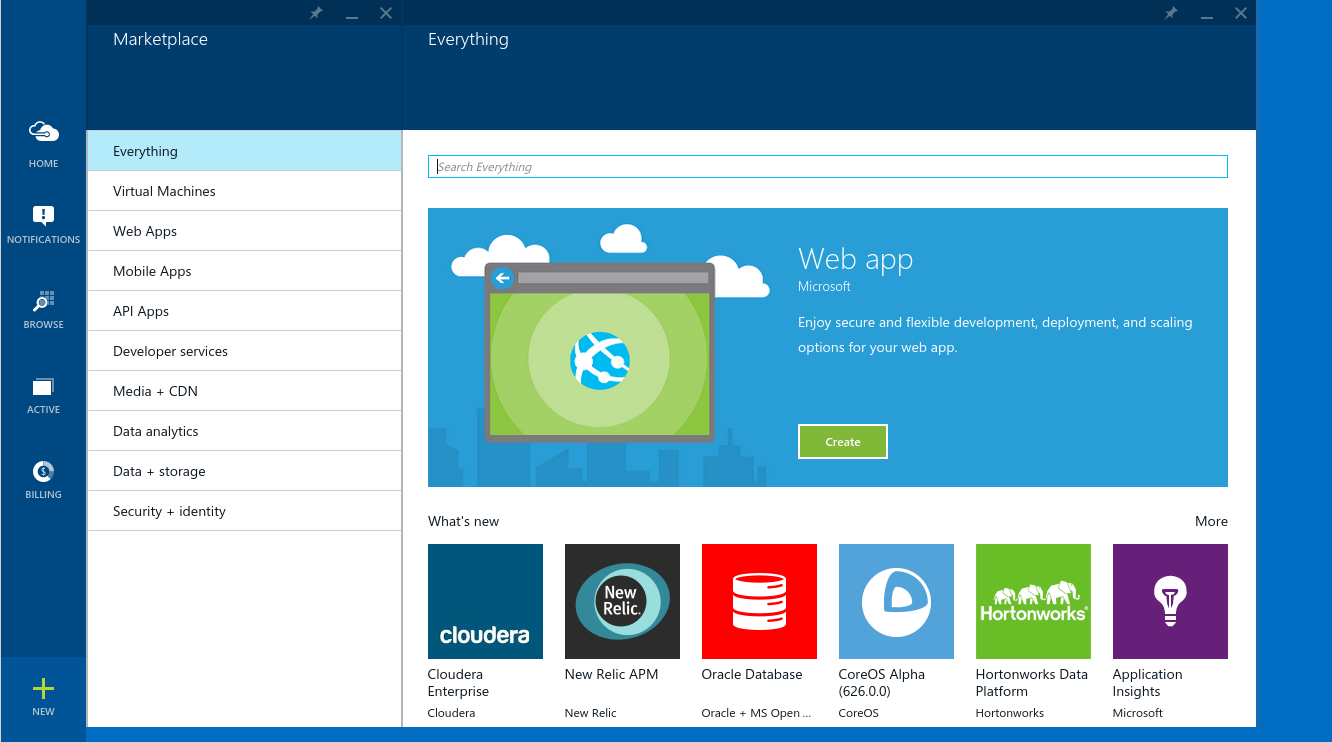
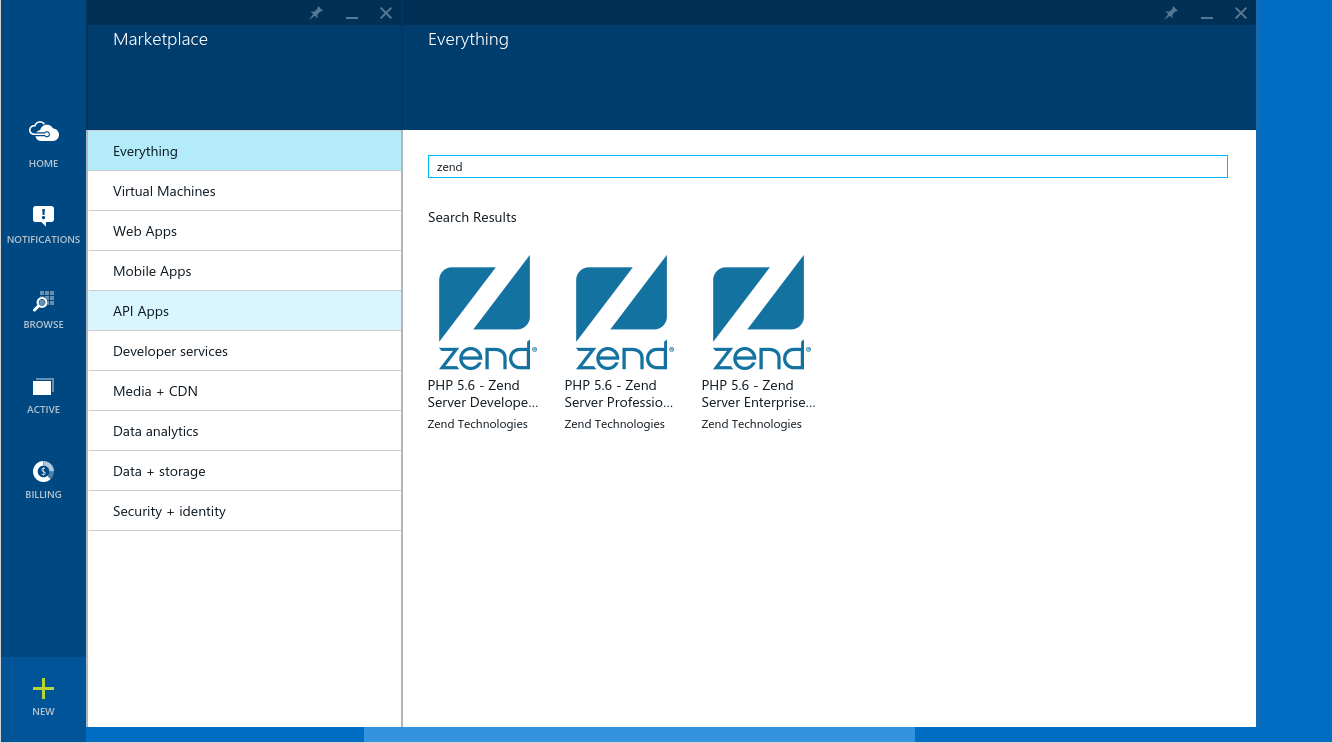
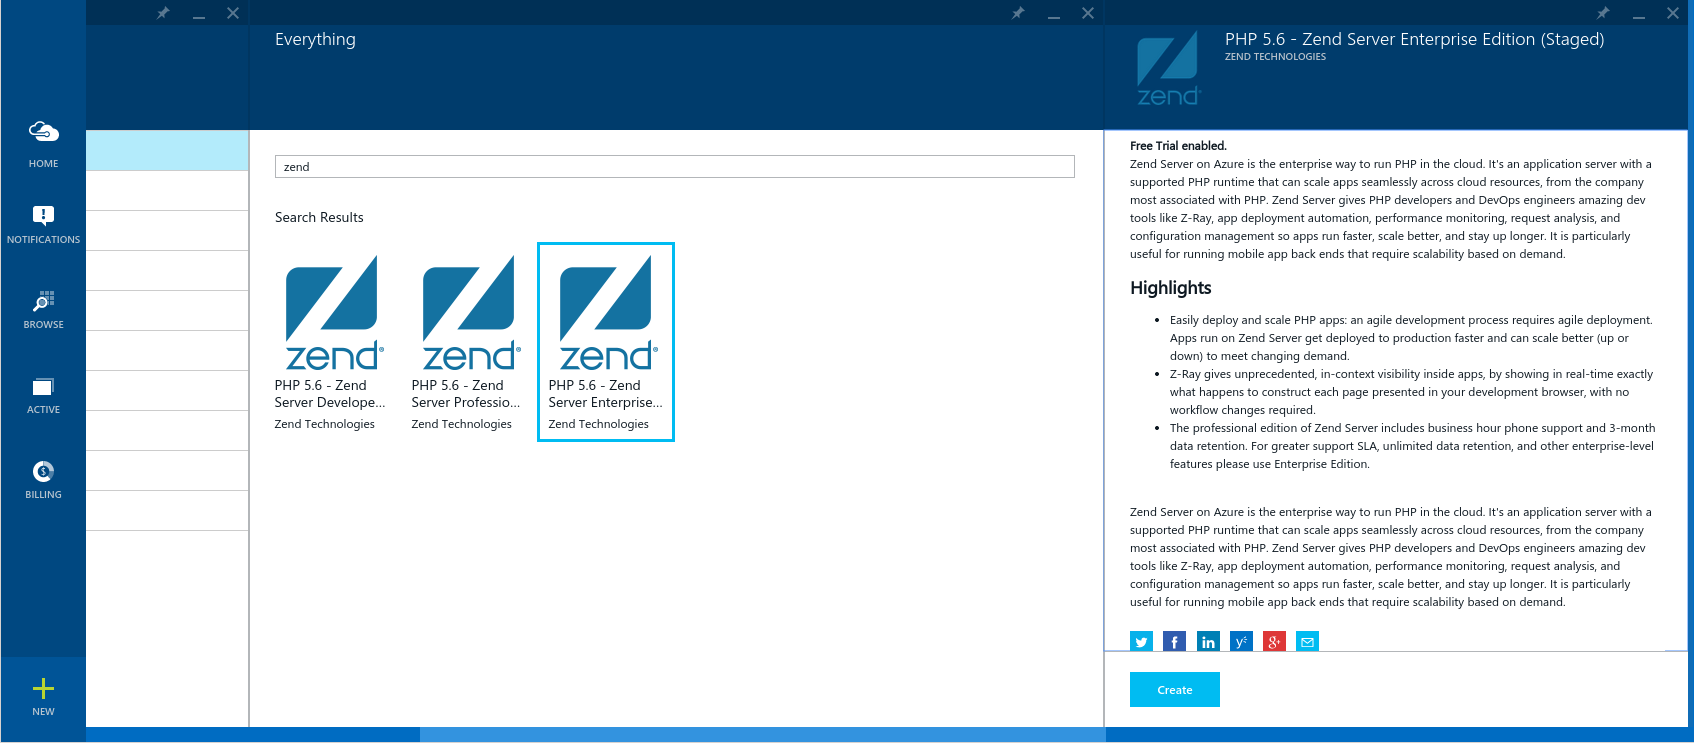
Step 1: Configuring and Deploying Zend Server

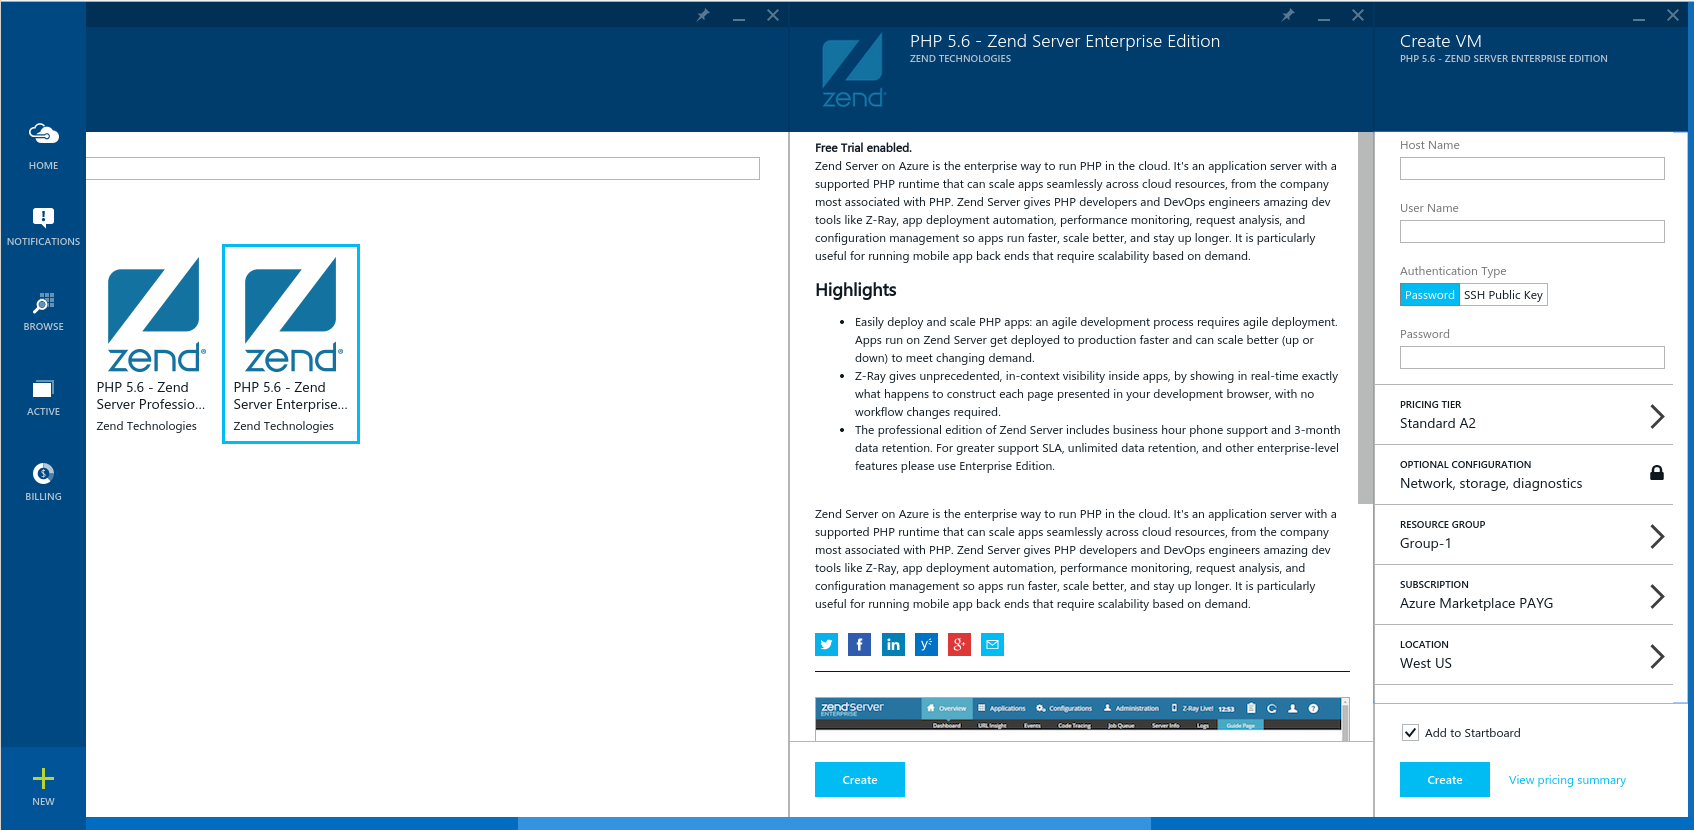
The first step is to select which type of Zend Server virtual machine image you wish to launch and configure it to best suit your personal preferences.


Instructions on how to complete a procedure

To select your Zend Server virtual machine image:

  1. Open and log into the Microsoft Azure Portal.

  2. Click the + New button located in the bottom-left corner of the portal.

  1. From the list of resources, select Compute, and on the bottom of the next blade, click Azure Marketplace.
    The Marketplace is displayed.

  1. Select Everything, and then in the search field type ‘zend’.

  1. From the list of virtual machine images, select the Zend Server image you wish to launch (Zend Server PHP 5.6 Developer, Professional, Enterprise editions).
    A description on the image you selected is displayed in a new blade.

  1. To create the virtual machine, click Create at the bottom of the new blade.
    The Create VM blade is displayed.

  1. Configure the new Zend Server virtual machine:

    • Hostname - enter the hostname for your virtual machine.

    • User Name - enter a username to log in via SSH.

    • Authentication Type - select the authentication method for accessing the virtual machine using SSH (password or key based authentication).

    • Password - enter a password for SSH access (this is required only if you selected the password authentication method above).

    • SSH Public Key - enter your SSH public key (this is required only if you selected the key based authentication method above).

    • Pricing tier - select a pricing tier for your virtual machine (clicking displays the "Choose your pricing tier" blade in which you can also see your monthly estimate).

    • Location - select in which data center your virtual machine should be created.

    • Add to Startboard - select this check-box to pin the new virtual machine to your Startboard.

  2. Click Create.
    The "Buy" blade is displayed.
  3. Review your purchase details, and click Buy.
    Your virtual machine is created.

Note:

Virtual machine creation should take 3-6 minutes, but can take longer in case of high load on Azure Cloud.


What next? See Step 2 below to launch and access Zend Server.

Step 2: Accessing the Zend Server UI

The next step is to open your new virtual machine details blade in the Azure Portal, and launch the Zend Server UI.


Instructions on how to complete a procedure

To access the Zend Server UI:

  1. Open your new virtual machine blade.
    If you just started your virtual machine, wait until the virtual machine is ready, and the virtual machine blade displayed.

  1. Copy the DNS name of your virtual machine, and use it to enter the following URL in your browser:

http://<machine_DNS>:10081

  1. Launch Zend Server by completing the steps in the Launch Zend Server wizard.
    For a detailed description of this process, see Launching Zend Server.


Note:

To remove your virtual machine, click the "Delete" button in virtual machine details blade.