The following procedure describes the process of launching Zend Server as a single server or in a clustered environment.
The Launch wizard is designed to quickly get your Zend Server up and running with an optimized working environment that includes system configuration settings that are suited to your personal requirements.
Note:
Prior to being launched, Zend Server can be added to an existing cluster member or manager. After being launched, Zend Server has to join the cluster to be become part of it.
|

|
To launch Zend Server:
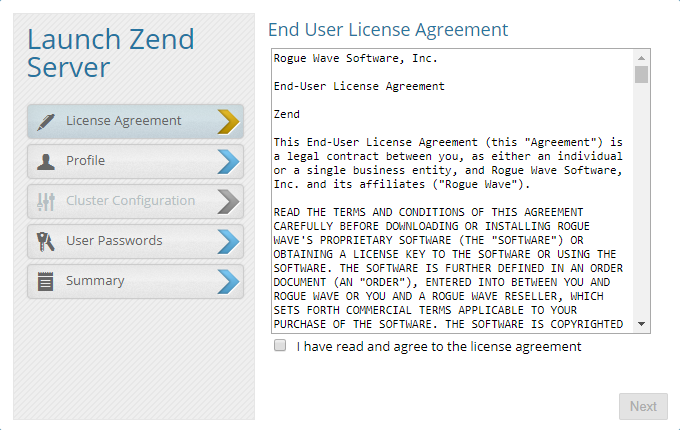
- The first time Zend Server runs after installation, the Launch Zend Server wizard is opened with the License Agreement dialog displayed.
- Read and accept the terms in the agreement, and click Next.
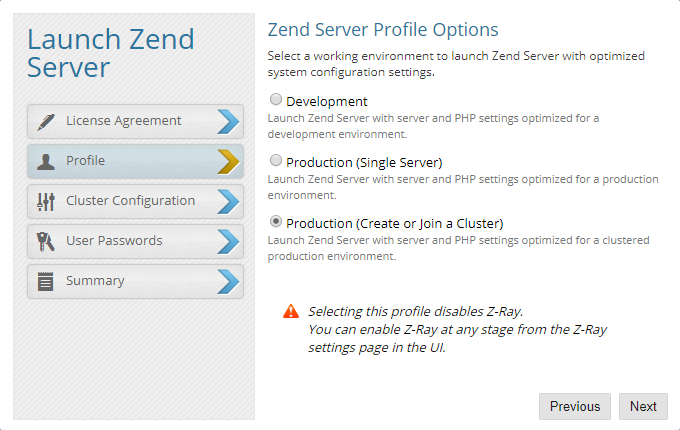
The Profile dialog is displayed.
- Select the server profile that best suits your working environment. Your selection determines the default system settings that Zend Server launches with:
- Click Next.
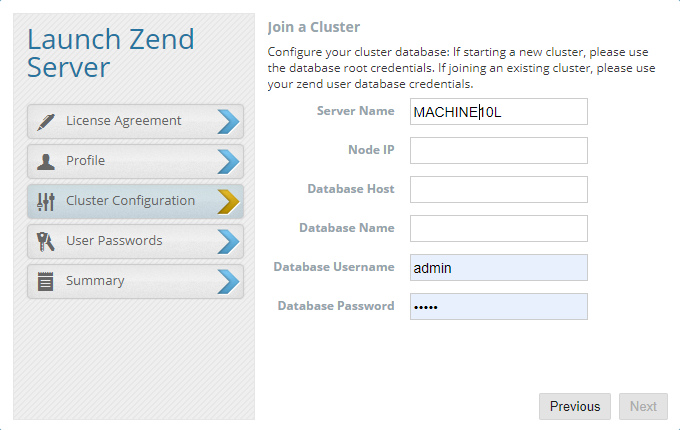
If you selected to join a cluster, the Cluster Configurations dialog is displayed.
If you selected Development or Production, the User Passwords dialog is displayed - skip to step 6.
-
Enter the details of the server and cluster database, and click Next.
According to the details entered, the wizard identifies whether you are the first member of the cluster, or an additional member to a pre-existing cluster, and displays the next dialog accordingly.
If this is the first server in the cluster, the User Passwords dialog is displayed. If not, the Summary dialog is displayed - skip to step 7.
- Configure the passwords for accessing the Zend Server UI. Passwords must be between 4 - 20 characters long and can be changed at a later stage from within the product.
- Enter and confirm a password for 'admin' user.
- Enter and confirm a password for 'developer' user (optional).
Note: For information on the differences between these two user roles, see User Management.
- Click Next.
The Summary dialog is displayed.
- Review the details, and click Launch.
Zend Server launches with Getting Started page displayed.
|
|
Tip:
At any point, access the Zend Server UI by clicking the Zend Server desktop icon (only in Windows), or opening your browser at: http://localhost:10081/ZendServer.
|