Launching Zend Server

The following procedure describes the process of launching Zend Server for IBM i.
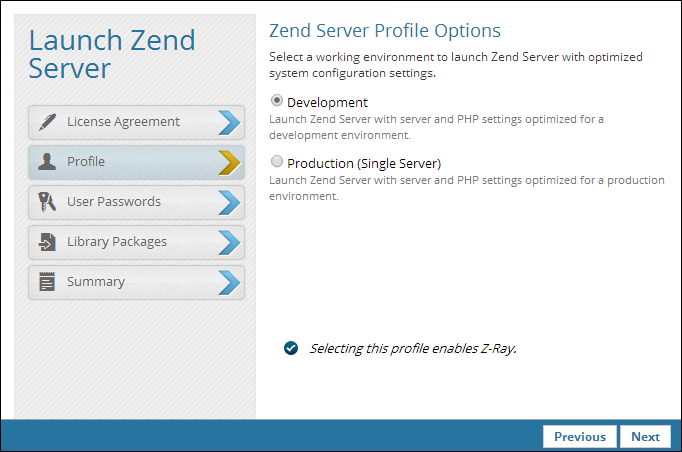
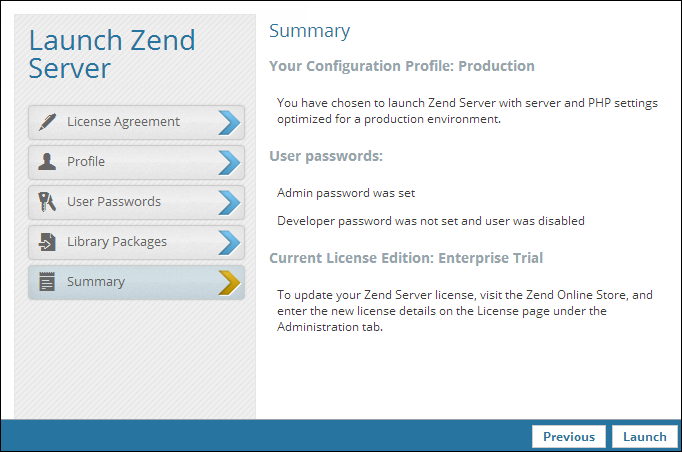
The Launch wizard is designed to quickly get your Zend Server up and running with an optimized working environment that includes system configuration settings that are suited to your personal requirements.


Instructions on how to complete a procedure

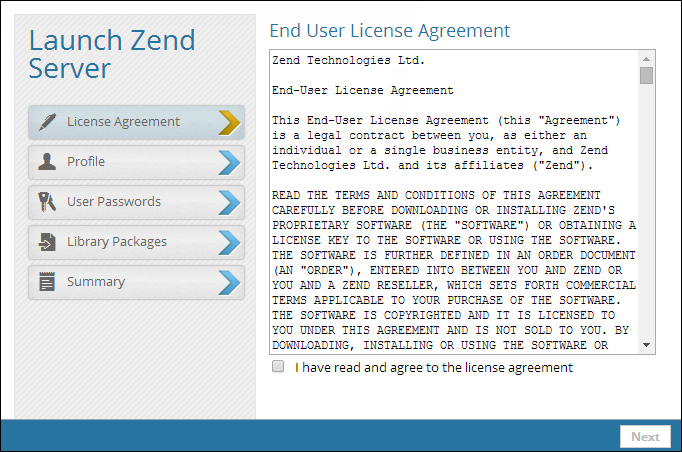
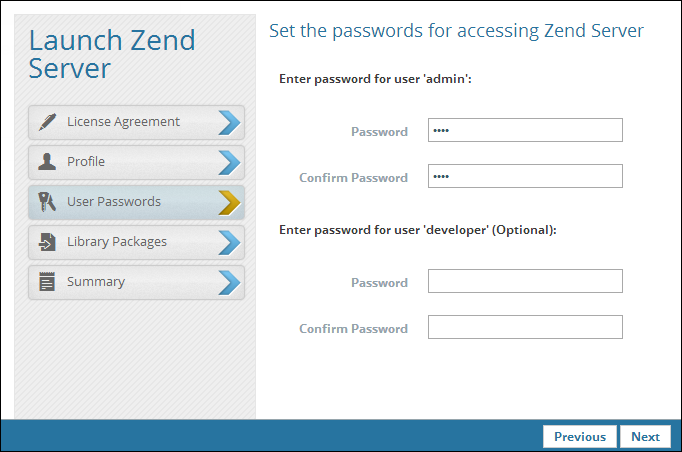
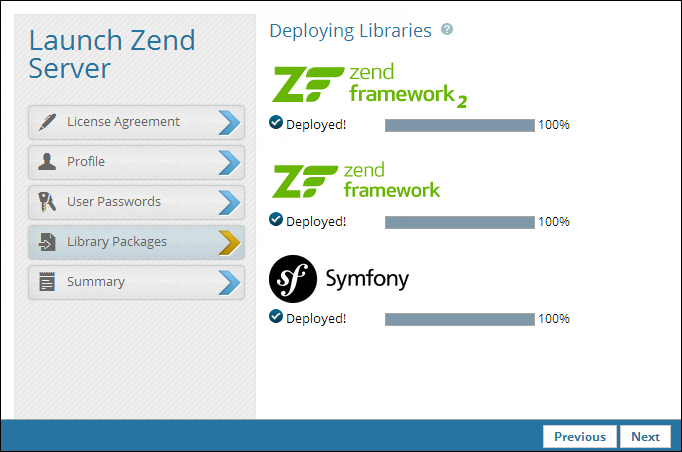
To launch Zend Server:

  1. The first time Zend Server runs after installation, the Launch Zend Server wizard is opened with the License Agreement dialog displayed.

  1. Read and accept the terms in the agreement, and click Next.
    The Profile dialog is displayed.

  1. Select the server profile that best suits your working environment. Your selection determines the default system settings that Zend Server launches with:
    • Development - Launch Zend Server with server and PHP settings optimized for a development environment.
    • Production - Launch Zend Server with server and PHP settings optimized for a production environment.

      Note:

      To use the Z-Ray, select the Development launch profile. If a different profile is selected, Z-Ray can be manually enabled.

  2. Click Next.
    The User Passwords dialog is displayed.

  1. Configure the passwords for accessing the Zend Server UI. Passwords must be between 4 - 20 characters long and can be changed at a later stage from within the product.
    • Enter and confirm a password for 'admin' user.
    • Enter and confirm a password for 'developer' user (optional).

    Note:

    For information on the differences between these two user roles, see User Management.

  2. Click Next.
    The Library Packages dialog is displayed.

  1. Click Next.
    The Summary dialog is displayed.

  1. Review the details, and click SubmitLaunch.
    Zend Server launches with the Dashboard page's Welcome tab displayed.

Note:

The default path to the Zend Server for IBMi user interface is: http://<your_servers_IP>:10081/ZendServer (for PHP applications, the port that is used is 10080).