Installing Zend Server on Mac OS X
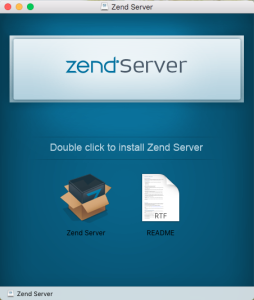
This section describes the process for installing Zend Server on Mac OS X from a .dmg disk image. The disk image contains a .pkg installer for Zend Server (including MySQL).
Requirements:
- 64-bit Mac OS X
- An account with administrator privileges
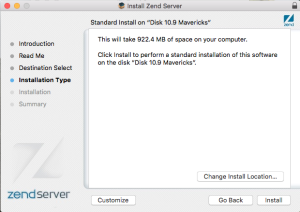
- A minimum of 500 megabytes of available disk space is required to unpack and install Zend Server.
Note:
After installing Zend Server 9.0, you will automatically be using a 30-day Enterprise edition trial license. To continue working with Zend Server after this time period, contact Zend for a new license. For more information on Zend Serve editions, see Zend Server Editions.
|
|
|
|
|
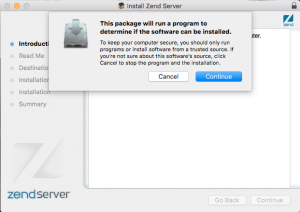
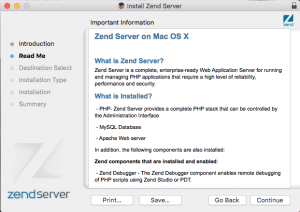
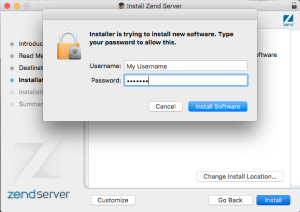
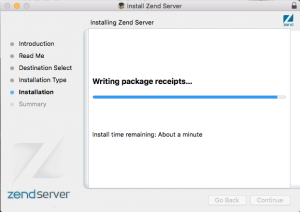
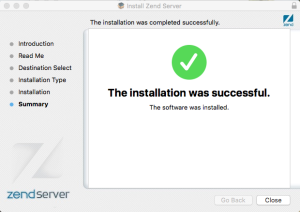
To install Zend Server:
|
|
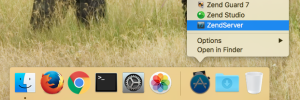
Launching (initializing) Zend Server: To launch and start using Zend Server, open your browser at: https://<Server_IP>:10082/ZendServer (secure), or http://<Server_IP>:10081/ZendServer. |
|
