New to Zend Server and Z-Ray? This tutorial will get you up and running with this new and innovative technology so you can quickly start making your code better!
Z-Ray is all about visibility. Giving developers easy access to valuable information they need to find those weak spots in their code as quickly as possible before going into production, and all this without having to change anything in the way they currently do things. At Zend, we like to think of it as being granted x-ray vision into your PHP code.
In this tutorial you will learn to:
To follow the steps in this tutorial, we recommend the following prerequisites:
A locally installed Zend Studio
Note:
Although this tutorial demonstrates debugging in Zend Studio, the same workflow can be performed in other IDEs (e.g., PhpStorm). For more information, see Debugging in PhpStorm Using Zend Server.
Our initial step is to install a Zend Server 8.x on our machine.
|
|
|
To download and install Zend Server:
Linux users: We highly recommend using the Repository Installer to install Zend Server, as it ensures a correct and healthier installation process. The script ensures that the correct repositories are set, verifies system requirements and issues the correct package management commands to set Zend Server up properly. |
|
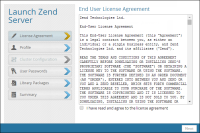
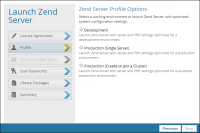
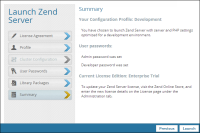
Next, we're going to launch Zend Server with a Development profile. The various launch profiles determine which default system settings Zend Server launches with. Launching with a Development launch profile ensures that Z-Ray is enabled by default on all the applications and pages located on our Web server.
|
|
|
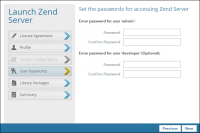
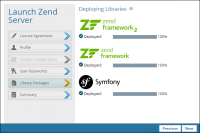
To launch Zend Server:
You are automatically using a Zend Server Enterprise edition trial license. This license gives you full access to all Zend Server features for a period of 30 days. If you have purchased a license, register Zend Server. If not, at any point during your trial you can click in the top-right corner of the UI to chat with a Zend representative. |
|
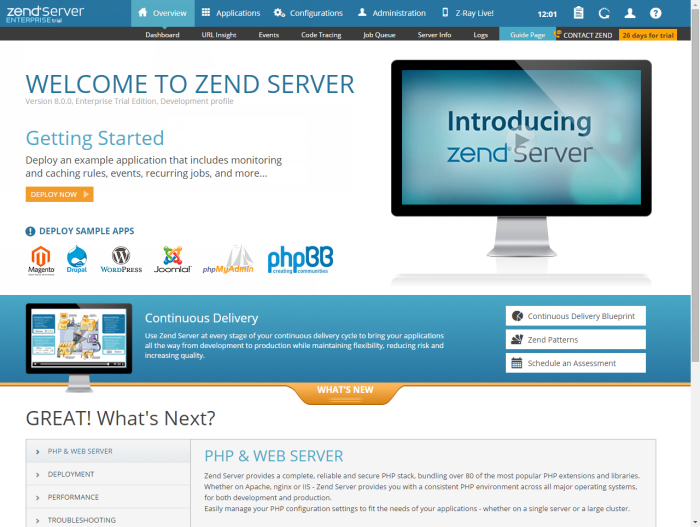
Once launched, you have full access to all Zend Server features for a period of 30 days. The Getting Started tutorial will help you get started with some of these features. Our next step is to deploy one of the demo applications Zend Server supplies - Wordpress.
|
|
|
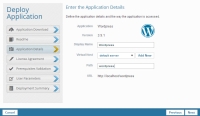
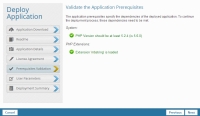
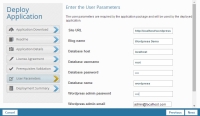
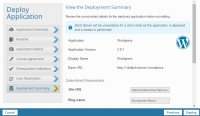
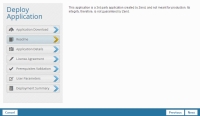
To deploy Wordpress:
|
|
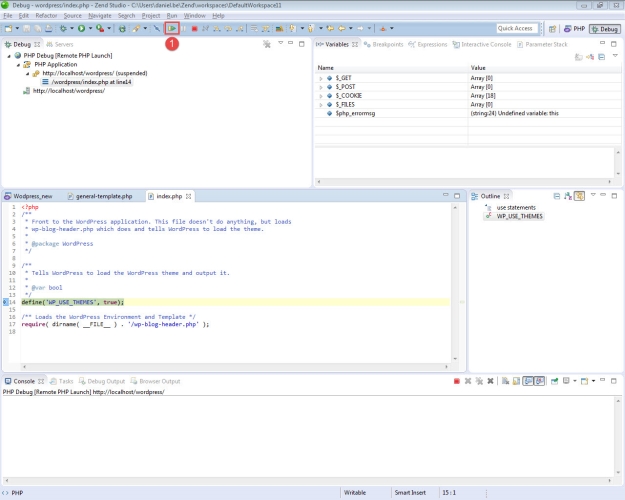
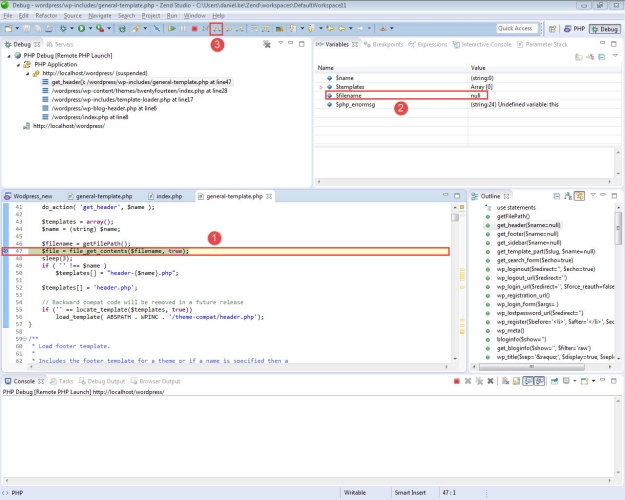
Congrats! You successfully deployed Wordpress on Zend Server. Now, let's create a project in Zend Studio from the existing application. We will then insert some sample code to simulate errors.
Note:
Although this tutorial demonstrates debugging in Zend Studio, the same workflow can be performed in other IDEs (e.g., PhpStorm). For more information, see Debugging in PhpStorm Using Zend Server.
|
|
|
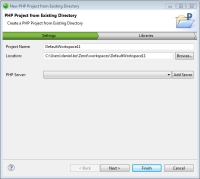
To create a project in Zend Studio:
|
|
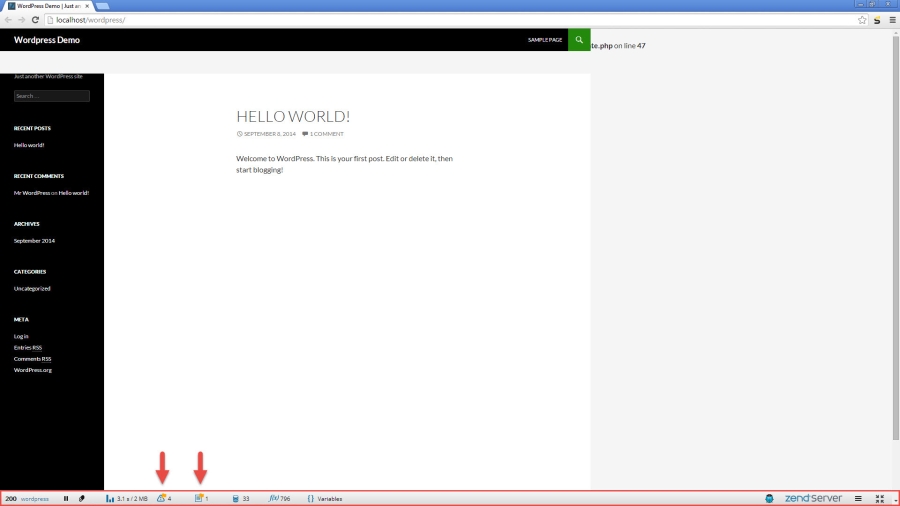
Now, let's see Z-Ray in action. Remember, since we launched Zend Server with a Development profile, Z-Ray is enabled, and will be displayed on any page we have on our Web server.
Tip:
Z-Ray can also be easily enabled in production. See how in Enabling/Disabling Z-Ray.
|
|
|
To use Z-Ray:
|
Well done! |