![]()
To select your Zend Server virtual machine image:
-
Open and log into the Microsoft Azure Portal.
-
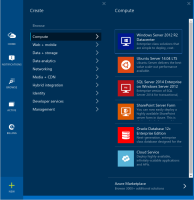
Click the + New button located in the bottom-left corner of the portal.
-
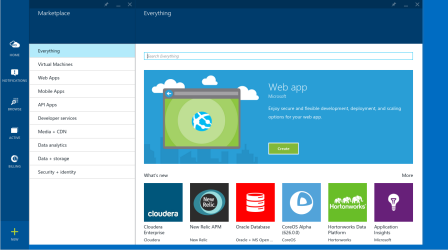
From the list of resources, select Compute, and on the bottom of the next blade, click Azure Marketplace.
The Marketplace is displayed.
-
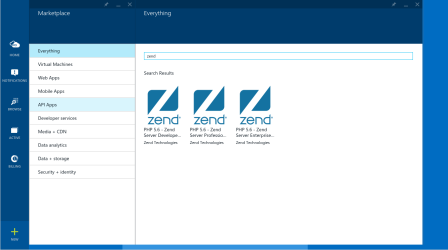
Select Everything, and then in the search field type ‘zend’.
-
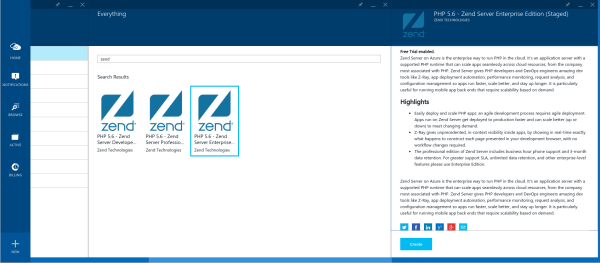
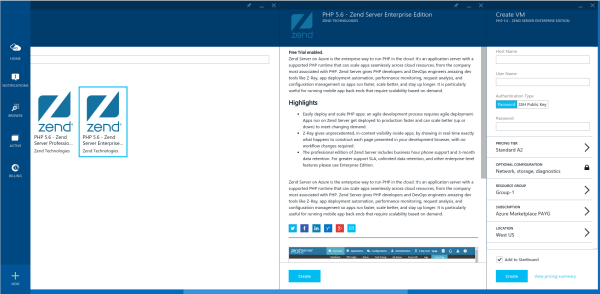
From the list of virtual machine images, select the Zend Server image you wish to launch (Zend Server PHP 5.6 Developer, Professional, Enterprise editions).
A description on the image you selected is displayed in a new blade.
-
To create the virtual machine, click Create at the bottom of the new blade.
The Create VM blade is displayed.
-
Configure the new Zend Server virtual machine:
-
Hostname - enter the hostname for your virtual machine.
-
User Name - enter a username to log in via SSH.
-
Authentication Type - select the authentication method for accessing the virtual machine using SSH (password or key based authentication).
-
Password - enter a password for SSH access (this is required only if you selected the password authentication method above).
-
SSH Public Key - enter your SSH public key (this is required only if you selected the key based authentication method above).
-
Pricing tier - select a pricing tier for your virtual machine (clicking displays the "Choose your pricing tier" blade in which you can also see your monthly estimate).
-
Location - select in which data center your virtual machine should be created.
-
Add to Startboard - select this check-box to pin the new virtual machine to your Startboard.
-
- Click Create.
The "Buy" blade is displayed. -
Review your purchase details, and click Buy.
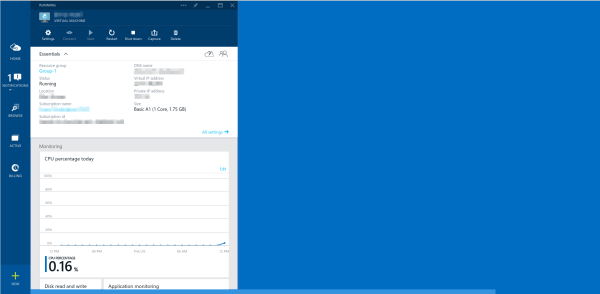
Your virtual machine is created.
Note:
Virtual machine creation should take 3-6 minutes, but can take longer in case of high load on Azure Cloud.
What next? See Step 2 below to launch and access Zend Server.
