![]()
To install phpMyAdmin:
- Click here to download the phpMyAdmin application package.
- In the UI, go to the Applications | Apps page.
- In the Action bar, click
 .
.
The Deploy Application wizard displays.
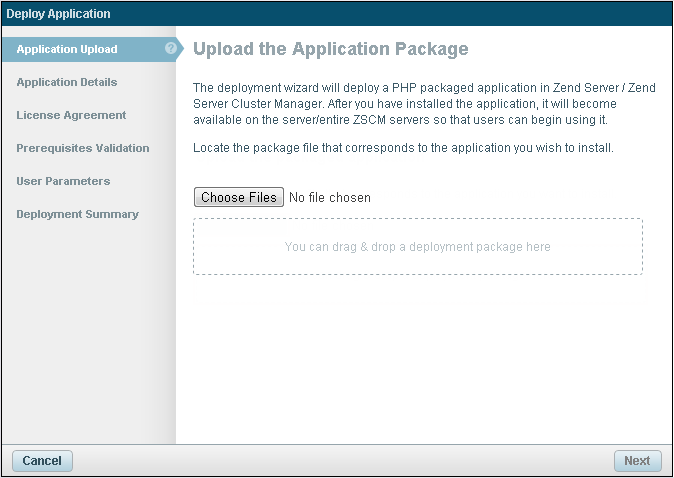
- Click Choose Files to browse and select the application package.
After the progress bar reaches 100%, a success notification displays.
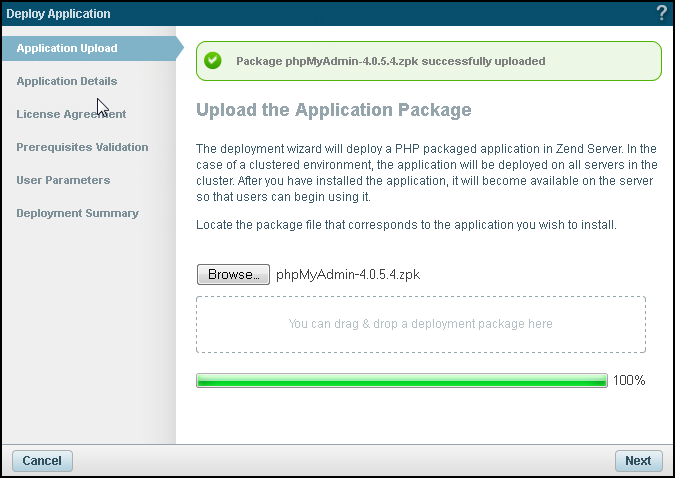
- Click Next.
The Application Details dialog displays.
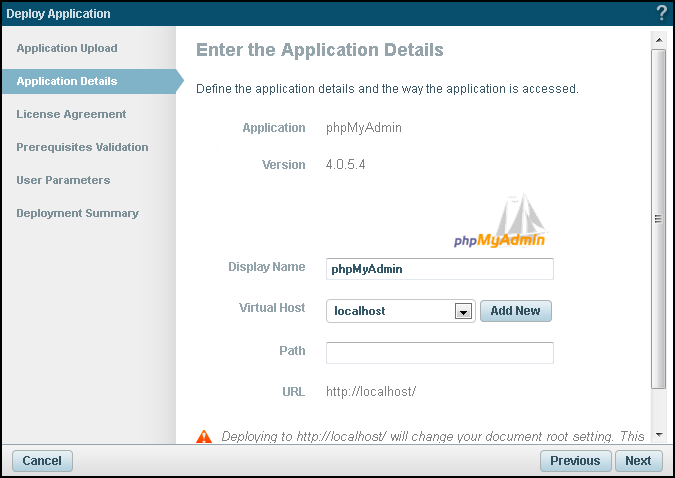
- Enter the following information:
- Display Name - The name that Zend Server will display for this application.
- Virtual Host - This field automatically displays the default server that is defined on the Administration | Settings page. If you have not yet defined a default server, the default virtual host on your server will be used. You can add a new virtual host by clicking Add New.
- Path - The second part of your
base URL, which can only be a directory. As you type, Zend Server offers path suggestions, and updates the URL below.
Specifying a file will cause the application to deploy with errors. Leaving this field empty will deploy the application on the virtual host's root.
Note:
The base URL (or root URL) is the URL where the application is available after it has been deployed. The base URL is unique and cannot be shared between two applications, and each application is required to have a base URL. Using a pseudo URL is also acceptable.
When finished, click Next.
The License Agreement dialog displays.
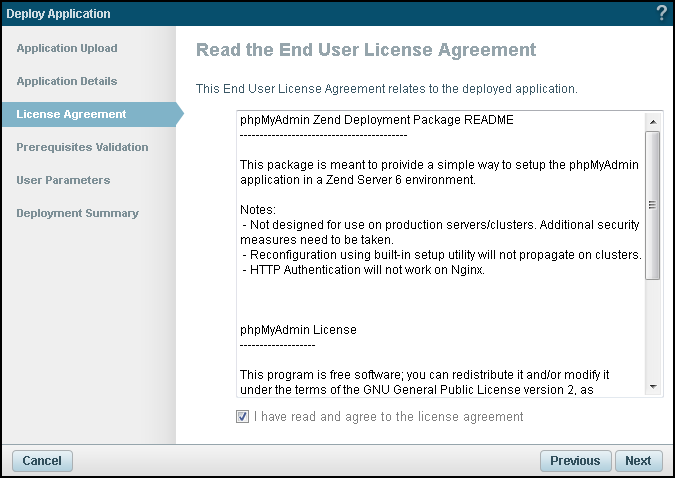
- Read the phpMyAdmin Zend Deployment Package README, select the check-box below, and click Next.
The Prerequisites Validation dialog is displayed.

- If the 'mysql' parameter
has been validated, skip to step 9.
If your system does not qualify, an error message is displayed at the top of the dialog and the prerequisite in question appears in red:- Click the adjacent link to open Zend Server in another tab in your browser.
- Go to the Configurations | Extensions page.
- Locate and select the 'mysql' extension, and in the Action bar, click
 .
. - Return to the Deploy Application wizard, and click
 .
.
- Click Next.
The User Parameters dialog displays.
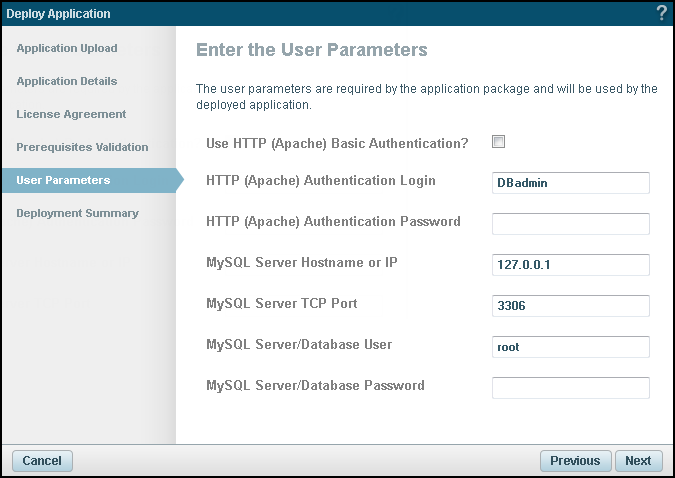
- Configure HTTP basic authentication on Apache for securing access to phpMyAdmin (or skip to step 11):
- Select the Use HTTP (Apache) Basic Authentication check-box.
- In the HTTP (Apache) Authentication Login field, enter a login username (default: DBadmin).
- In the HTTP (Apache) Authentication Password field, enter a password.
Note:
HTTP basic authentication for Apache servers should not be used in conjunction with phpMyadmin's built-in HTTP Authentication.
- Enter your MySQL database IP, port and access credentials, and click Next.
The Deployment Summary dialog opens.
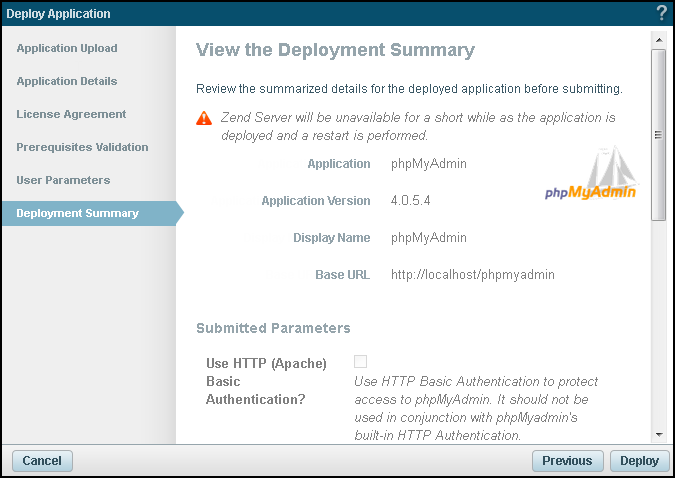
- Click
 to deploy your application.
Your application is deployed and added to the Applications list on the Applications | Apps page. -
In the toolbar, the restart icon lights up , indicating a restart is needed to apply changes. Click to restart server and apply changes.
For information on restarting in Zend Server, see Server Restart.
-
To open your application click on your application in the Application page to expand the display, and click the Base URL link.
- To access phpMyAdmin, select the newly deployed application from the Applications list, and click the URL in the expanded view.
Note:
If you selected to add HTTP basic authentication in step 10 above, you will be required to enter your credentials to access phpMyAdmin.
